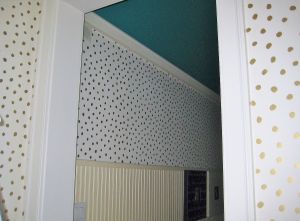

My client knew exactly what paper she wanted for her bright and spacious master bath – all she had to do was find it!
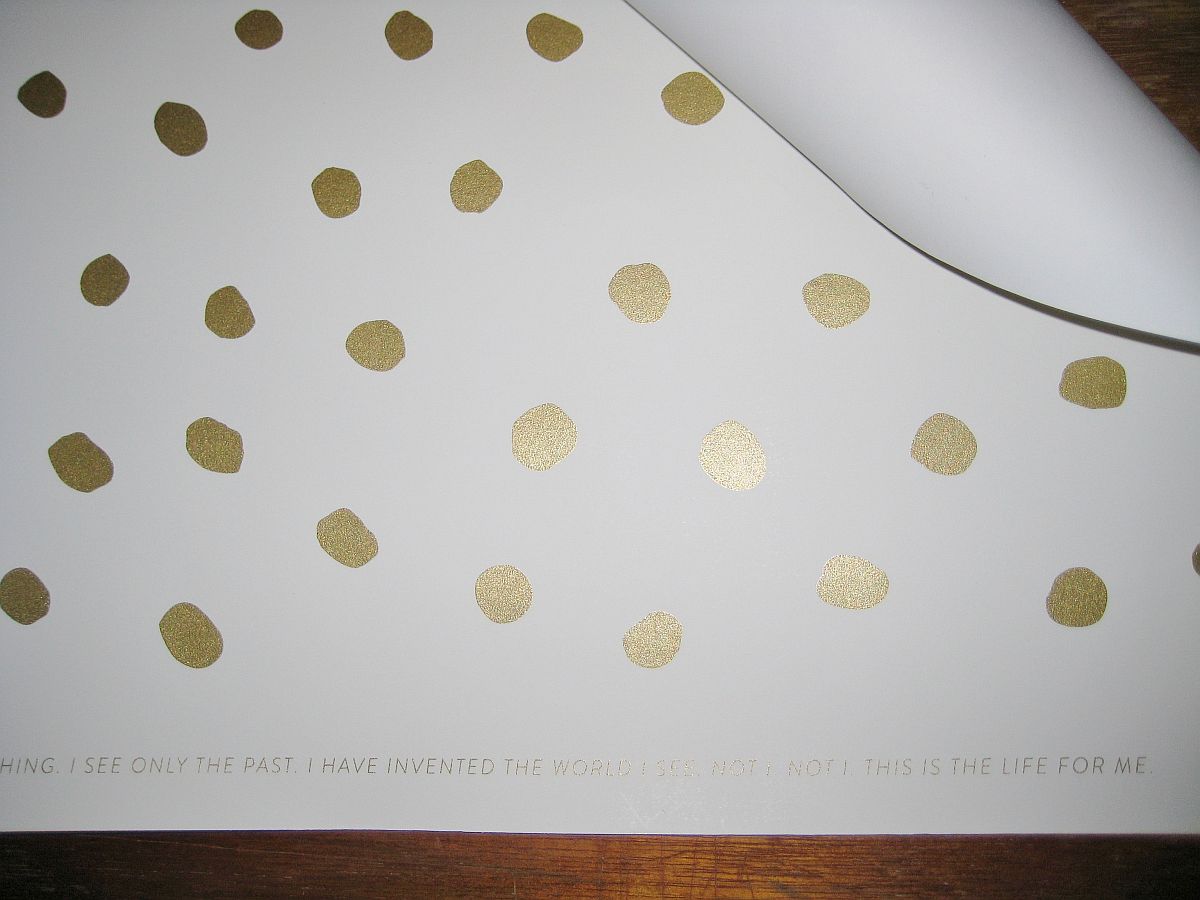
After a bit of searching and a lot of research, she ordered some samples. Going back and forth between two different products, she eventually decided on this gorgeous Phillip Jeffrie’s natural textured material.
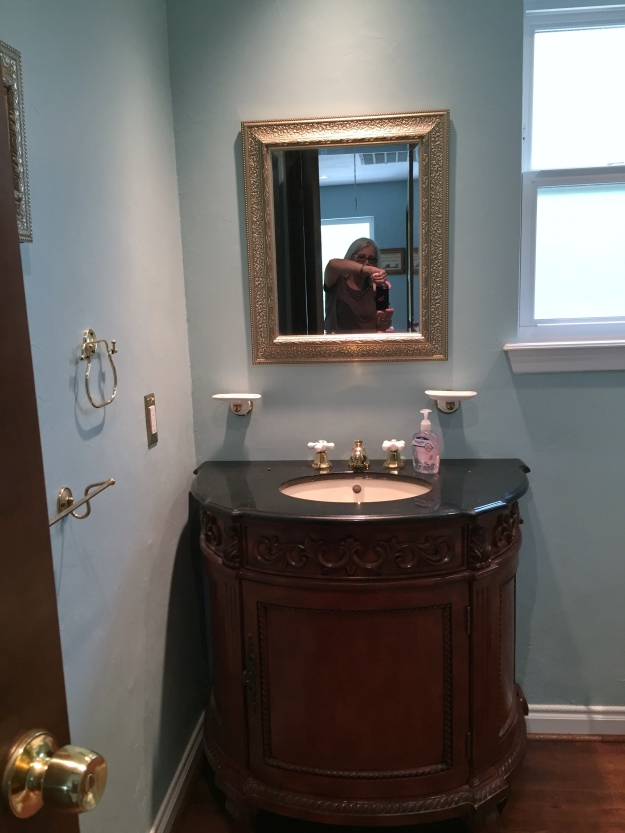
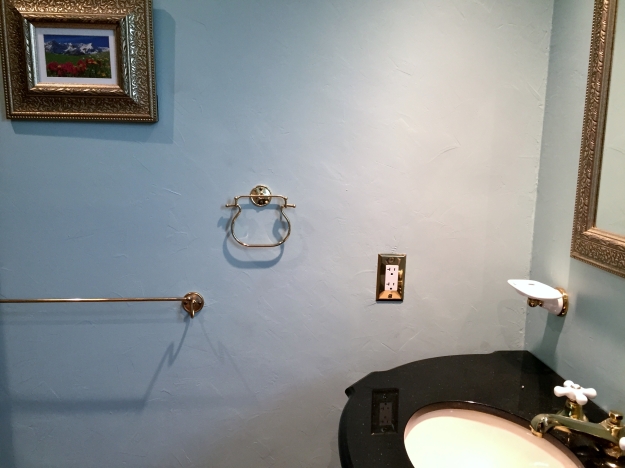
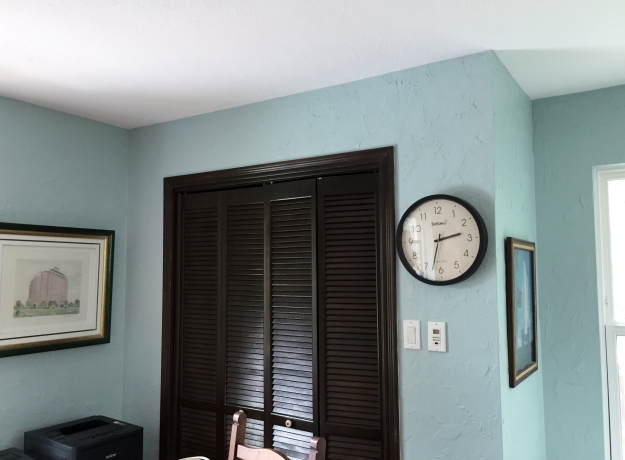
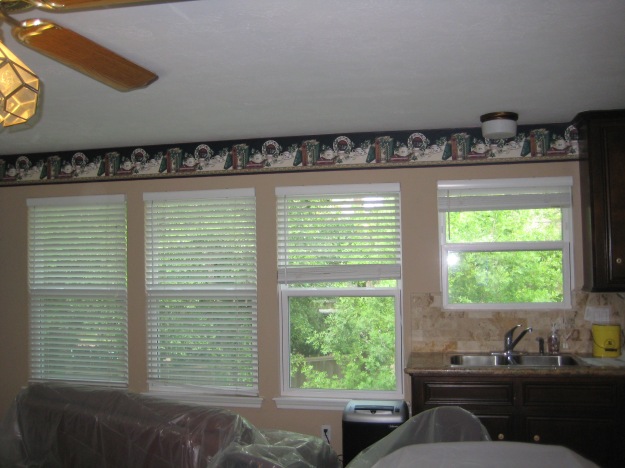
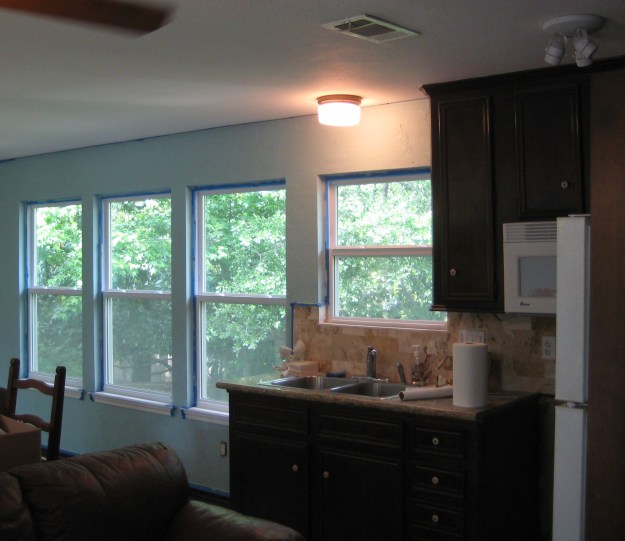
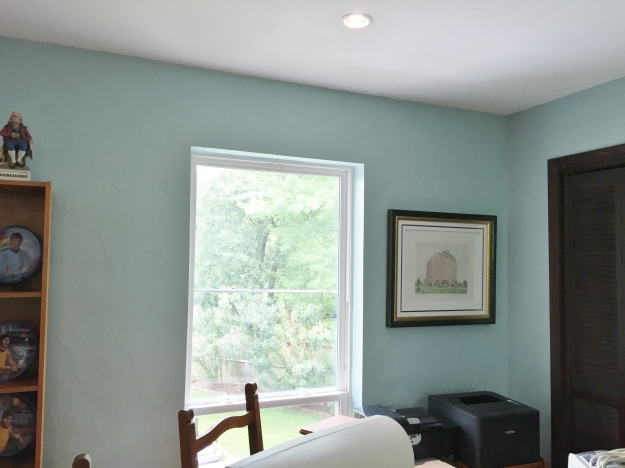
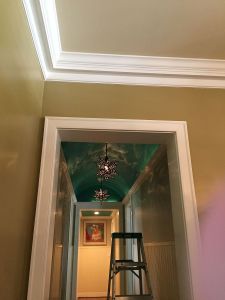
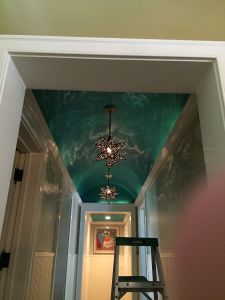
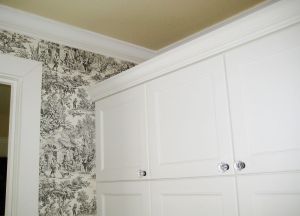
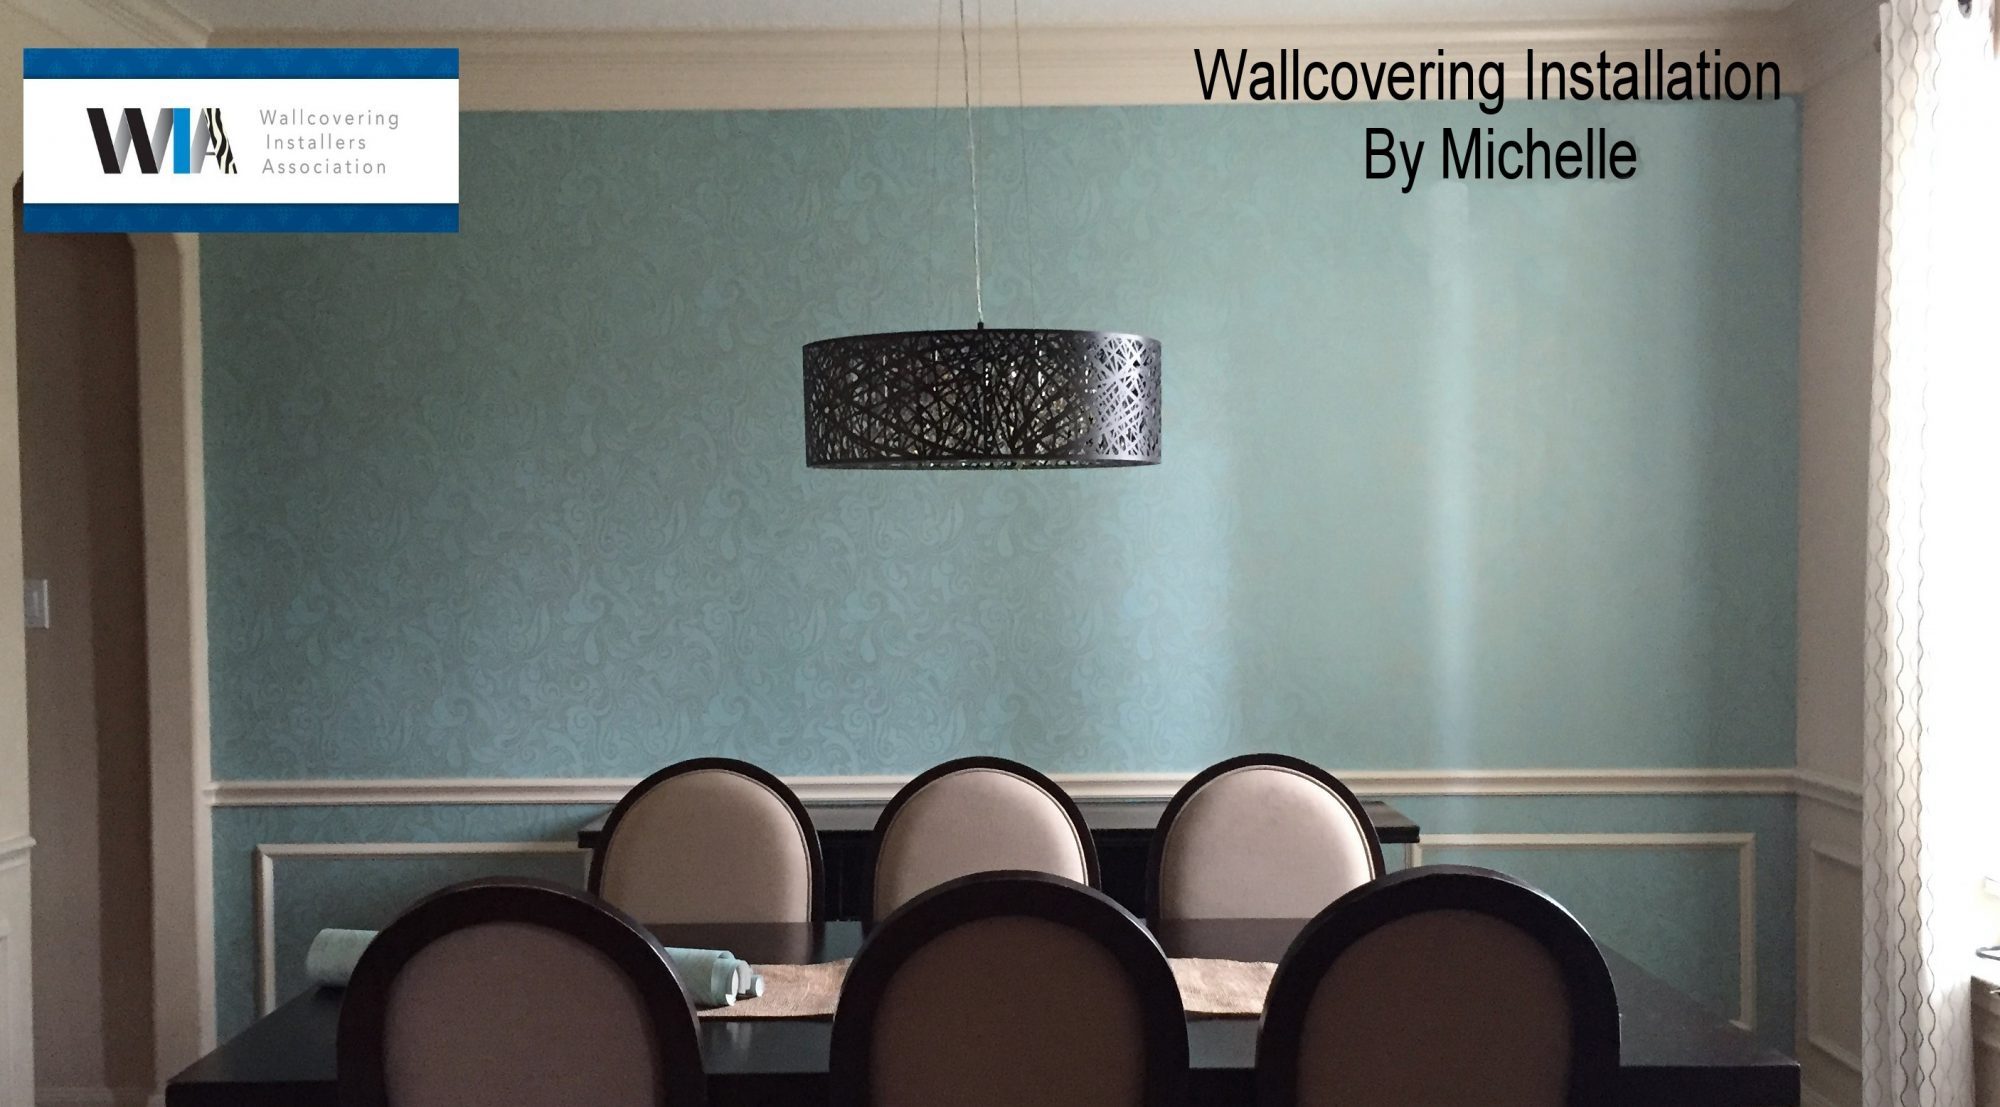
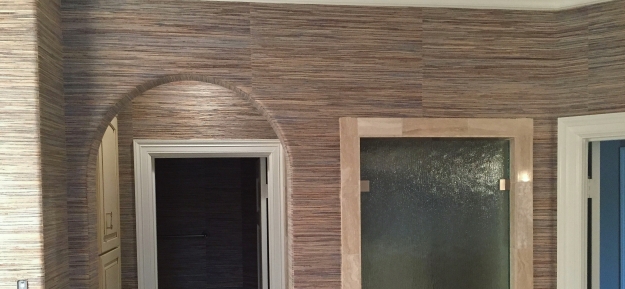
The main target was to tie the master bath in with the bird’s-egg-blue that was a main color in the master bedroom. I am a little disappointed these photos of the completed job do not show that blue very well – even so, the character and warmth of the material made this area look amazing.
.
I have to admit this was also the most challenging job I have done in some time.
Here is a list of a few of those challenges:
1. Getting adhesive on the front of this particular material can stain it, so working clean, with dry hands, is a necessity.
2. Even after pasting the material and letting it sit to relax, it was too stiff to bend.
3. ~This also means it was difficult to cut.
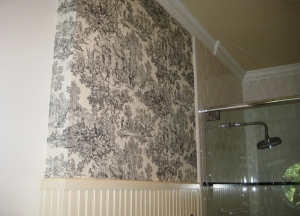
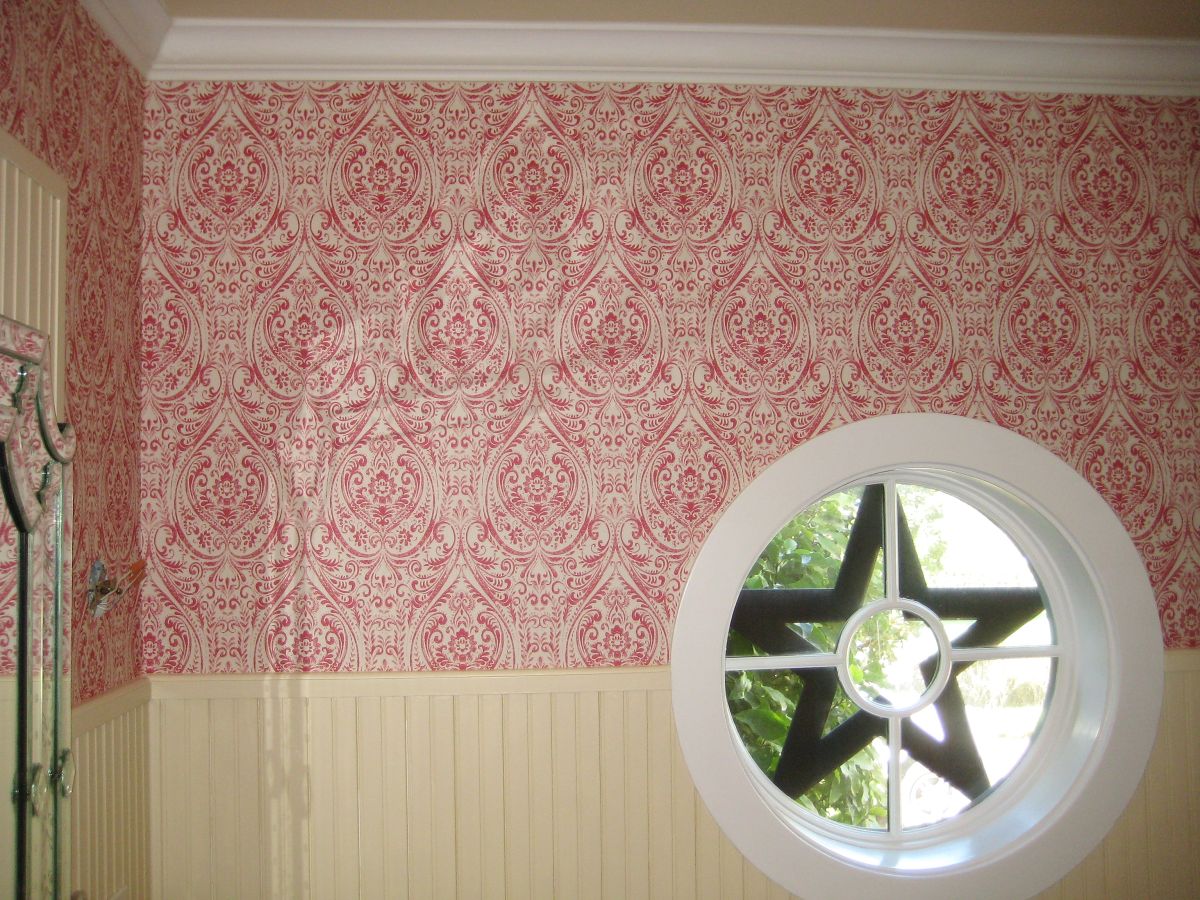
4. Templates had to be made for the pieces that went around the trim at the windows.
5. Engineering the layout of the material for the three areas was time consuming.
6. Because it is made of grasses, bamboo, sisal etc, shading is to be expected.
This is referred to as ‘paneling’ by designers and installers.
Some natural materials ‘panel’ more than others, but it is not a flaw at all.
People love grasscloth for the inherent natural beauty of the product and choose it for the distinct beauty of a natural textured wallcovering, which can not be replicated with manmade materials.
The Biggest Challenge:
7. There were nine (9) bullnose corners, and an arched doorway: See number 2.
…The rattan and bamboo in the “grasscloth” would NOT bend, let alone bend and stay adhered to the rounded edges and corners.
Determination, my magic wand, and a few [mild] expletives, helped me make this job a success! 😉

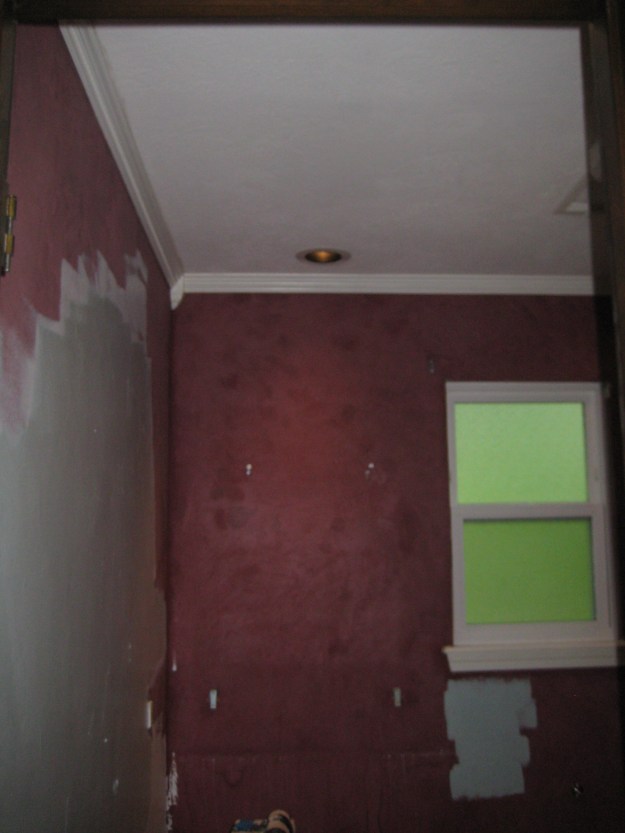
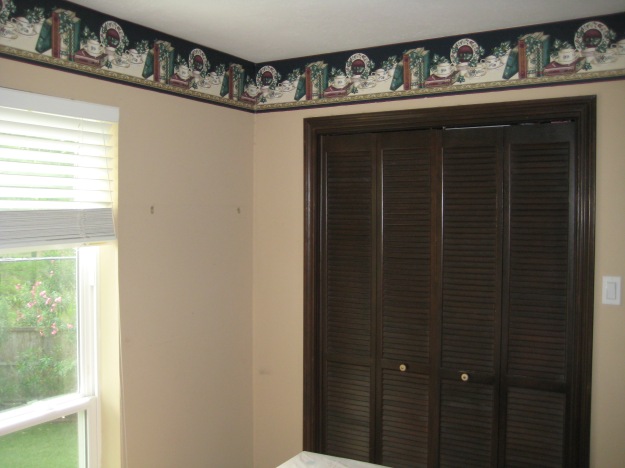
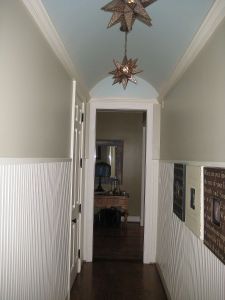
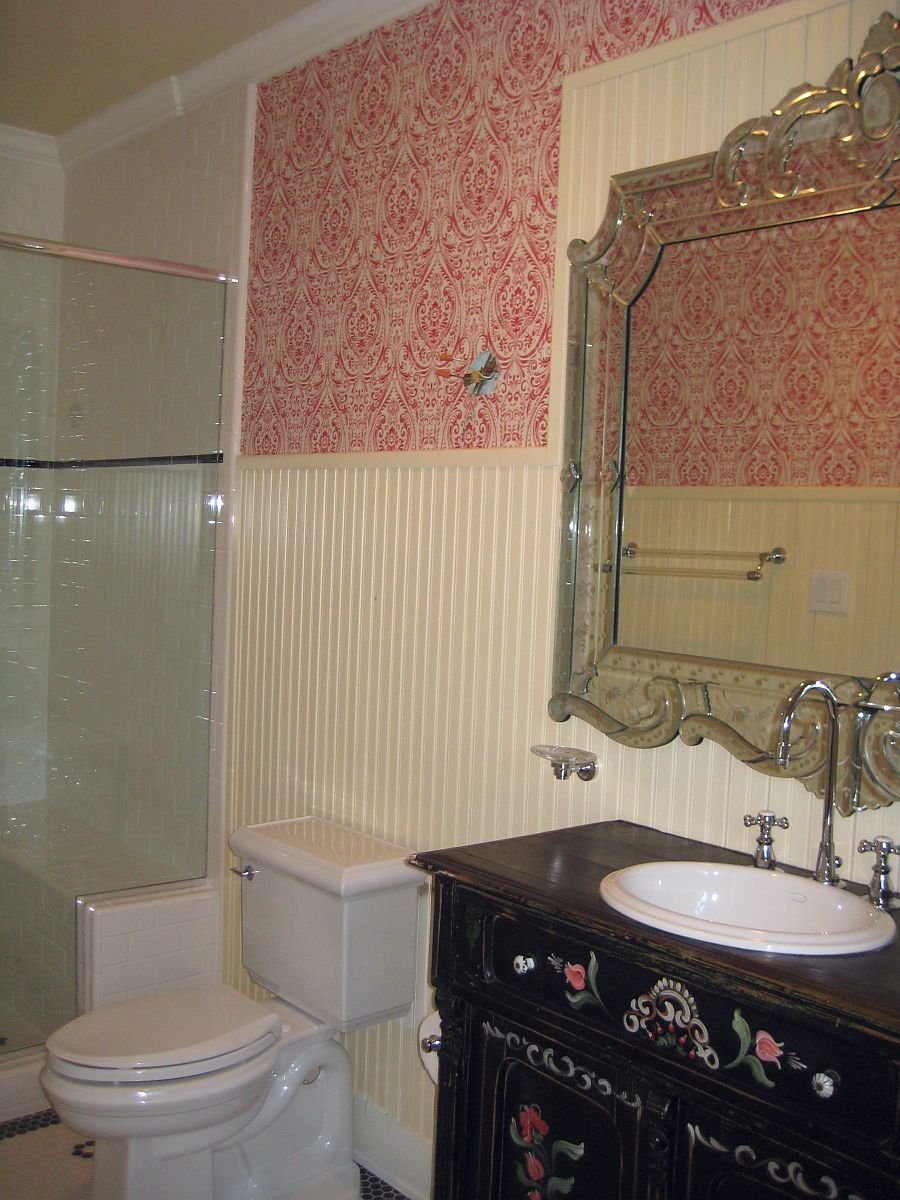
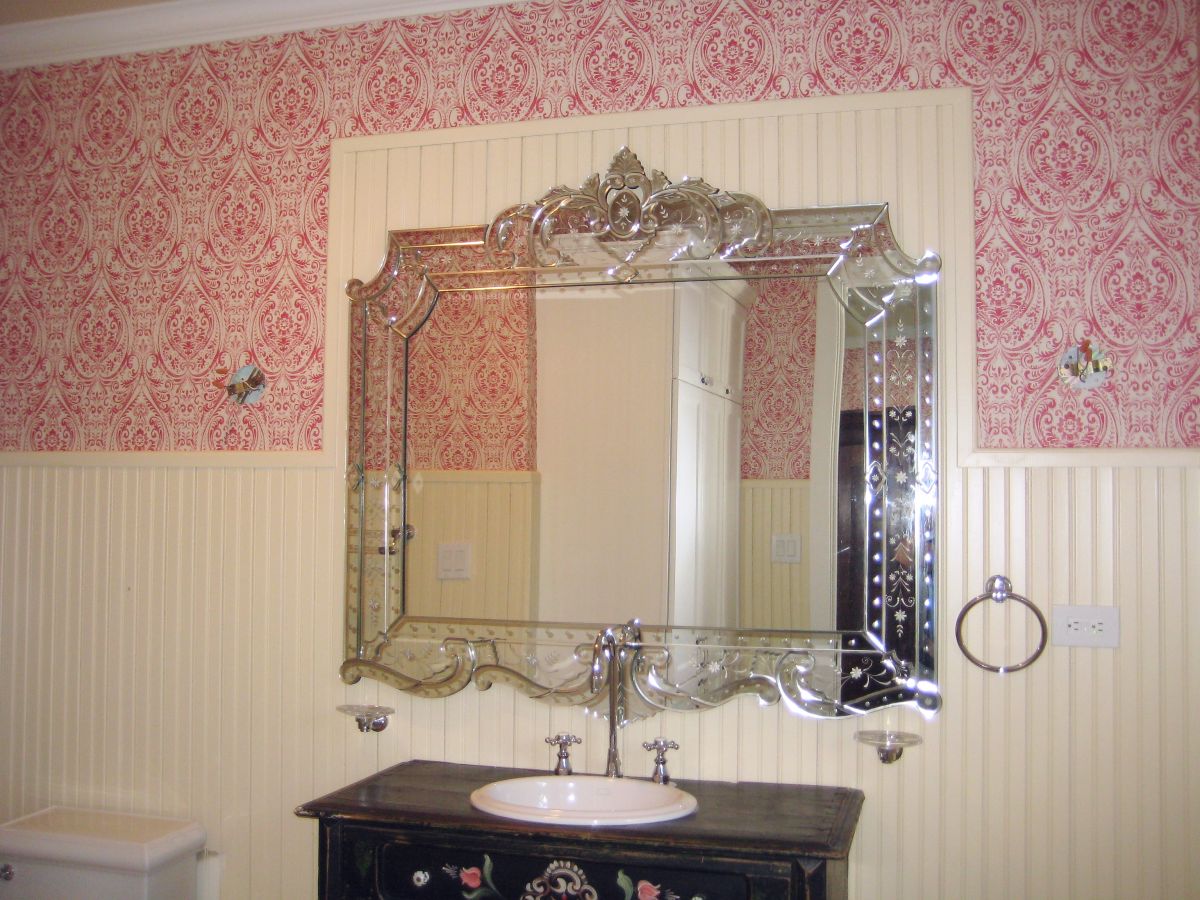
BEFORE AFTER
*As a footnote I want to add that the homeowner experimented, then used a protective spray on this material where her towels may touch the walls. It is totally undetectable.
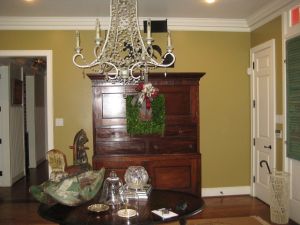
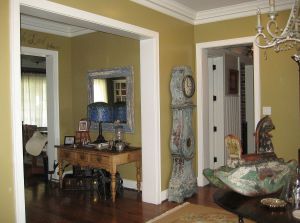
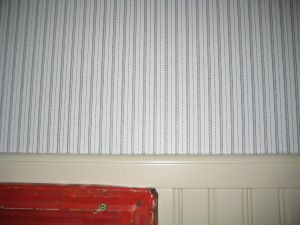
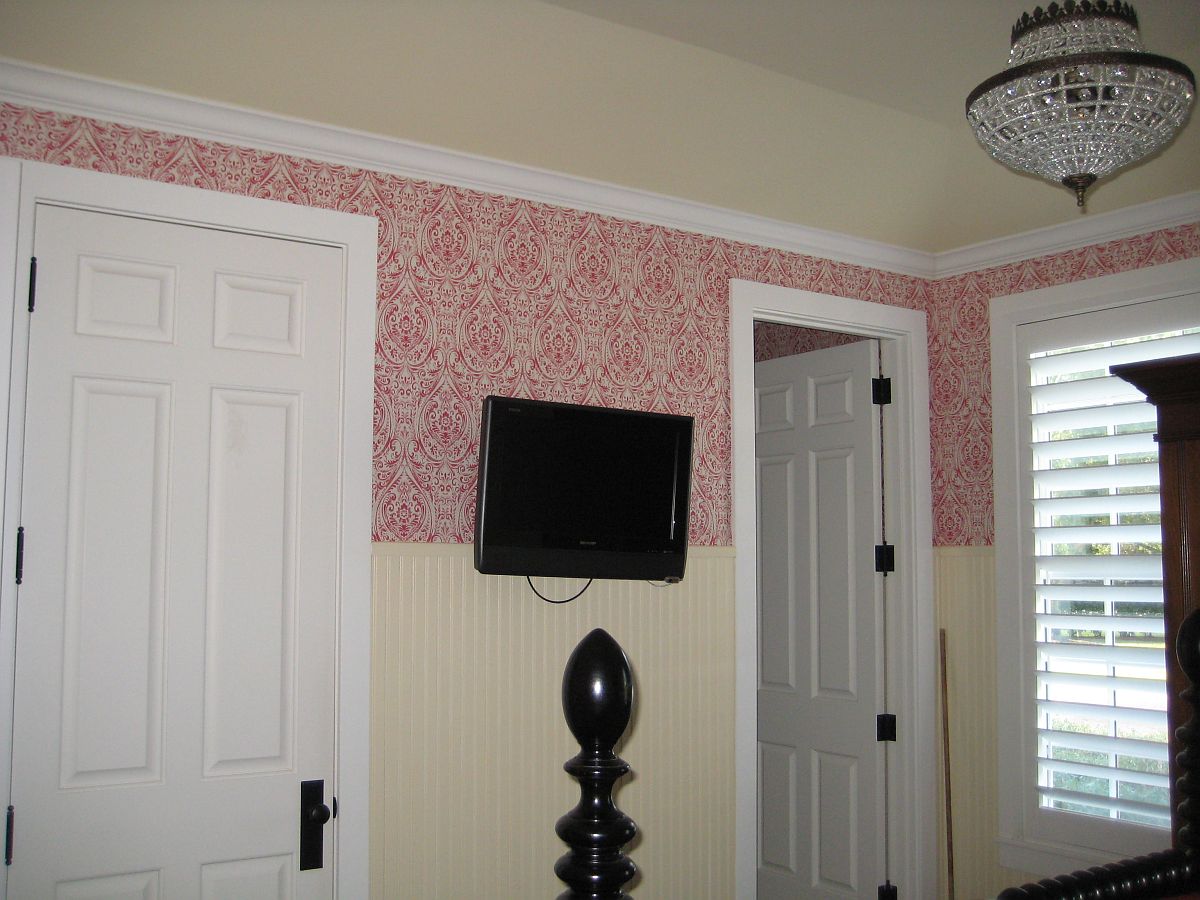
 BEFORE
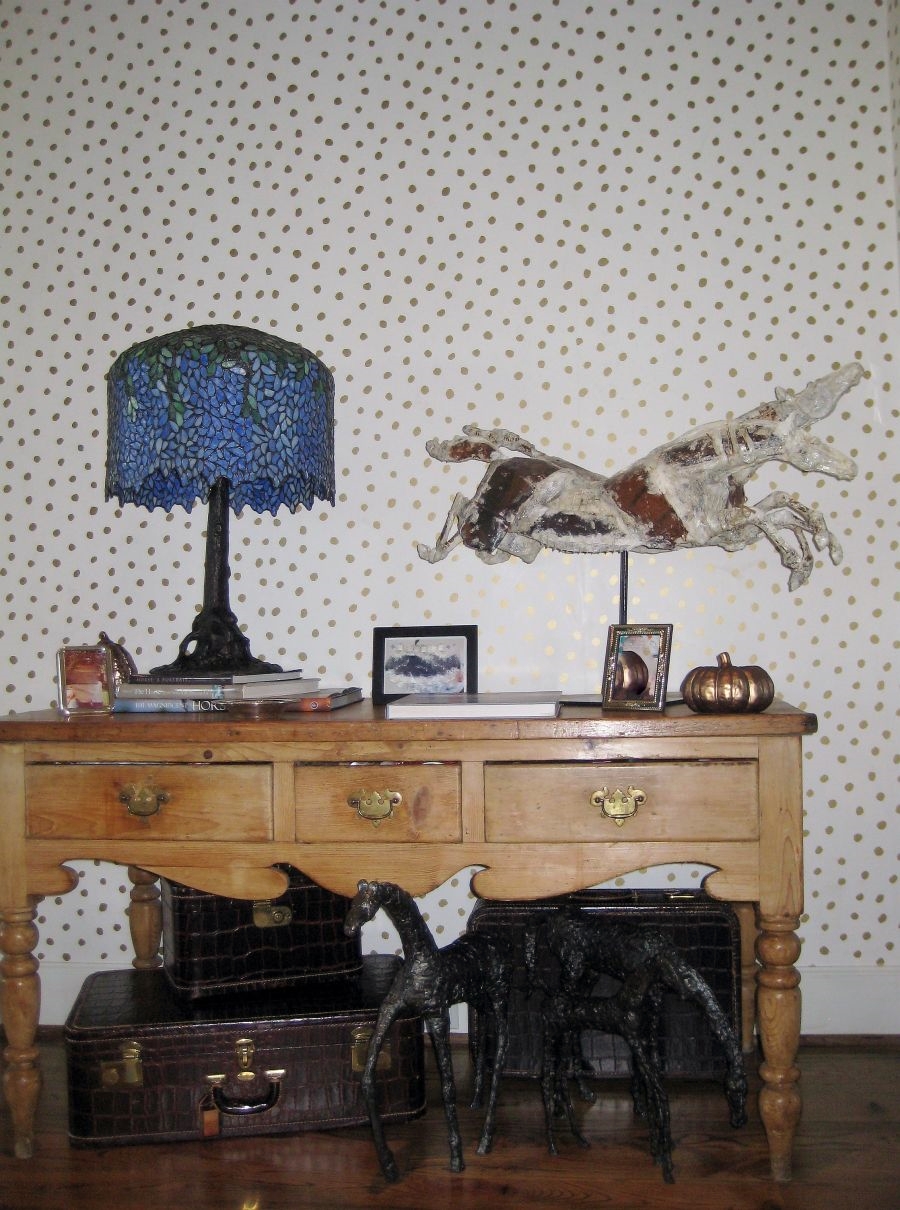
 AFTER
AFTER


My colleagues will understand 🙂