Tag Archives: houston paperhangers

Remodel of Previous Posted Job Is Complete

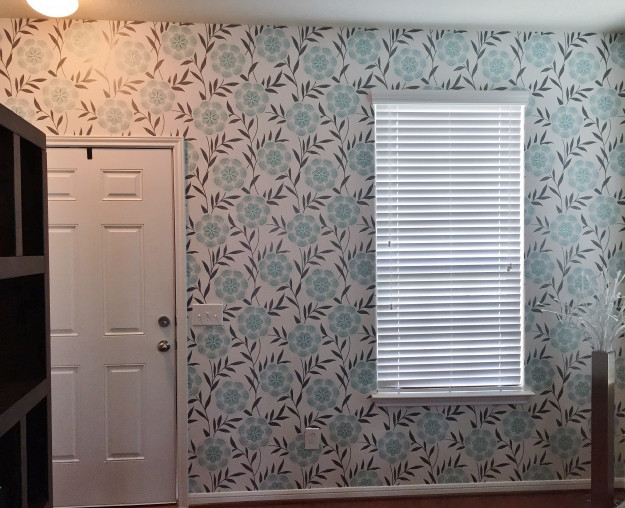
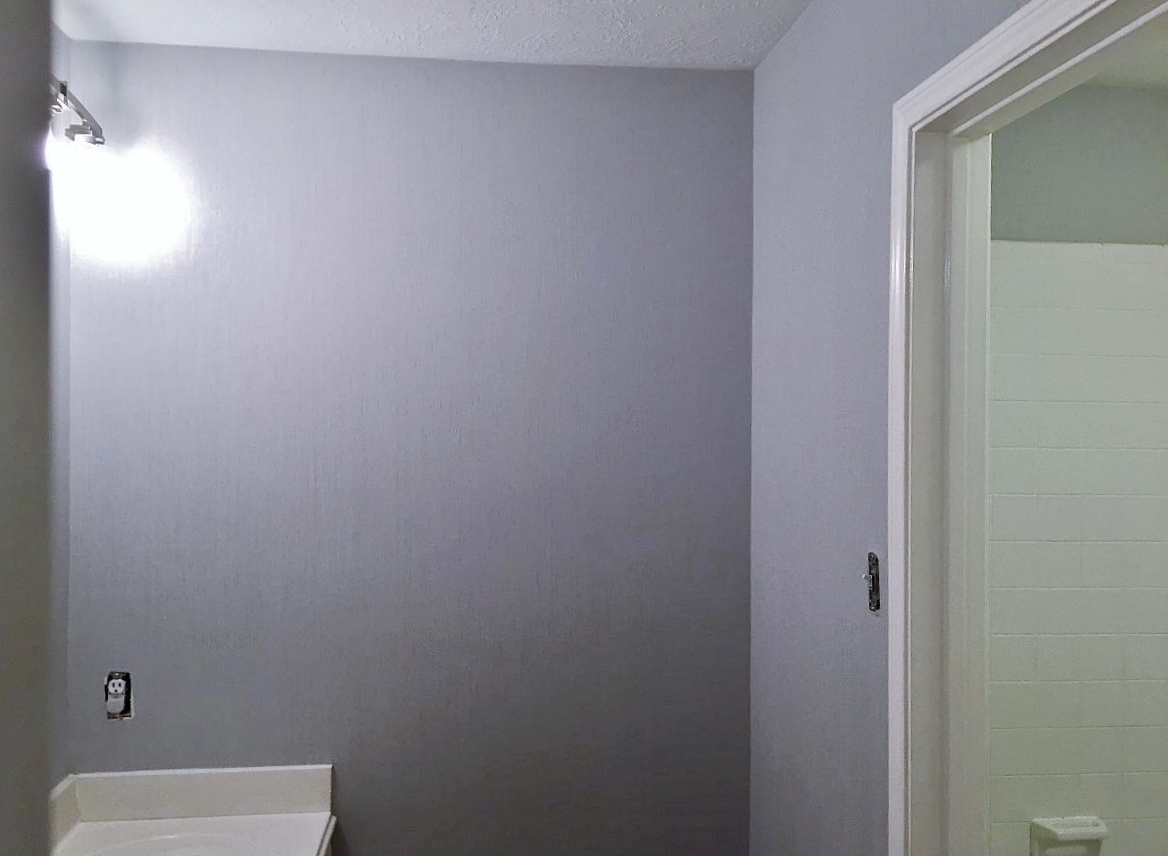
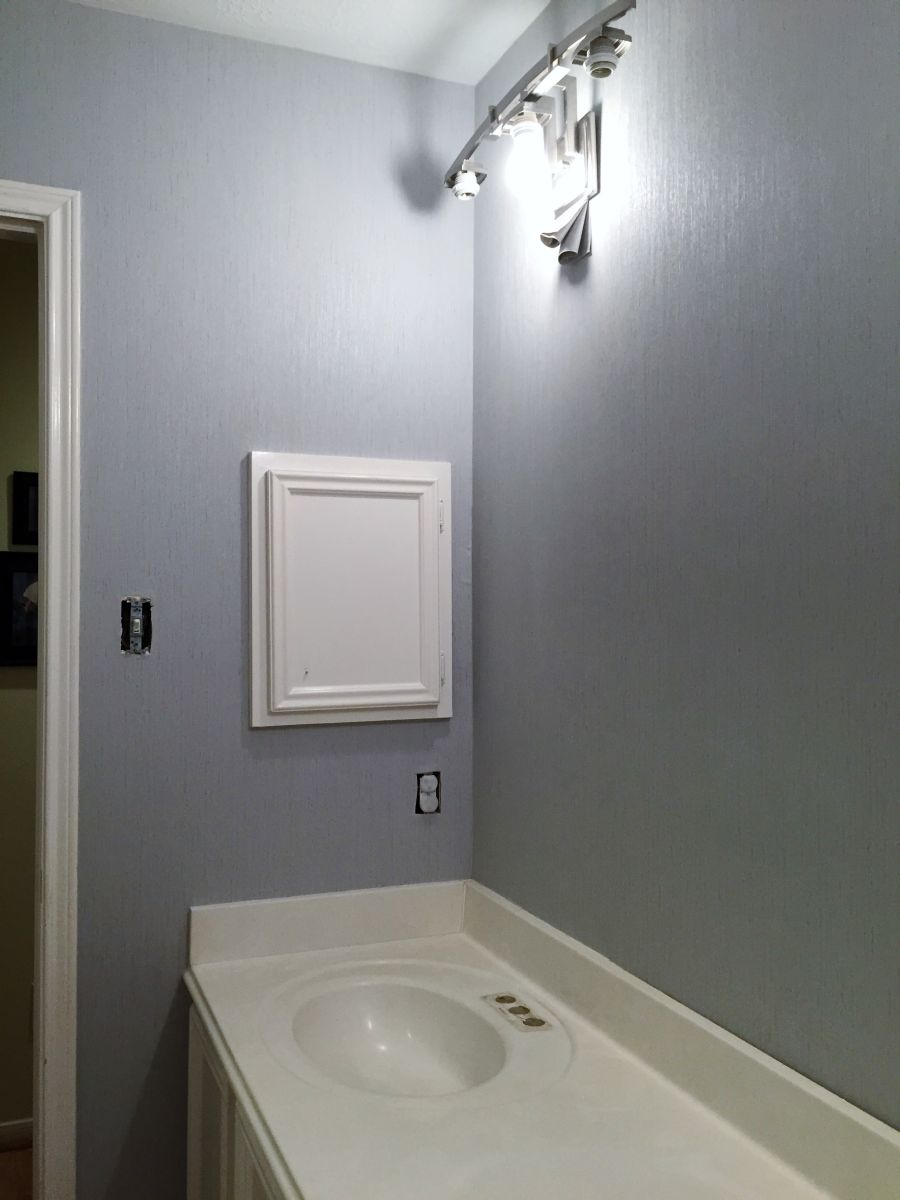
Gray paint, black granite and glass tiles give stunning results to this bathroom update. These photos were taken when I went back to repair several areas and replace some of the paper on a job I had previously posted here on my Blog.

The homeowners were aware the paper should go up last but were not sure when, or if they were going to change out the tile and countertop. Because of this I did make sure they ordered slightly more paper than needed.

So a few weeks later I got a call. It seems like they decided to change the tile and the counter right after I installed the paper 🙂

When I walked back into this bathroom I was in awe at the difference!
I love the color they painted the cabinets…LOVE the glass tile, and…well, just everything!
It is a remarkable change for such a small space.
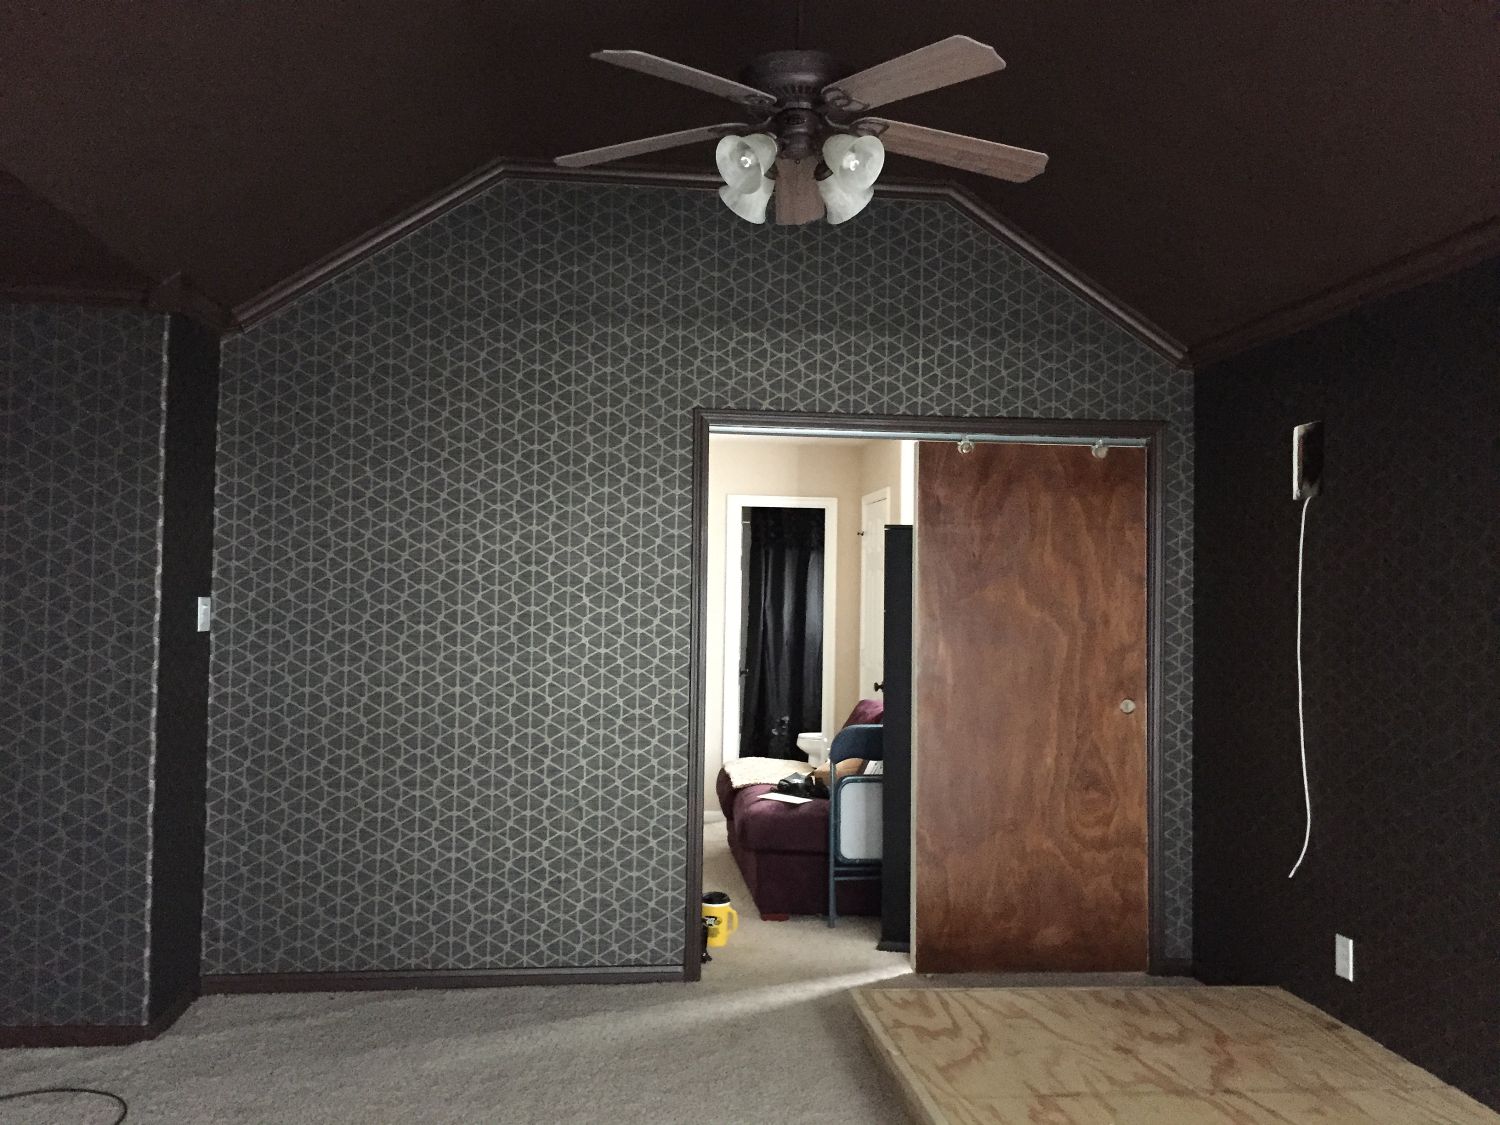
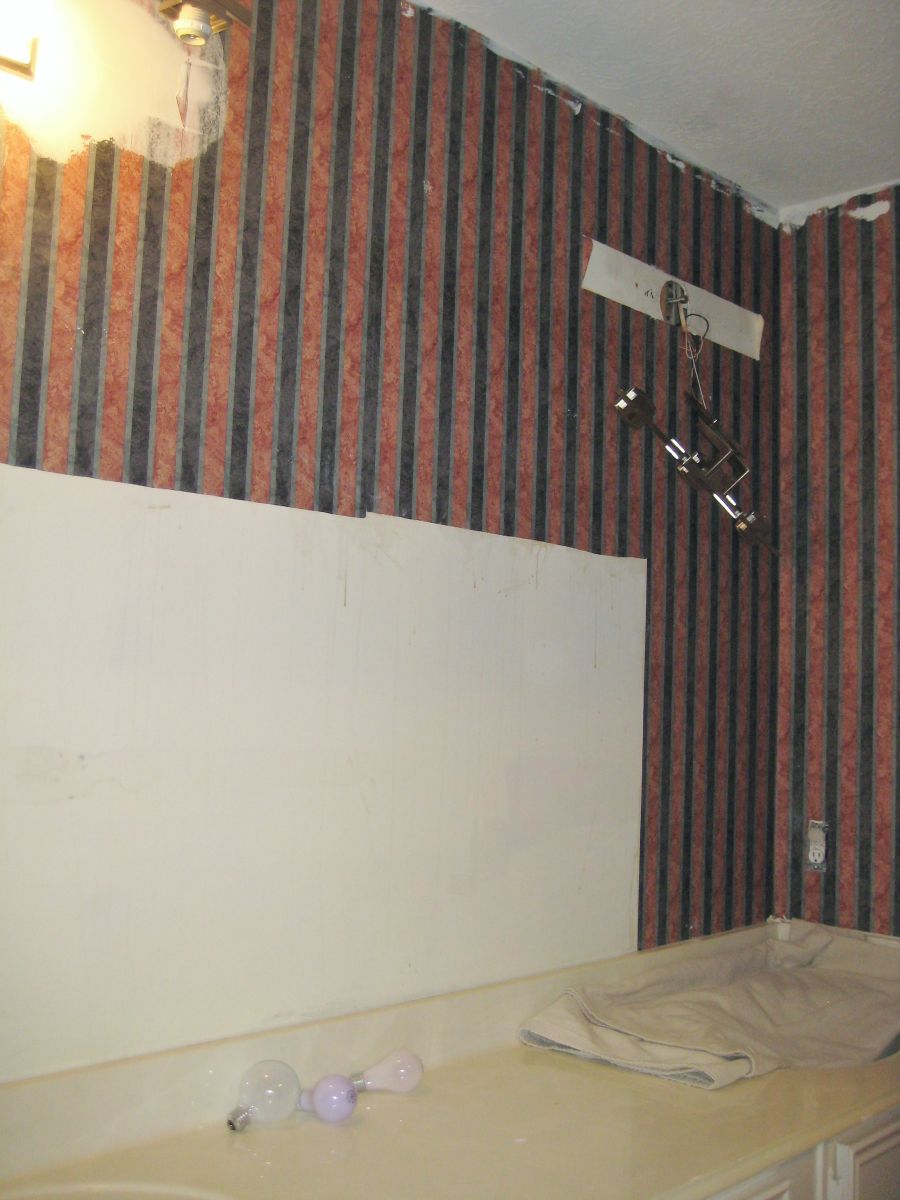
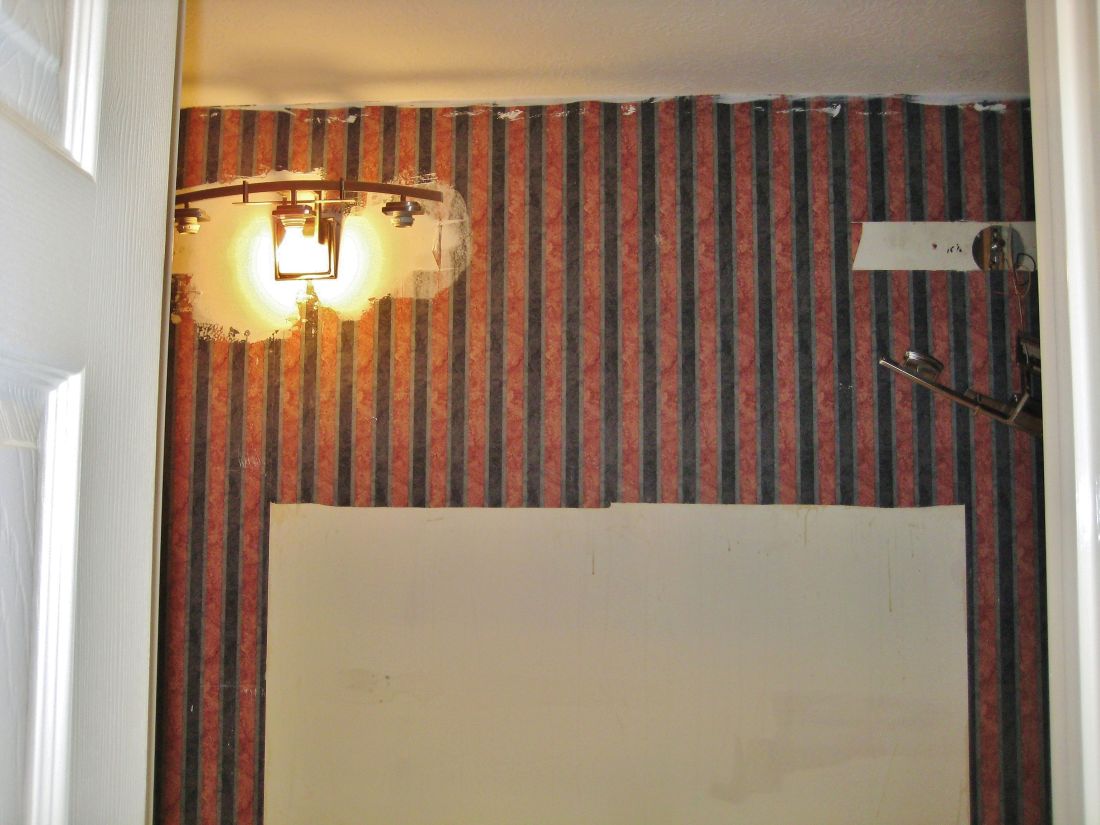
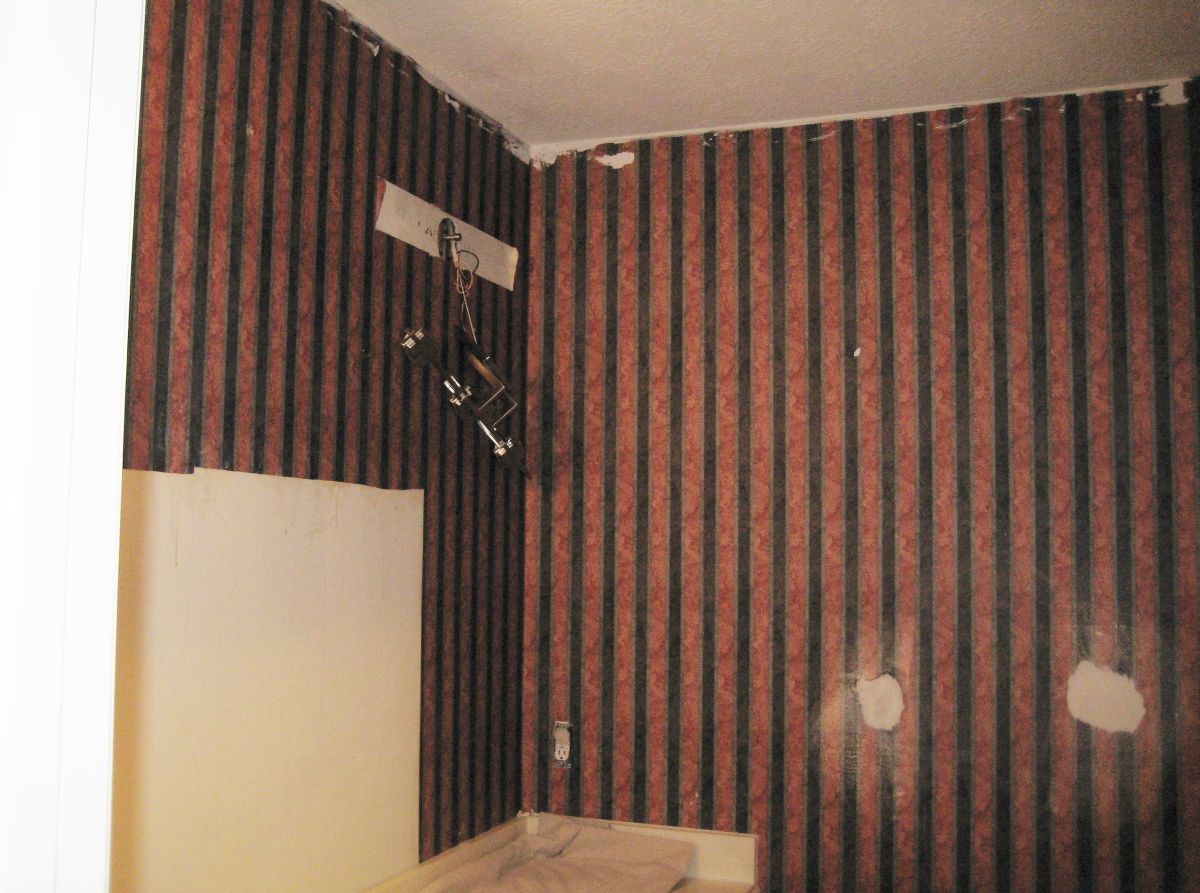
Check out the before photos by clicking on the link below.
You will see the original paper ~ and then this paper, but it was definitely not this gorgeous!

To get to the original ‘before’ post, click on the underlined heading below.

From Dark Stripes to A Light Grey Hall Bath

Let me know what YOU think!
Until next time,
Michelle


Contemporary ‘Flora Teal’ Wallpaper by Graham & Brown

Suddenly Color!
by ‘Wallcovering Installation By Michelle’

Flora Teal, a Graham & Brown wallpaper, really brightened up this living area.
The whole room is very happy!
First photo below is the room before I started.
I am hoping the homeowner sends a few pictures so I can show the room all put back together!


Den_BsJob4

DeniseB (31)

I have been a professional paperhanger in the Houston and Cypress, Texas areas for several decades. I learned my craft as an apprentice. I was taught by two very skilled ‘wallpaper ladies’ who were perfectionists. They asked, and expected, no less of me. I am a proud member of the Wallcovering Installers Association which allows me to keep up with the latest products, techniques and wallcovering materials. It is an ever changing industry and, like anything else, being professional means I must stay informed. You can trust me to install your material like I was working in my own home. I am neat, honest, conscientious, and truly enjoy what I do for a living.

Photo Mural Repair

This mural in a local pizza business was damaged and needed either to be replaced or repaired, if possible.
You can judge for yourself how the repair worked out. The first two photos show some of the damage. I removed a 3/4 inch strip of the loose material, then touched up areas to bring it back as close to it’s original state as possible.


This slideshow requires JavaScript.


More ‘Old World’ Walls

I have added a couple of areas to a job I worked on previously. This job is a work in progress and done for one of my favorite customers! – I have been very fortunate to have the most amazing clients in my career, so actually ALL my customers are my favorite 🙂

The rustic Mediterranean finish was achieved by heavily layering a faux plaster mix on the walls, then washing color on it to simulate aged stucco. At a later date, I will be painting grape vines above the arches and trail them down the sides. I can’t wait to see this space when it’s completed!

Until next time, have an awesome day.

Michelle

This slideshow requires JavaScript.

‘Hip Hop Grill’ 54″ Vinyl In A Theater Room

All of the walls were textured heavily, and painted, which required lots of priming and floating. The material is a heavy type ll commercial grade vinyl. It comes in 54” wide bolts and is sold by the yard. A 30 yard bolt is usually the largest size packaged at once. If you need 45 yards you would be sent a 30 yard and a 15 yard bolt. However they are not only wide but fairly heavy, making it difficult to handle. Normally you have to overlap the edges and, in this case, match it up precisely, then cut away the excess and make sure the seams go together without showing. To make it a bit more challenging, the instructions called for reversing each strip. Because it’s a geometric pattern I had other challenges as well. Of course there is much more to it which is why a professional installer is mandatory.

To sum it all up: my client’s theater room looks amazing and this pattern will be relevant for years to come.

Latasha and Tim if you read this I want you to know all my wallcovering friends really liked this material and the way your room turned out. Great choice!

I loved working for you – thanks for making my job a joy.

1 HipHop 14 1 HipHop 13 1 HipHop 15 1 HipHop 10 1 HipHop 8

The wall below is the one that was added to transform the room from an open game room into a theater room. If I can get pictures once the room is completed I will add them to my Blog at that time.

The furniture was moved out into the hall.

*The furniture was moved out into the hall to make it easier for me to get around and set up my equipment. .

From Dark Stripes to A Light Grey Hall Bath

This was a fairly straight-forward paper to hang. The stripe was previously installed in the sink area along with the faux finish blue which had been hung in the tub area.. I soon got rid of those! Having both areas done in the same paper makes the bathroom look larger and less chopped up.

The updated look is very nice and gives this bathroom a totally different, more contemporary feel.

Material Information: Graham & Brown, Mercutio Plain – Grey

My clients were sooo nice….they even gave me fresh ground coffee to take home 🙂

BEFORE:

small Joell 5    small Joell 7 small Joell 4   small Joell 6

AFTER:

(I had to place some folded material under the light fixture while the paper dried so the weight of the fixture did not mark the paper.)

GrayVinyl front small 0844  small 0843 small 0840 small 0834 small 0832

A Bright Contemporary Entryway

This Houston home was built in the late 1970’s and not one wall was straight. Some of the smaller areas were off by an inch from the bottom width of the wall, to top of the door frame, making a geometric pattern quite a challenge to hang. I did use a few ‘tricks’ to compensate where possible. Overall the room looks amazing. A great choice in wallpaper to match their grey, painted, wood paneling in the den.

Not shown: I also hung this same material in two bookcase areas in the den. One area held their TV and the other had shelves. It added a bit of pizzaz to the fireplace wall it was on and tied the whole look together giving an older home the face lift it needed for this young couple.

Info: Thibaut wallcovering pattern named ‘Ikat’. Shown here in the grey and white colorway.

You can reach me at: Paperhnger@aol.com  (Yes, their is an ‘a’ missing)

IMG_4423    2015-07-31 004  IMG_4420    IMG_4417

Mural Surrounded with Faux Weathered Plaster

This entryway went from ordinary painted walls to a

stunning masterpiece with an Old World feel!

The hand of God reaching out to Adam’s – (from Michelangelo’s ‘Creation of Adam’) is the centerpiece of the stairway wall. Surrounding it is a faux weathered Venetian style plaster. It was troweled on a bit more heavily than usual so we could see the depth of the plaster. 

A few days and many processes and applications later the area is no longer a generic entryway! The results were quite spectacular – extending around the corners, up over a doorway, then down the other side – framing out the entrance into the living area.  Unfortunately these photos do not show the depth of character and actual texture of the plaster. The overall appearance here is muted.

This room is definitely something that needs to be seen and experienced in person.

Questions? Need to schedule a consultation? You can scroll to the bottom of this post to contact me!

***Here is some of the finished area, but see below for more of the process***

IMG_0319


First, center, and prepare wall area for the mural.IMG_0288

Beginning to apply first layer of the ‘plaster’ IMG_0292

IMG_0296


IMG_4119

Above:  One of several applications of paint, glaze or sealer.

Below: Notice that I applied the faux material to the wall plug cover, painting it to match the wall.

IMG_0313


IMG_0314

If you look closely you will see the blue undertones that show through slightly around the outside of the mural area. I also added some cracks in the plaster in various places. These are sculpted into the plaster and painted.

More photos to come ~ In the meantime

Ciao,
Michelle
 

[contact-field label="Name" type="name" required="1"/][contact-field label="Email" type="email" required="1"/][contact-field label="Website" type="url"/][contact-field label="Comment" type="textarea" required="1"/]


Italian Mural Covered Art Niche

JD2a

I recently hung a canvas mural in an Art Niche and then painted two areas to complete it. There will be a wood frame going up all around this making it look like a wonderful Artwork! The homeowner is also putting a small accent spotlight on the little hall ceiling to light it up.

The art niche had to be floated smooth first, then wet sanded, primed and blankstock was hung. Next I began to plan the placement of the canvas. This was hung with a heavy duty clay based adhesive.

The top portion I painted on a primed canvas, sealed it, then installed it. The bottom, extended portion of the scene, I painted on-site.

This canvas mural was very wide (but not much taller than the space). It had to be cut down and centered without compromising any of the scene. This was difficult because there were other trees on the sides we thought should be included but had to remove them.

All’s well that ends well however!  It came out PERFECT!

JD5a     JD6a


JD7a                    JD3a

JD4a                              JD8a

JD9a

Once again please excuse my awful photography skills. We can’t be good at ‘EVERYTHING’ now can we?

Have a wonderful day ~

Michelle