Tag Archives: Houston paperhanger

Kitchen in Red – Brewster Wallcoverings ‘Kismet, Gypsy Red’

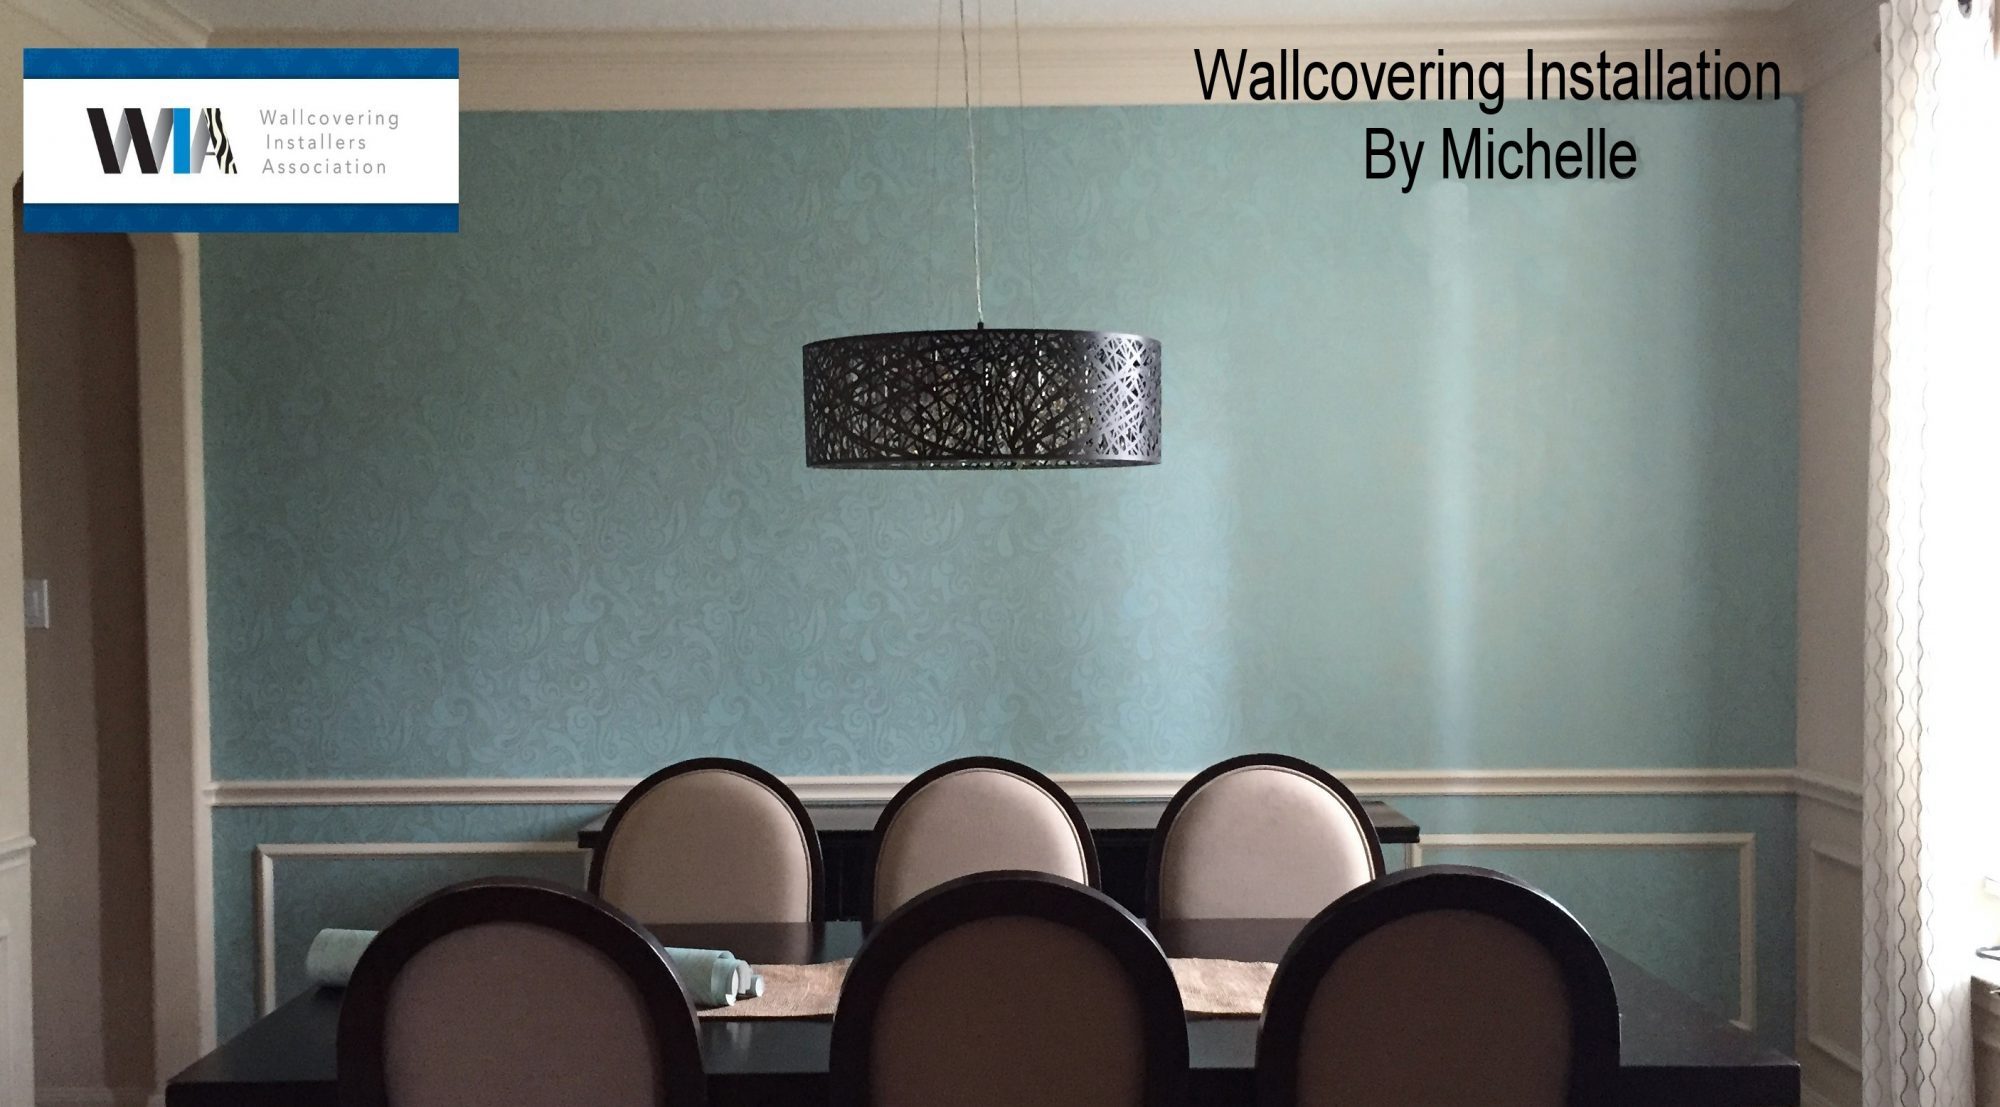
   This was a very cut up kitchen and breakfast area with many challenges, including a 16 foot high area that was difficult to get to. Of course, to me, it made the completed job even more satisfying! Don’t you think the final look is awesome?
    The Brewster wallcovering (Kismet pattern in gypsy red) made the bold, red island pop. The before photo show how unnoteable the walls were in brown taupe.
    The walls had five to six layers of wallcovering and backing papers on them.
In the kitchen area the top layer of paper was painted and textured with a semi gloss paint. This had to be stripped completely off. The breakfast area still had the previous wallcovering on the top and had been painted over below. Both had layers of backing paper beneath.
    After stripping the rooms, priming with a white primer, floating, then sanding – I hung a blankstock lining material to assure a smooth well adhered final installation.
Because of the difficulty (and my short stature) getting to the high area over the refrigerator, I had another member of the Wallcovering Installers Association help me hang that section. I want to thank Don Dye of Houston, Texas for that.

As for the adorable children’s artwork; I know it adds quite a bit to the room, however, I think the new wallpaper makes it stand out even more than it did with the plain walls.
Being a grandparent, I can appreciate that. 🙂
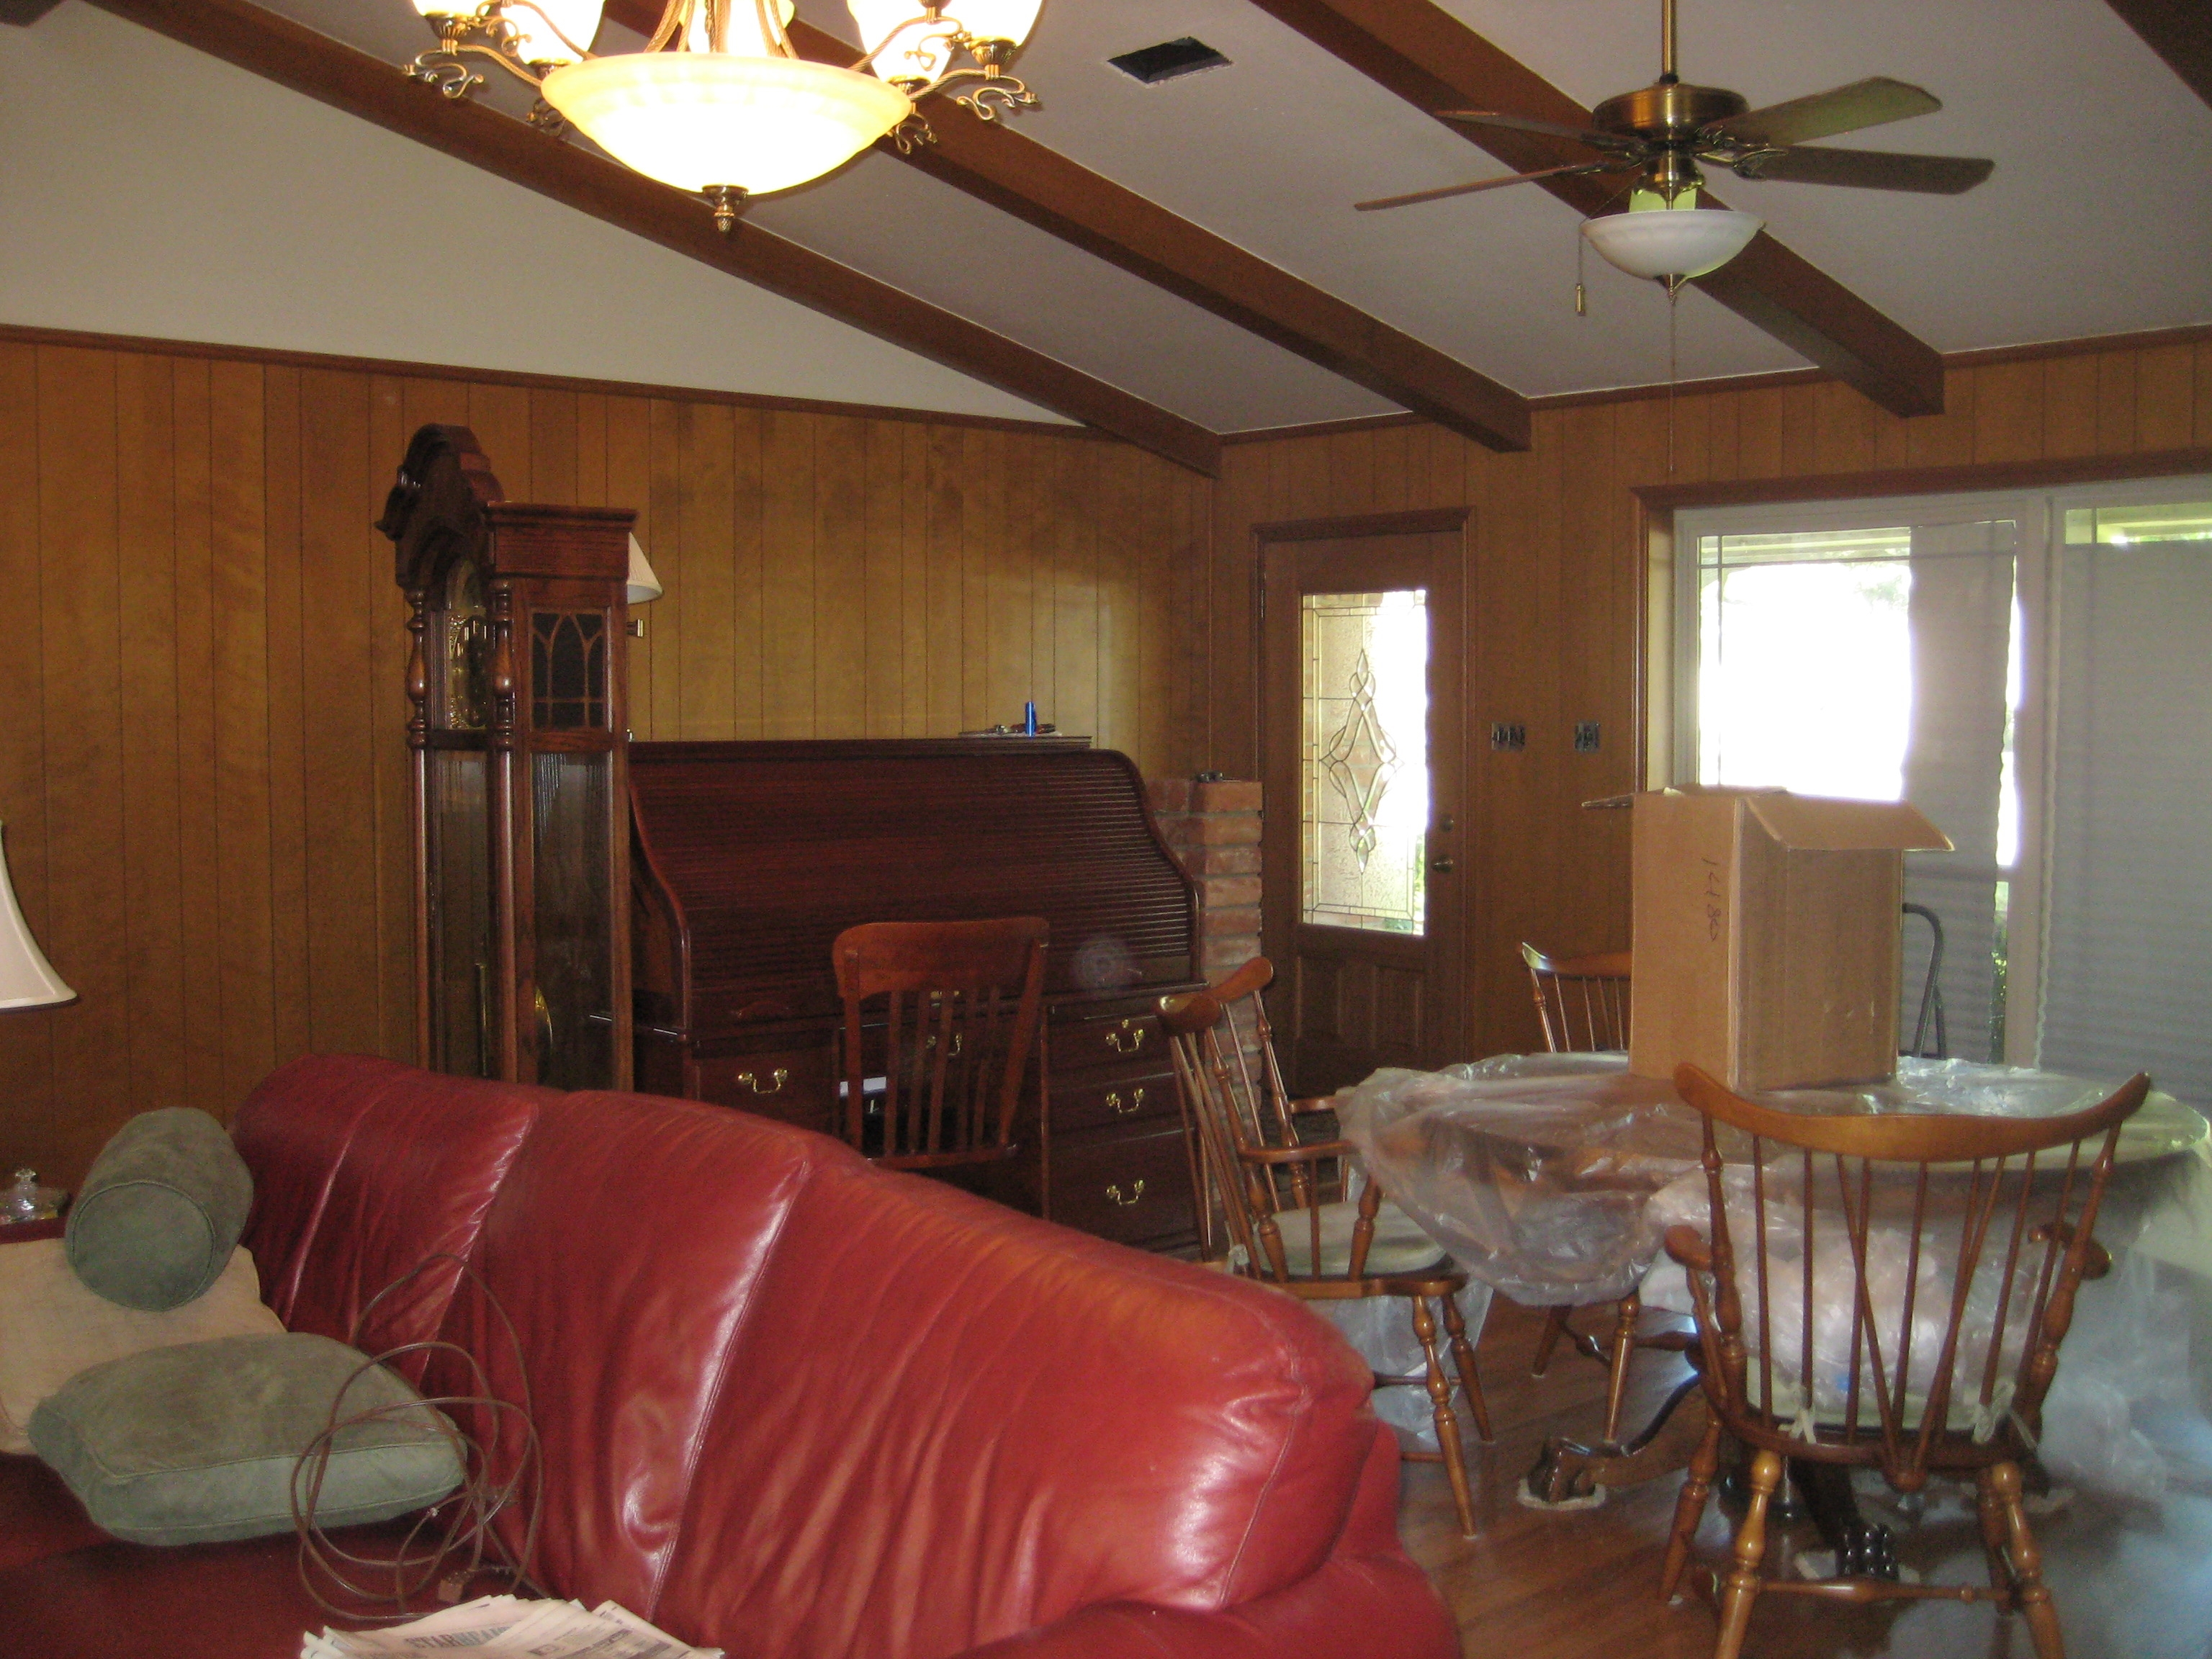
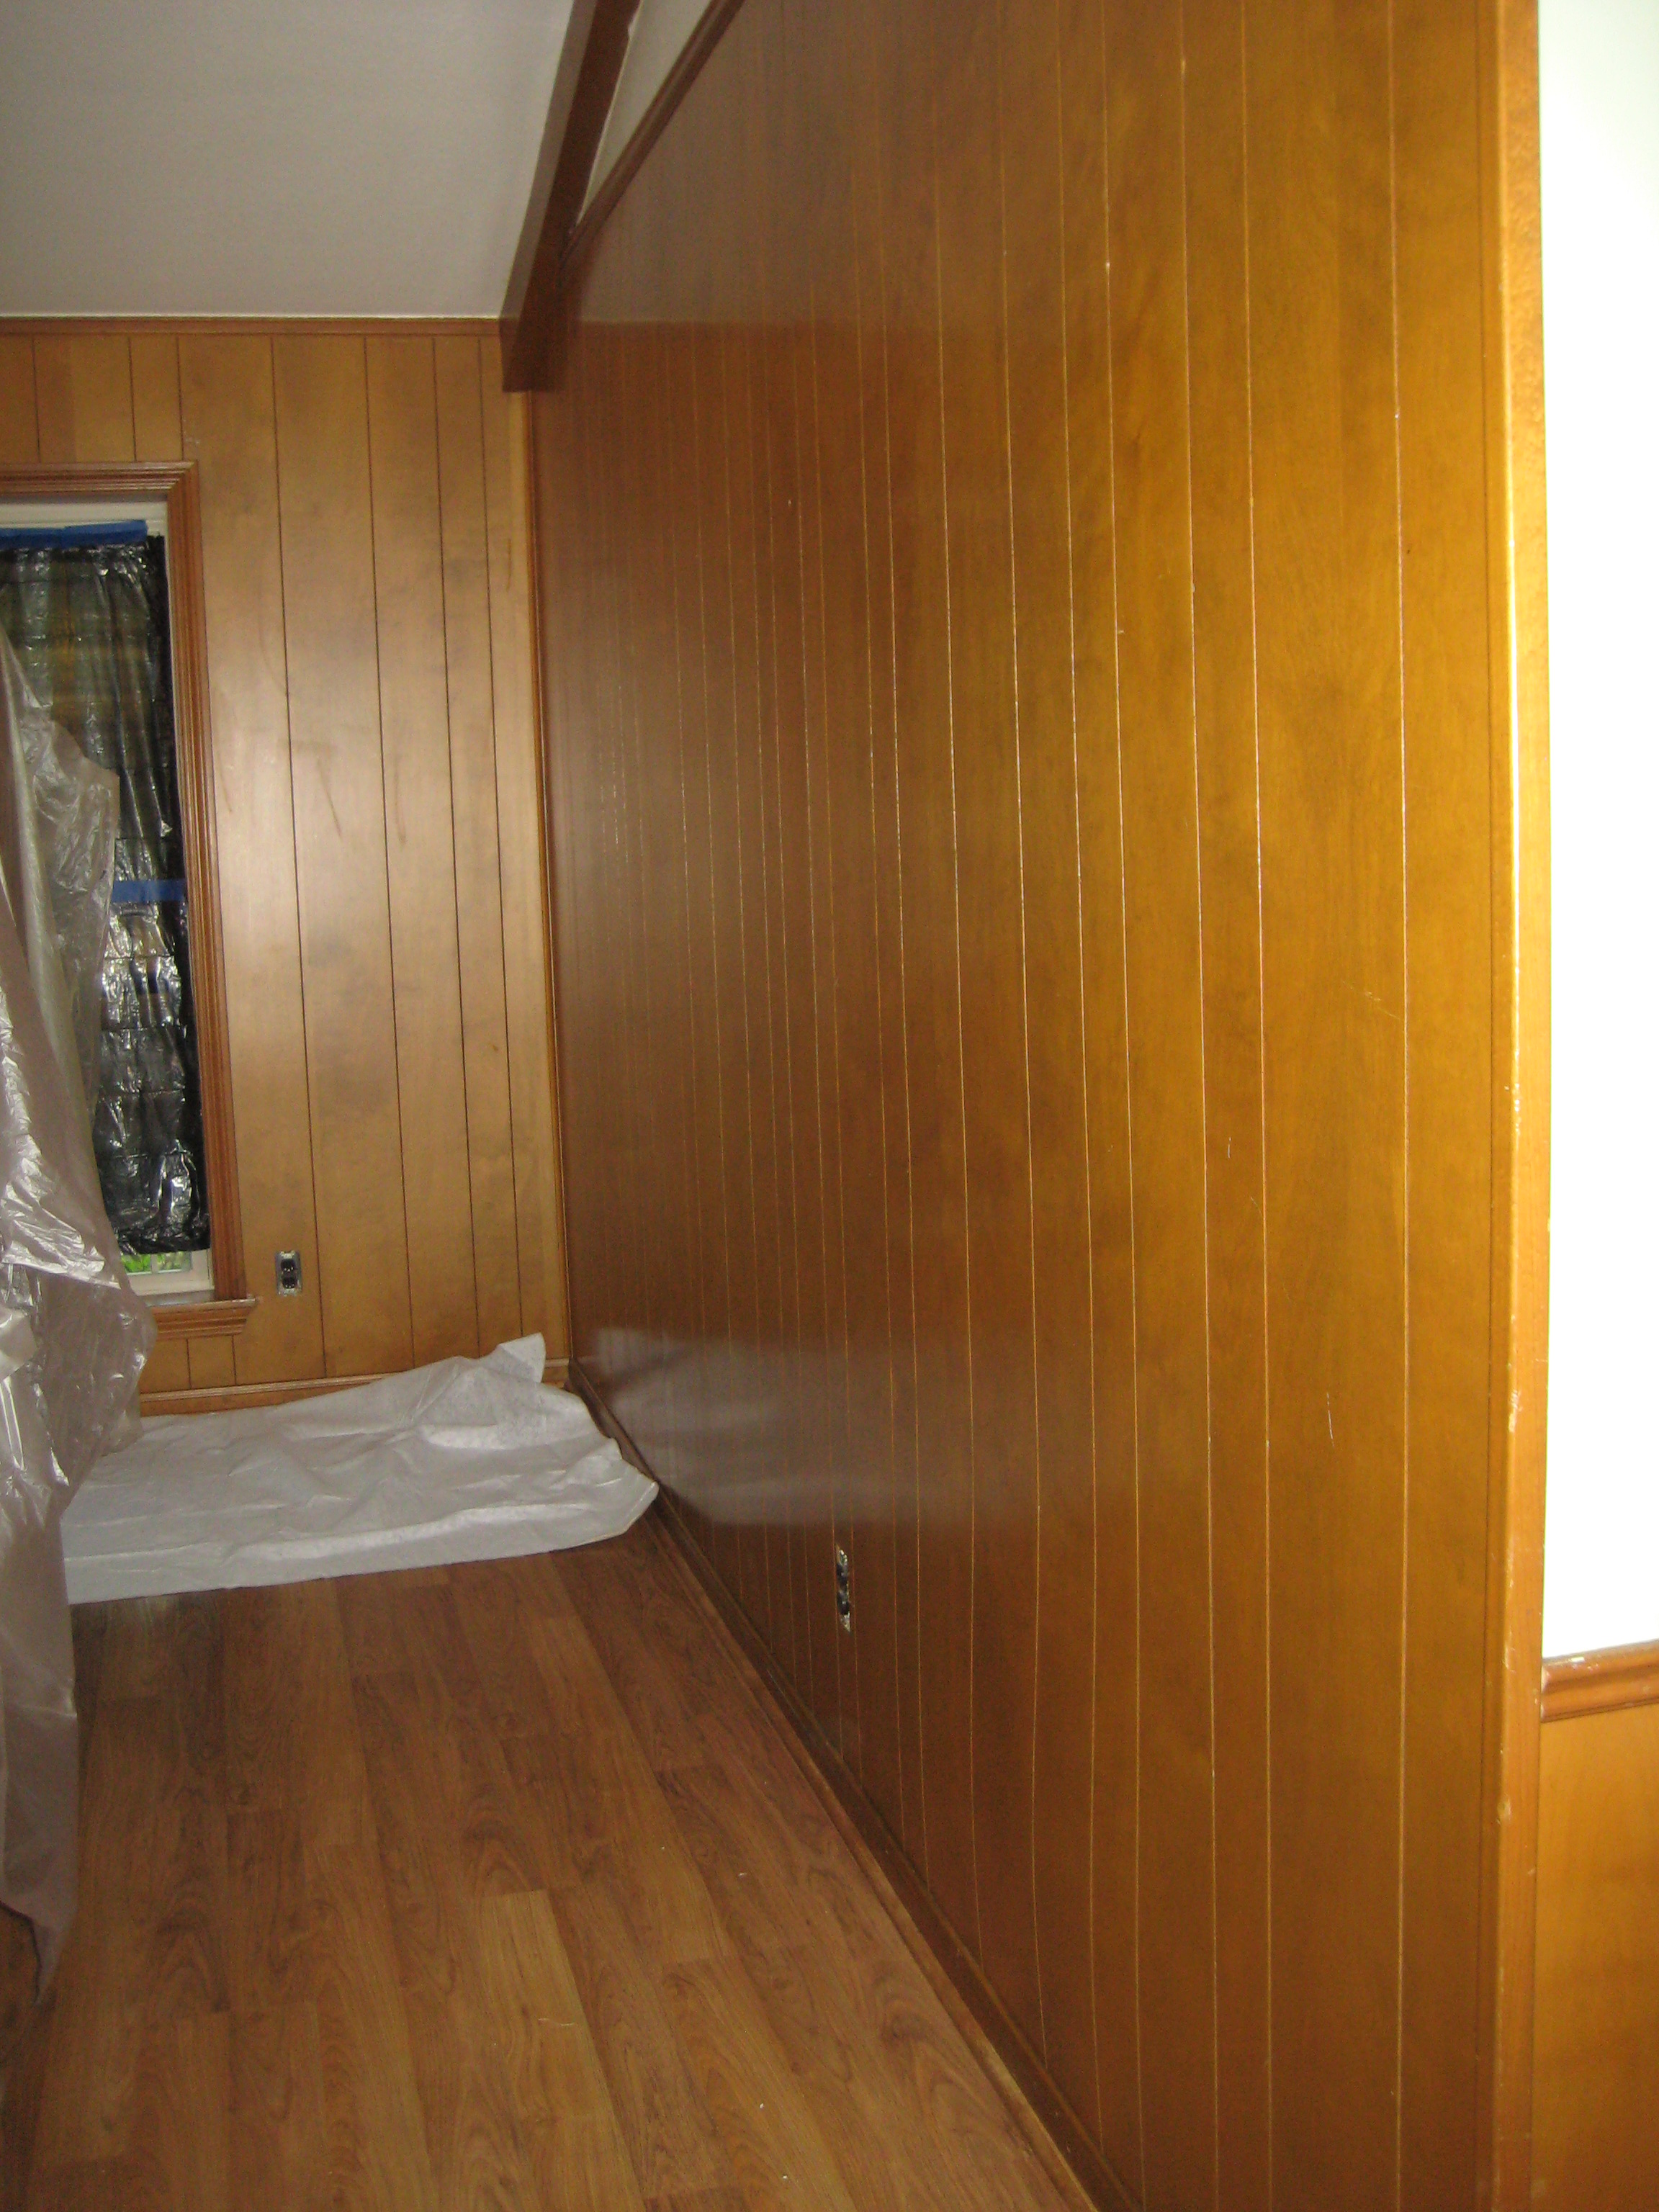
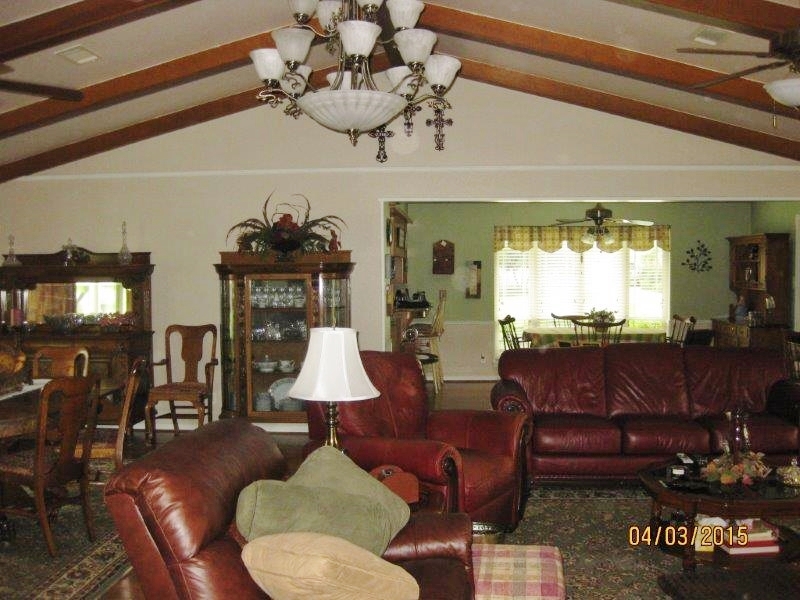
BEFORE:
ashro4
AFTER:

ashro5b

ashro5ab4-ashr6

ashro9ashro7

Breakfast Area BEFORE:

Breakfast Area AFTER:

ashro8


WallPaper & Faux Plaster Finish Combo


Part of the kitchen and breakfast area is shown above.

This home flooded and the floors and walls needed to be replaced, and/or repaired.
The kitchen wallpaper was the homeowner’s favorite and she really wanted to find the same thing to replace it.
Unfortunately it was no longer made, but she did have enough left over from the original job to replace the main area of the kitchen, just not enough for the breakfast room.
*I had an idea*   :)
I asked her: “Why don’t you have a chair rail put up around the breakfast room and I can add a faux plaster finish below it, matching the colors to the wallpaper’s background?”
She loved the idea!
About 12 inches of wall was removed all around the home.
It was quite a bit of work to remove what was left of the old papers on the now dry sheetrock.
I also stripped the paper from all the walls in two bathrooms, primed, then faux plastered and painted those rooms as well.
 
Did I tell you I was her original paperhanger which was 12 years prior?
It was just a coincidence that she found me, but BOTH of us were very glad to see each other again.
Hall Bathroom –
Before, with original paper.
Then, after stripping paper and applying a wash.

…And the final product.

The Powder Bath –
Before, with original paper.
The paper was used to make a border around the top because the homeowner wanted to preserve a bit of it.

A separate Art Niche –
Originally the same texture and color as the wall paint:
fauxfabulous-19


Teal and Gold Powder Bath

I loved this paper so much I may hang it in a room in my own home. The dark paper was the original paper.
Although there was some prep work, I did not have to worry about much of it because the homeowner removed all the existing paper and took down the lights and other things from the walls. He did an amazing job, I must add. I then repaired some areas and primed the walls.
The paper went up beautifully although my photos do not capture the finished look as well as I had wished.

This slideshow requires JavaScript.

Paintable Wallcovering Over Wood Paneling

LMitchel004

The Completed Room. There is wood paneling on all these walls!

This older home was ready for a facelift. The homeowners wanted to cover the wood paneling in the large living area, kitchen and breakfast areas with a paintable paper. The idea was to have the finished project look as though it was textured and painted AND have that texture match the existing paint texture. They had a vision and just needed a little help executing it.

After a long search for the perfect paper, then preparing the walls, installing the materials, and painting it all, the results were amazing! ~ Did I mention the homeowners painted it all themselves, including the trim and the high ceiling? – And they are a retired couple in their late 60’s?

Unfortunately my photos do not rise to the quality of my wallcovering installation skills…this is the best I can do with photography. Hopefully they are adequate enough to show the steps taken and the results.

These photos show the project from beginning to end. There were many steps taken in order to do it correctly and make sure the finished project would last many, many more years. Those steps included removing the window coverings and rods, removing all the plug covers, nails and pictures from the walls, washing down the paneling with ammonia, priming all of it with Draw Tite, floating the grooves, sanding and refloating the grooves (and any uneven areas of the panneling), then another coat of Draw Tite. Blankstock was hung assuring all was sound and smooth and giving me an awesome surface to hang over.

As a side note: This particular paper was thin, and once pasted, it was similar to hanging wet paper towels. It was so bad, my razor knife just caught it and shredded the edges instead of cutting it. I fought with it all the way around the room. The brick wall and fireplace were real challenges to cut around.

BEFORE1a

This is the room just as I was beginning to work.

longWoodPaneled

A good look at the paneling

Floated Grooves

All the grooves had to be filled in.

GroovesWoodPaneled

Long wall, partly prepped.

BWallBStockPanel

Some blank stock wall liner is going up.

blankStck BrRoom

The Breakfast room below the chair rail is also panelling. Here it is with blankstock on it. Almost ready for the paintable wallcovering.

paintableLongWall

The paintable wallcovering is now up on this wall. This wallpaper is by ‘Brewster’.

PaintablePaper2

Opposite wall has paper now.

This photo was sent to me by the homeowner, after they painted the wallpaper to match the existing paint on the surrounding walls. They even painted the wood trim all around the room. What an amazing difference!

LMitchel005