
Replaced paper & textured below chair rail

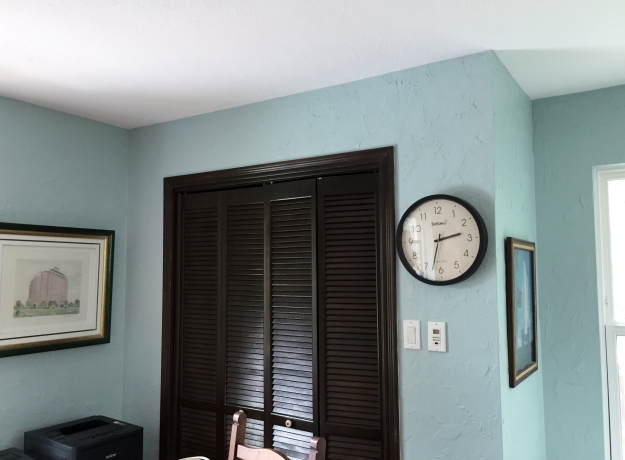
Textured & painted below chair rail

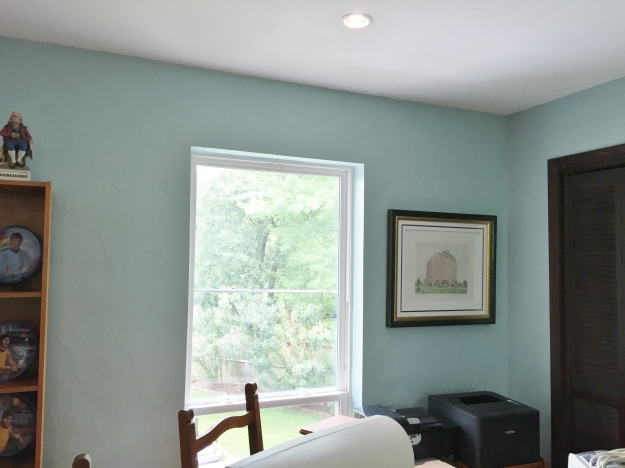
Replaced paper on all this area

Textured & painted below chair rail

Textured & painted below chair rail
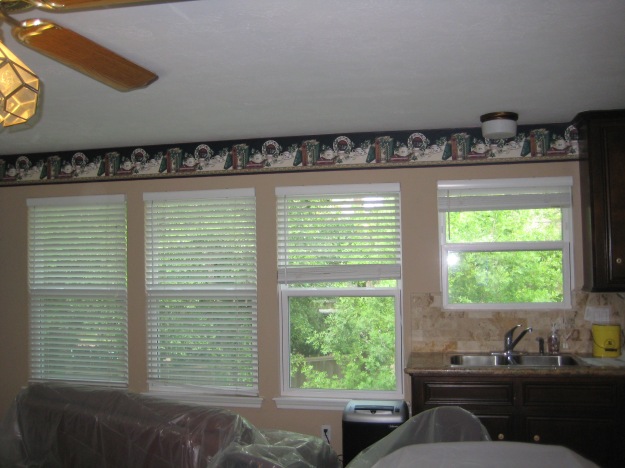
Part of the kitchen and breakfast area is shown above.
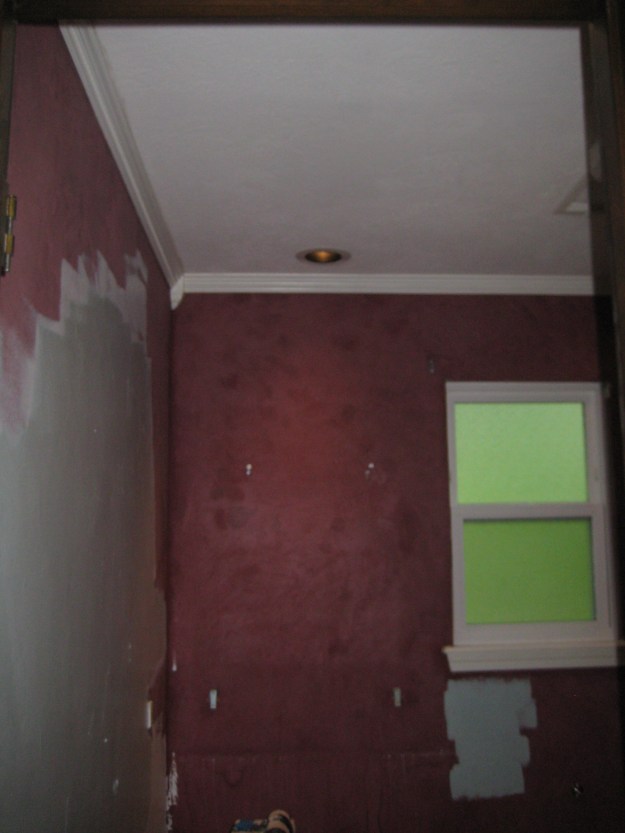
This home flooded and the floors and walls needed to be replaced, and/or repaired.
The kitchen wallpaper was the homeowner’s favorite and she really wanted to find the same thing to replace it.
Unfortunately it was no longer made, but she did have enough left over from the original job to replace the main area of the kitchen, just not enough for the breakfast room.
The kitchen wallpaper was the homeowner’s favorite and she really wanted to find the same thing to replace it.
Unfortunately it was no longer made, but she did have enough left over from the original job to replace the main area of the kitchen, just not enough for the breakfast room.
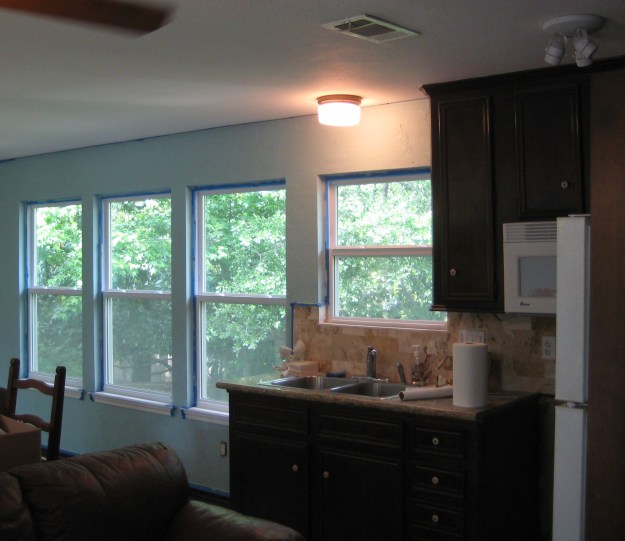
*I had an idea* :)
I asked her: “Why don’t you have a chair rail put up around the breakfast room and I can add a faux plaster finish below it, matching the colors to the wallpaper’s background?”
She loved the idea!
About 12 inches of wall was removed all around the home.
It was quite a bit of work to remove what was left of the old papers on the now dry sheetrock.
I also stripped the paper from all the walls in two bathrooms, primed, then faux plastered and painted those rooms as well.
Did I tell you I was her original paperhanger which was 12 years prior?
It was just a coincidence that she found me, but BOTH of us were very glad to see each other again.
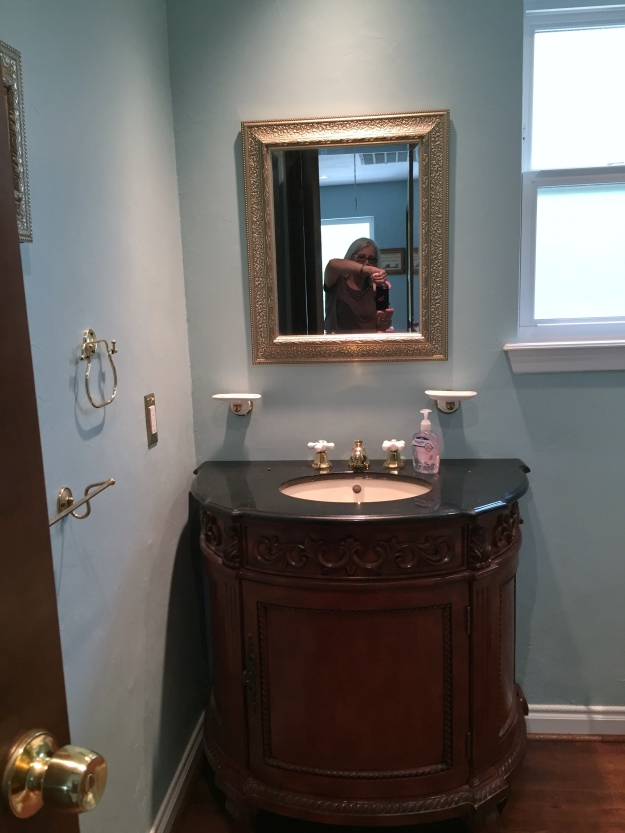
Hall Bathroom –
Before, with original paper.
Then, after stripping paper and applying a wash.
…And the final product.


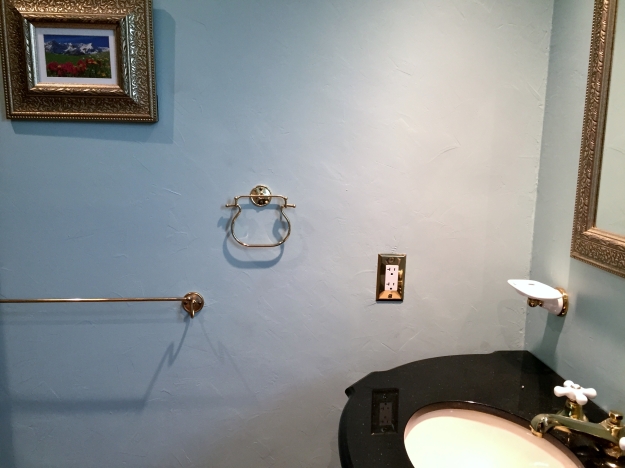
The Powder Bath –
Before, with original paper.
The paper was used to make a border around the top because the homeowner wanted to preserve a bit of it.

Same original wallpaper as the 1st bathroom.


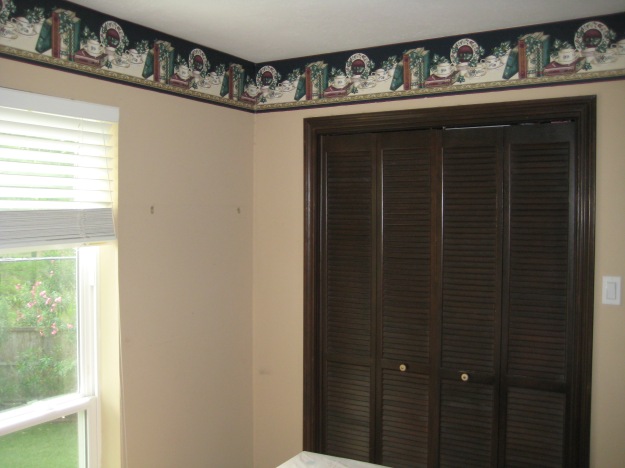
A separate Art Niche –
Originally the same texture and color as the wall paint: