If you think you can’t put a wallcovering in your home because of your heavily textured walls, think again!
The first photo is a sample of the Thibaux wallcovering chosen by the homeowner to go in her dining room.
The next picture shows the condition of the walls after a grasscloth was stripped off. It’s an actual photo from the job, prior to me starting the work.
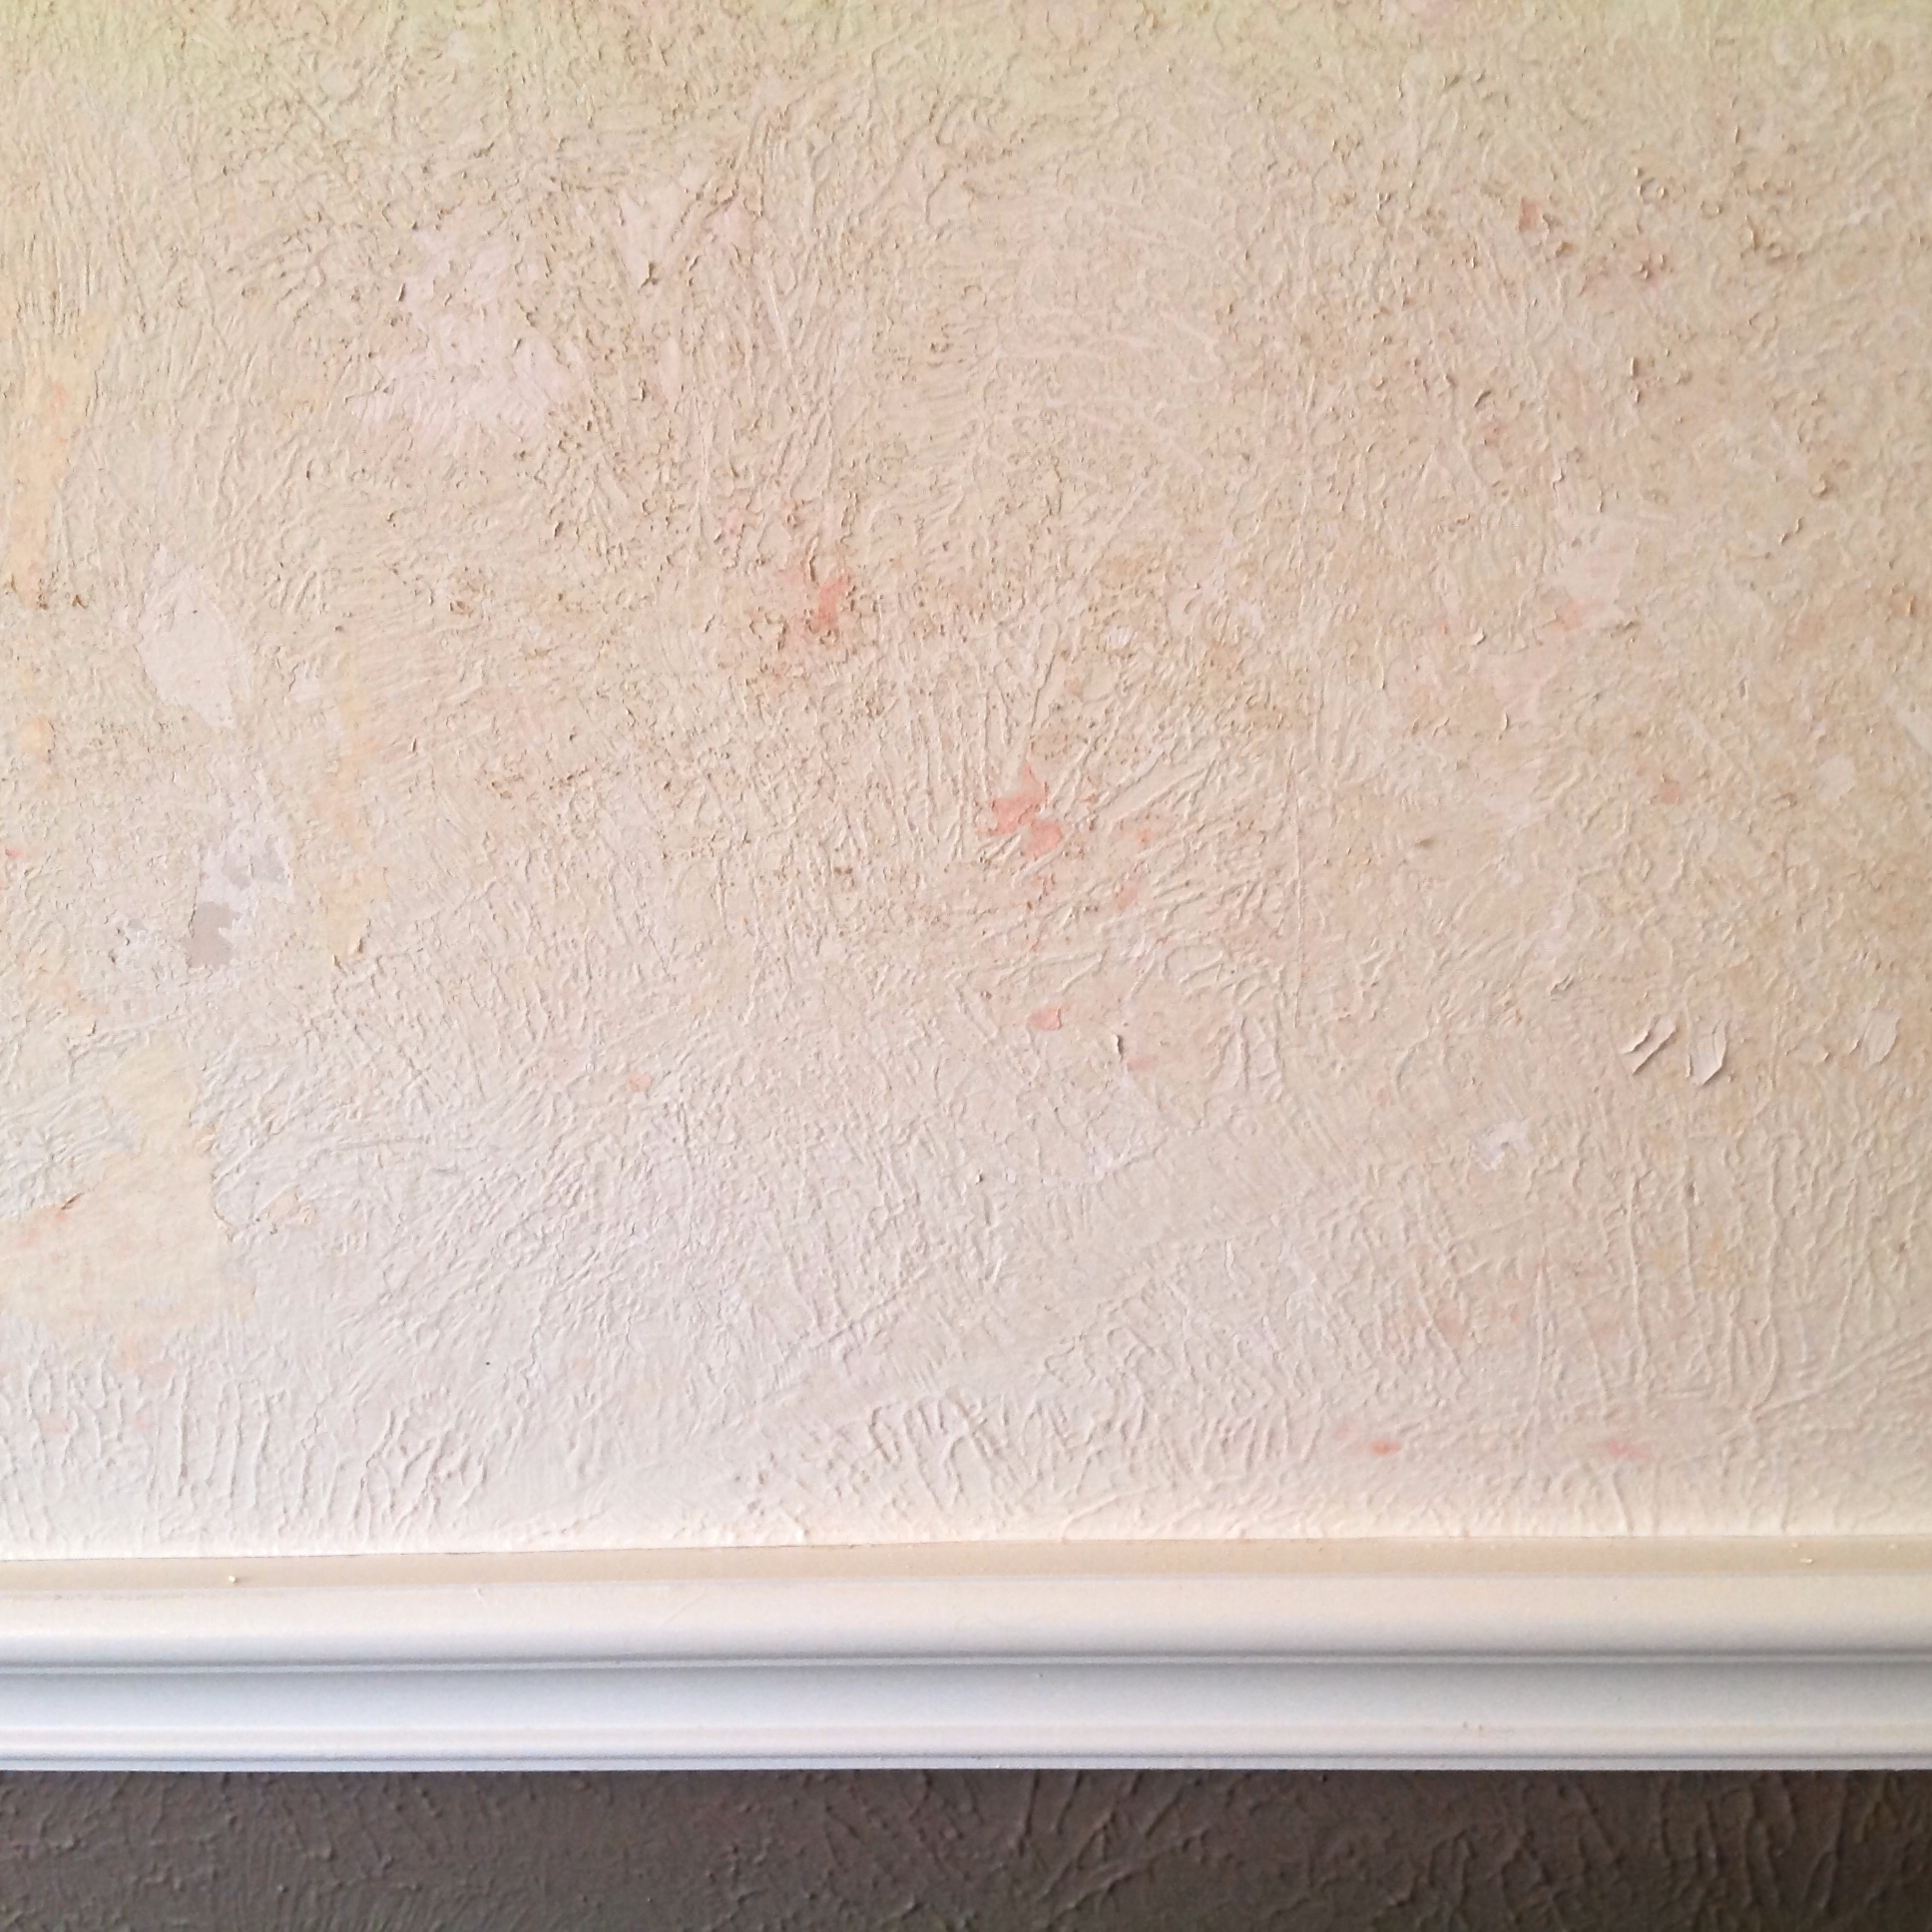
There is also a picture showing this type of texture up close. – That photo is to show a better representation of it, and is not a wall in this room.
Besides the wall texture, I had to deal with a lot of leftover adhesive from when the grasscloth was installed. That adhesive had become a big flaking mess which could not be floated over. So my next step to prepare for the very thin wallcovering I was installing, was to scrub off all the walls with a hard bristle brush. I then was able to float over the texture with lightweight mud (drywall compound).
When it was completely dry I quickly wet-sanded all the walls to remove any imperfections and bumps from the mud.
A quality blankstock (pulp) was then hung. This made the walls very smooth and my job so much easier to complete.
These steps are necessary in order to achieve a professional installation.
Blankstock hung:
Below is my ‘mismatch. When you come around the room the paper rarely, if ever, matches. This corner is where I had to get creative in order for the pattern to not end up on top of itself. There were actually two mismatched places in this room because of a ‘bay’ type front window.
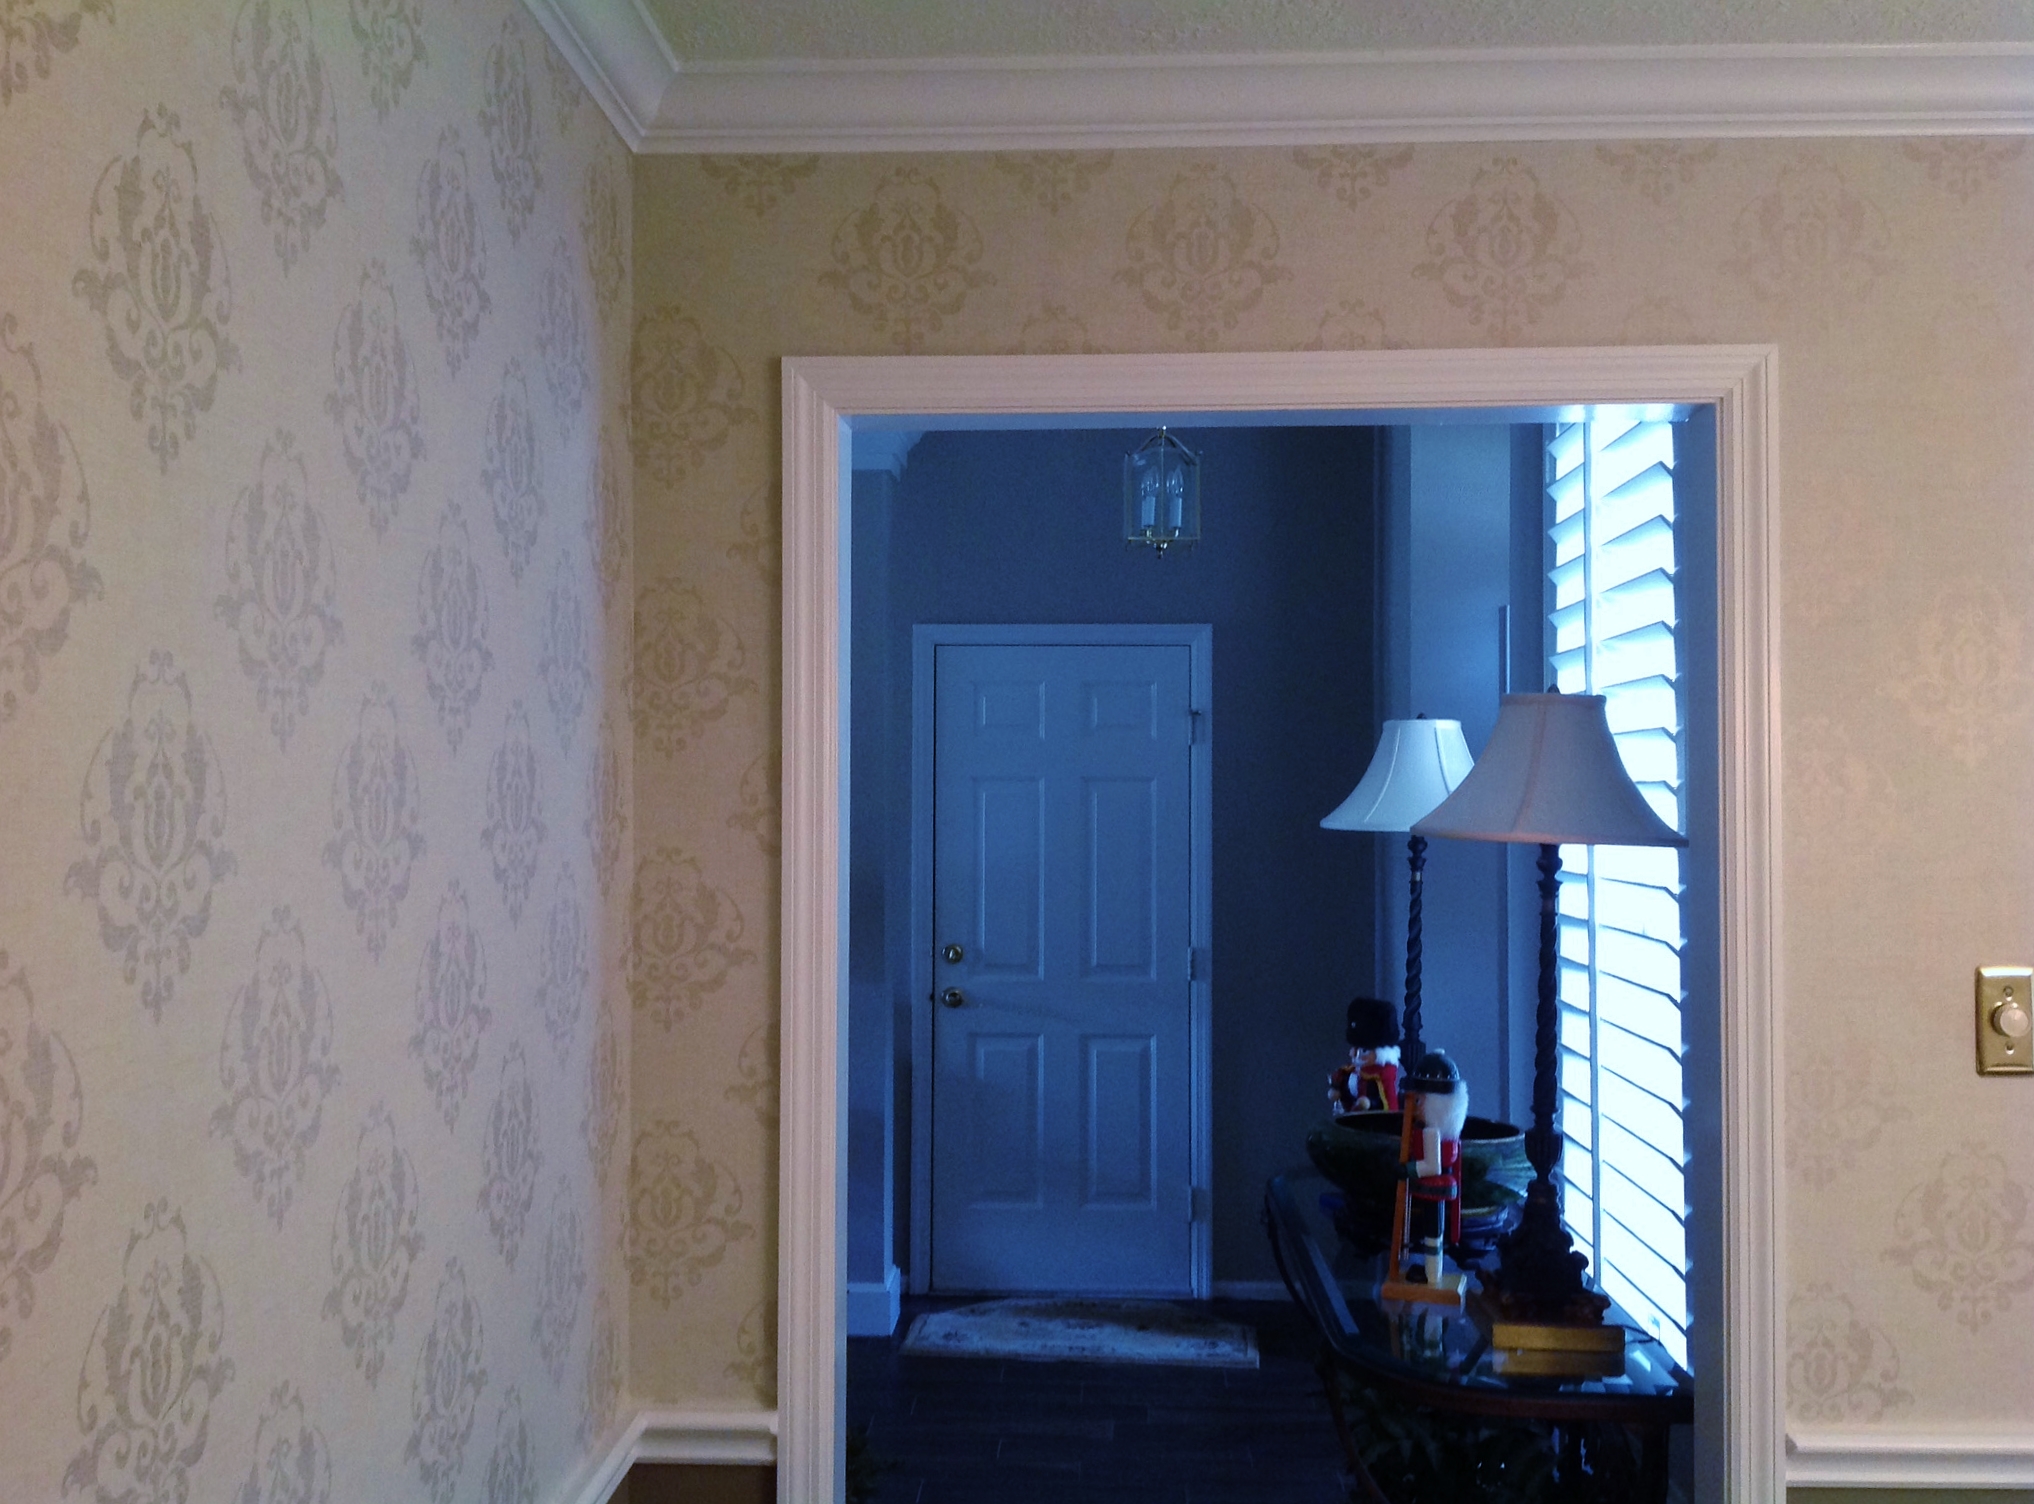
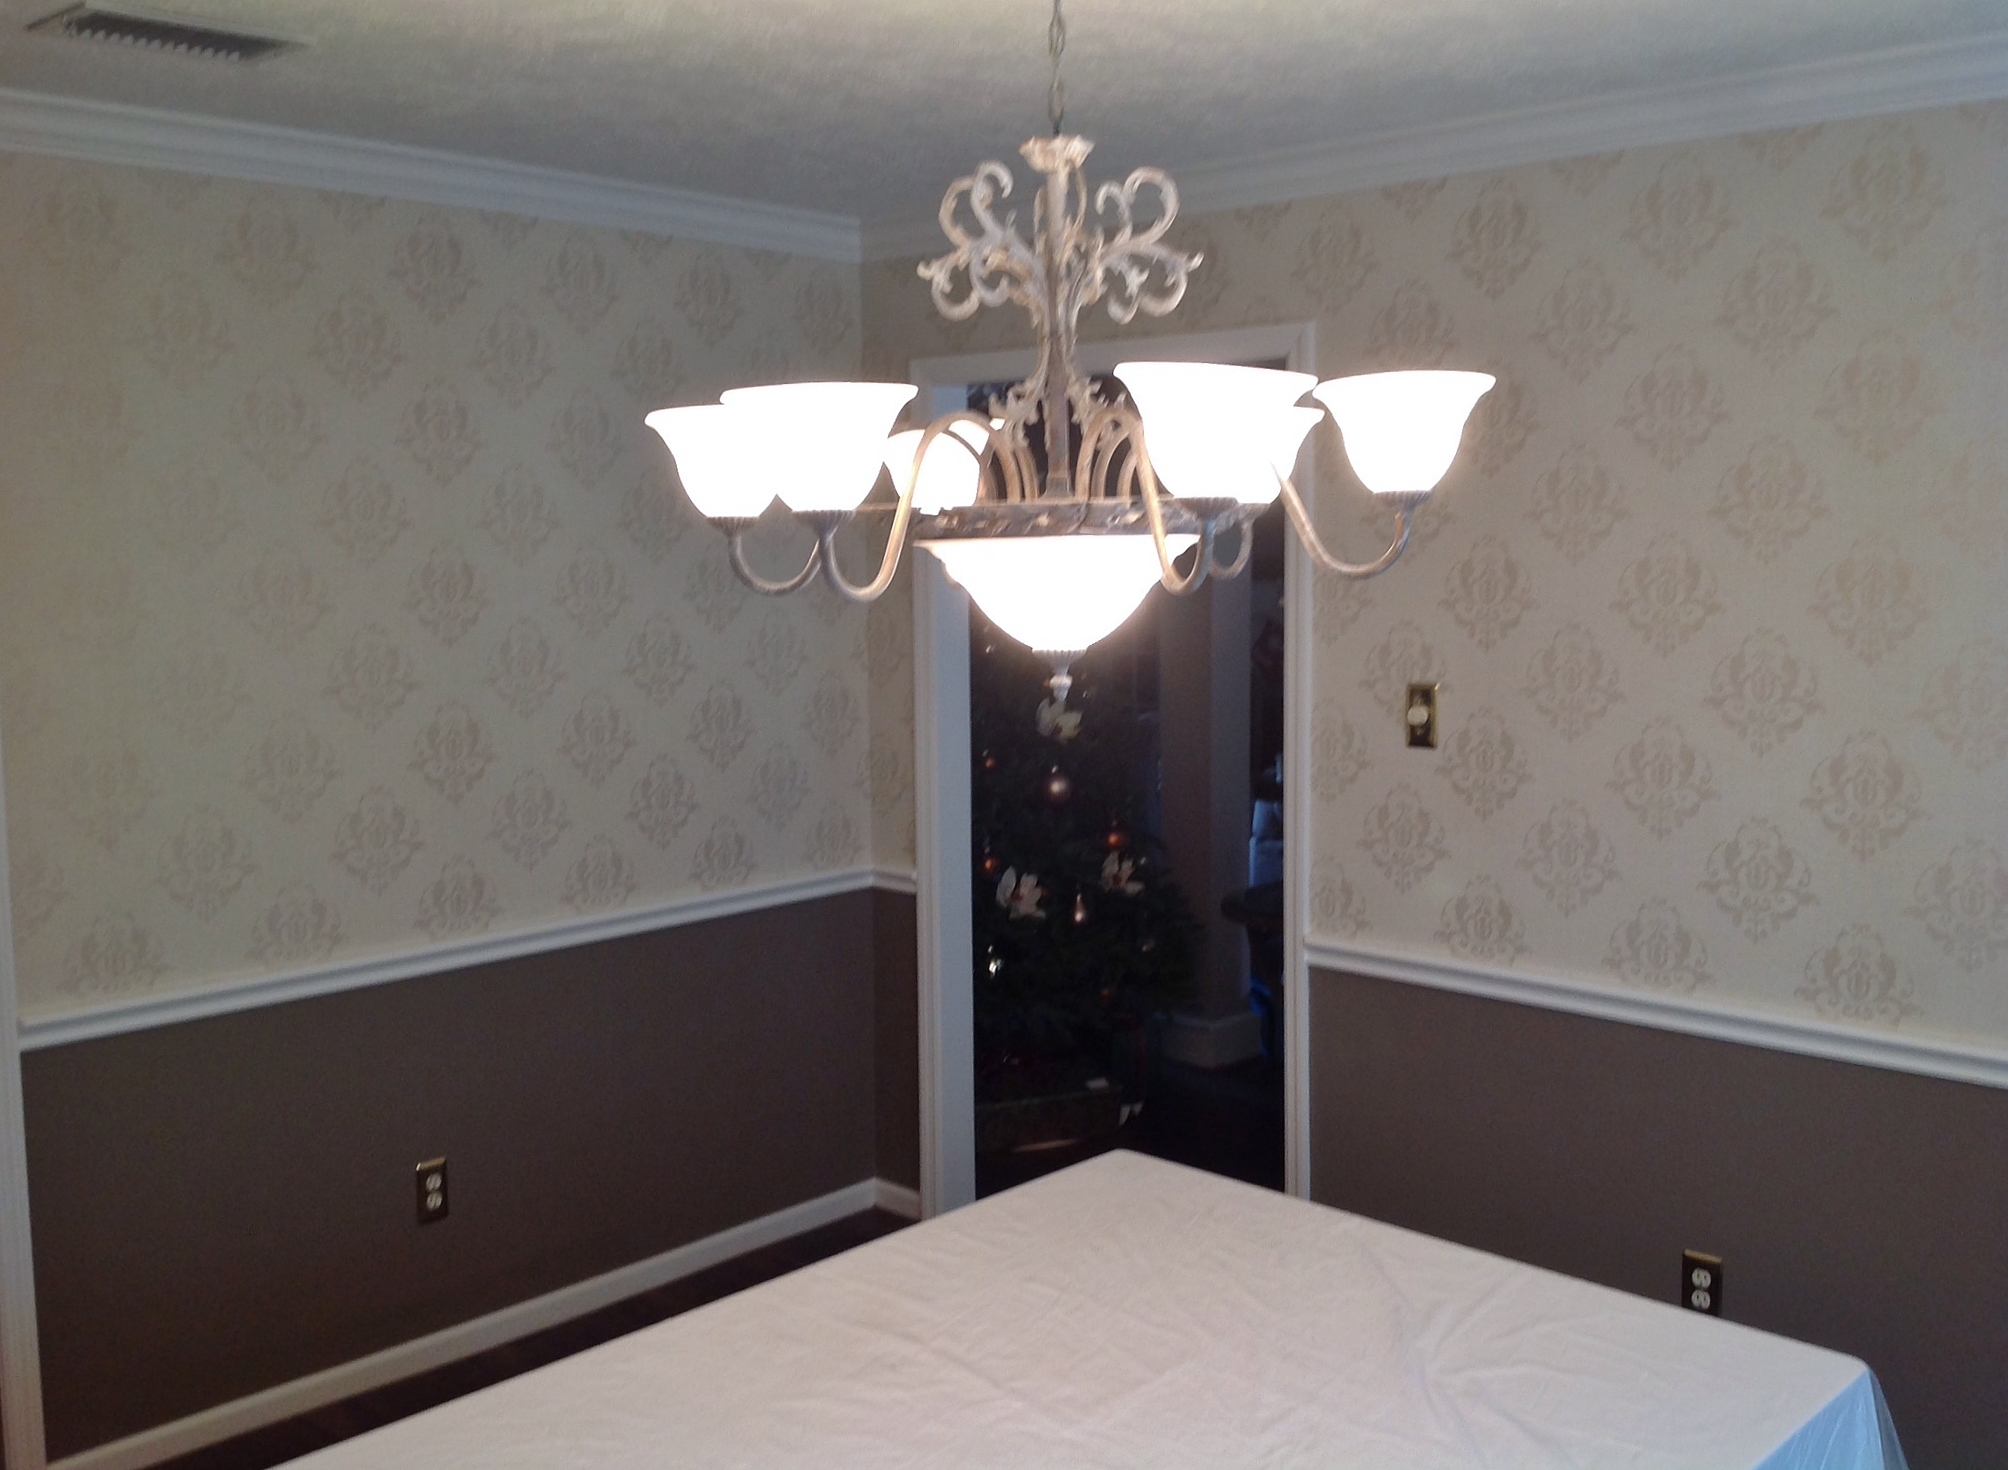
Some shots of the completly papered room:
The corner below was not quite perfect – The top of the wall, to the outside corner, was 1/2″ narrower. It was perfectly straight at the window, and the paper was moved ever so slightly here to compensate so no other adjustments needed to be made. Sometimes you have to create an optical illusion by making the wallcovering slightly crooked thus ‘straightening’ it out to the eye!
Have a wonderful New Year and may all your dreams come true ~ Especially your decorating dreams!