Paintable Wallcovering Over Wood Paneling

LMitchel004

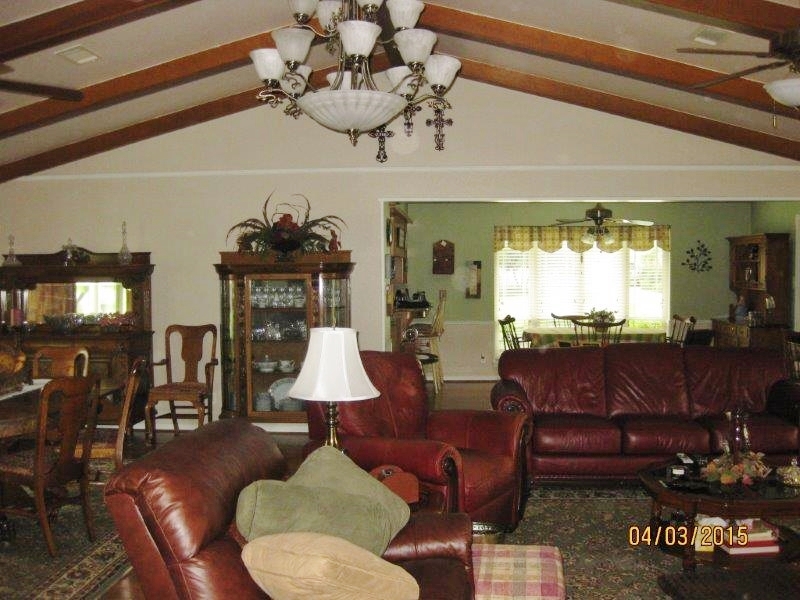
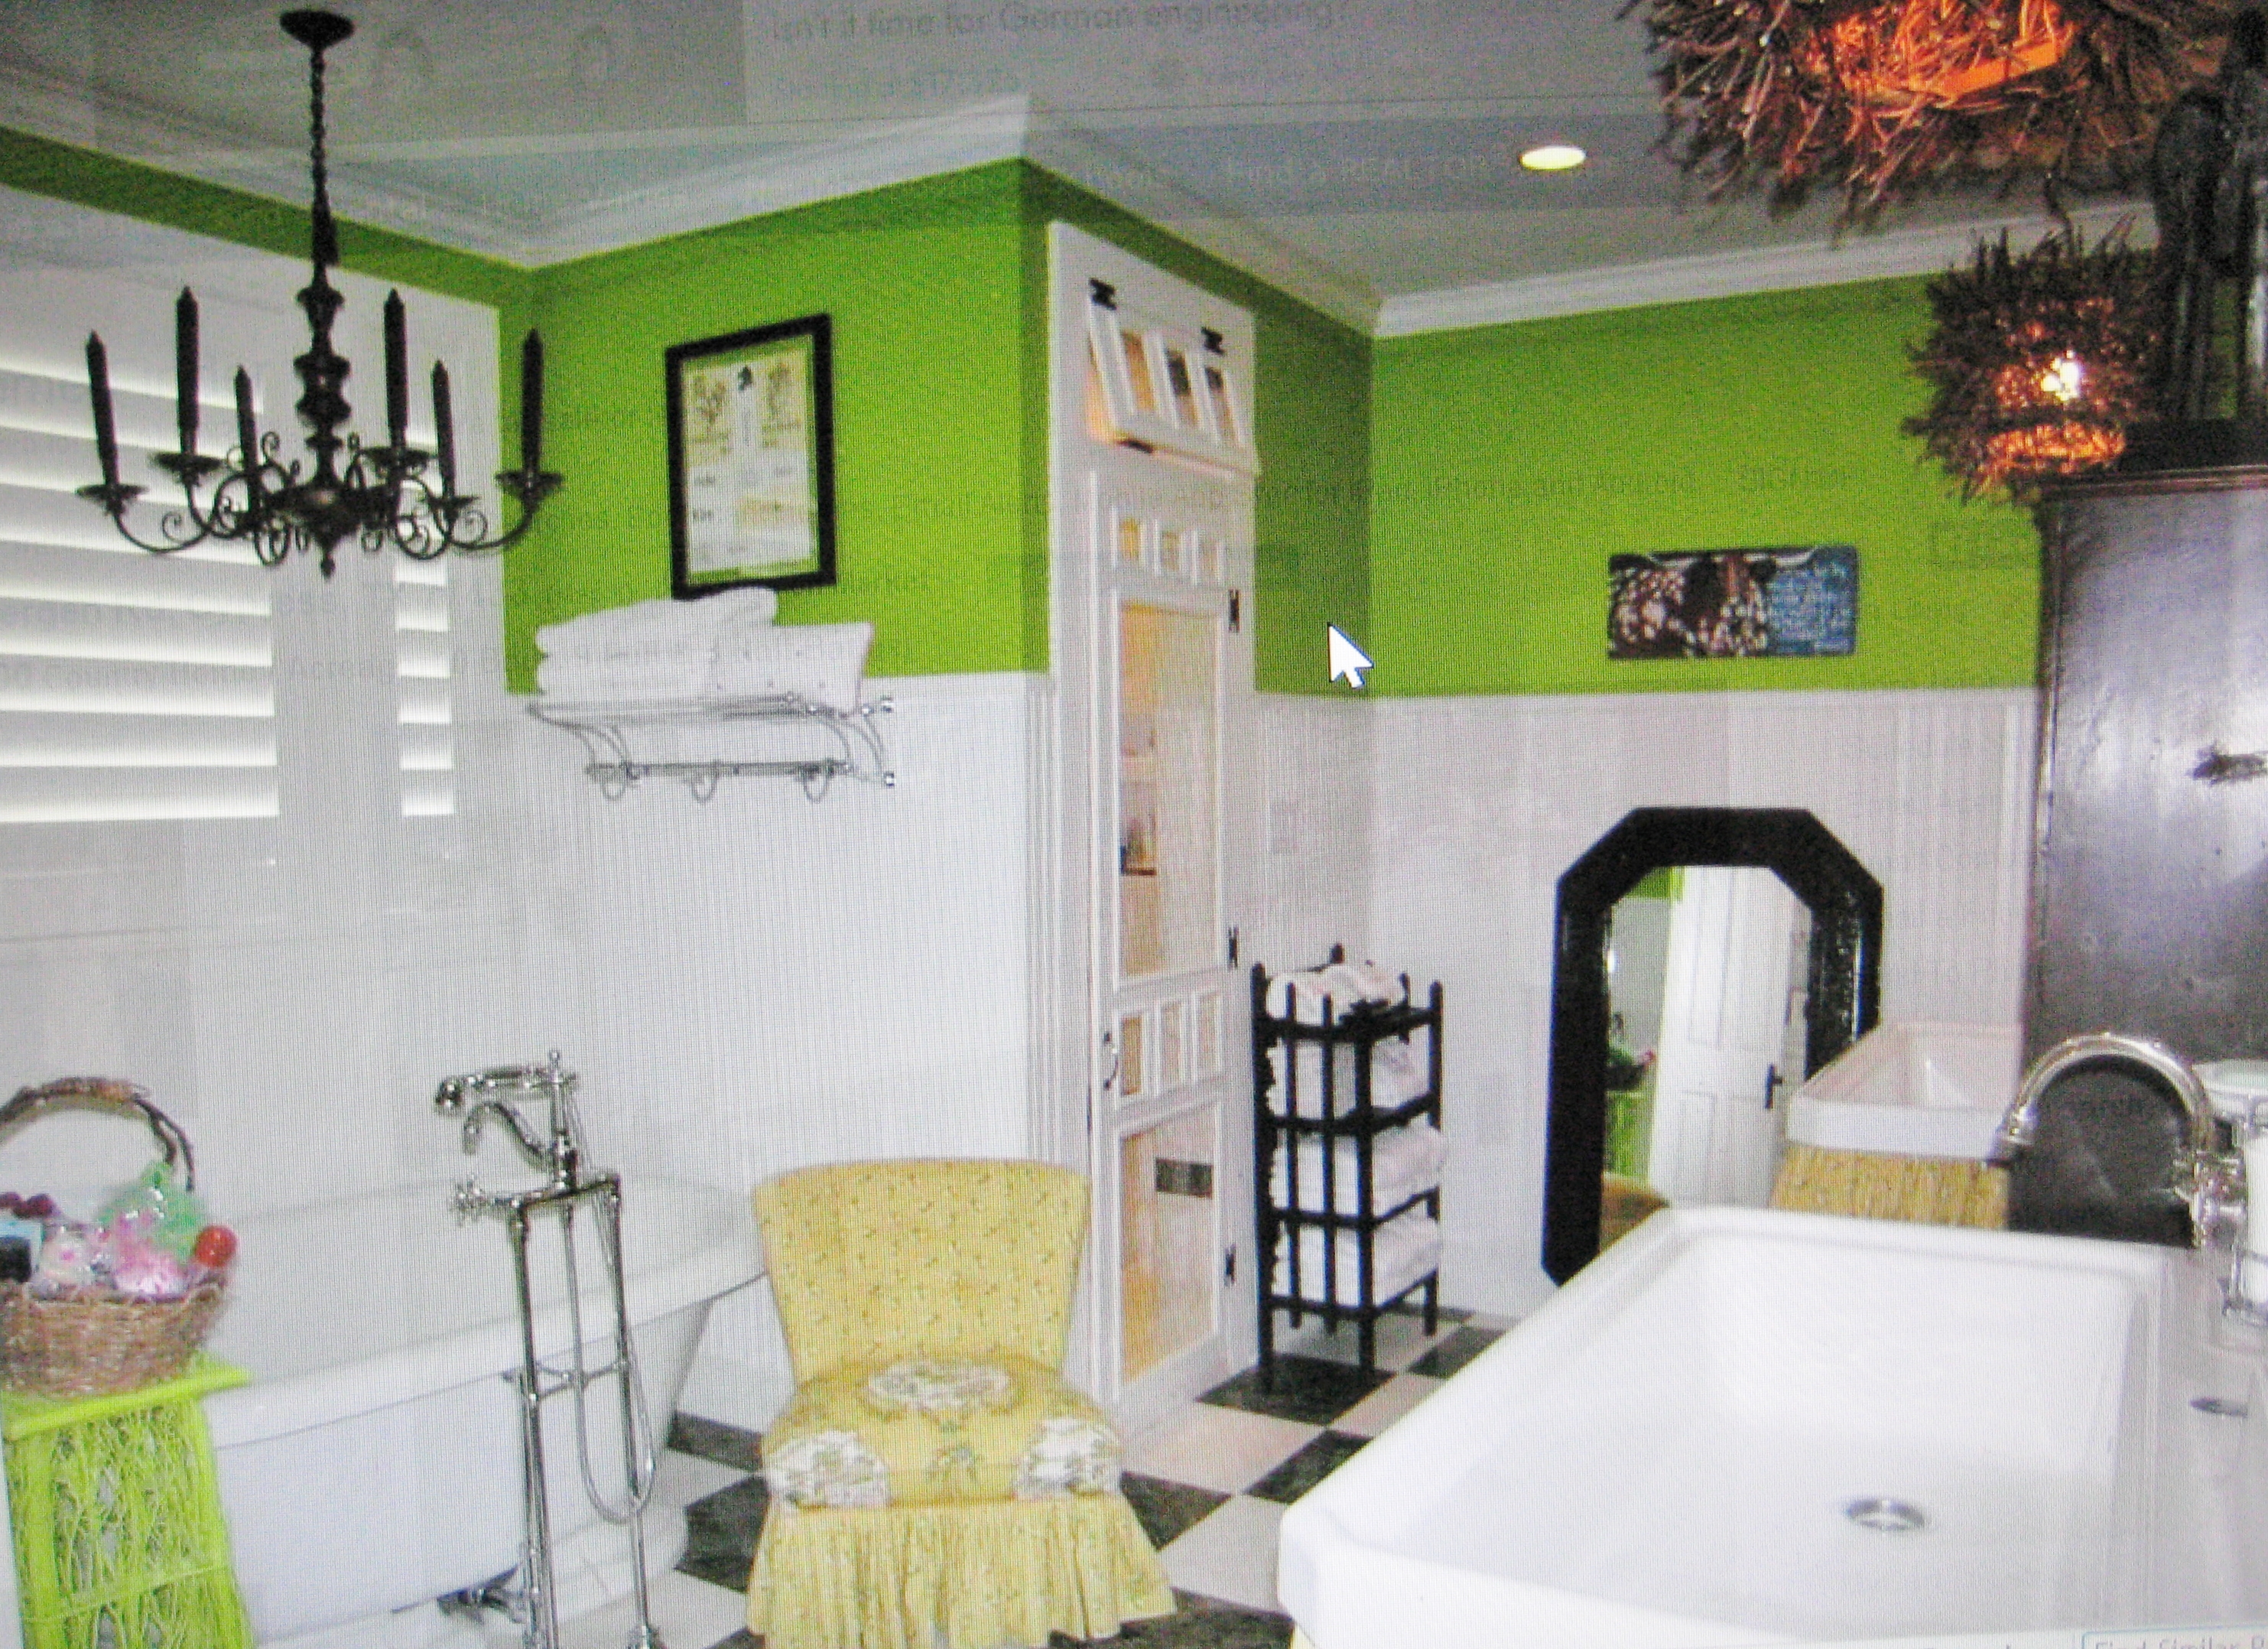
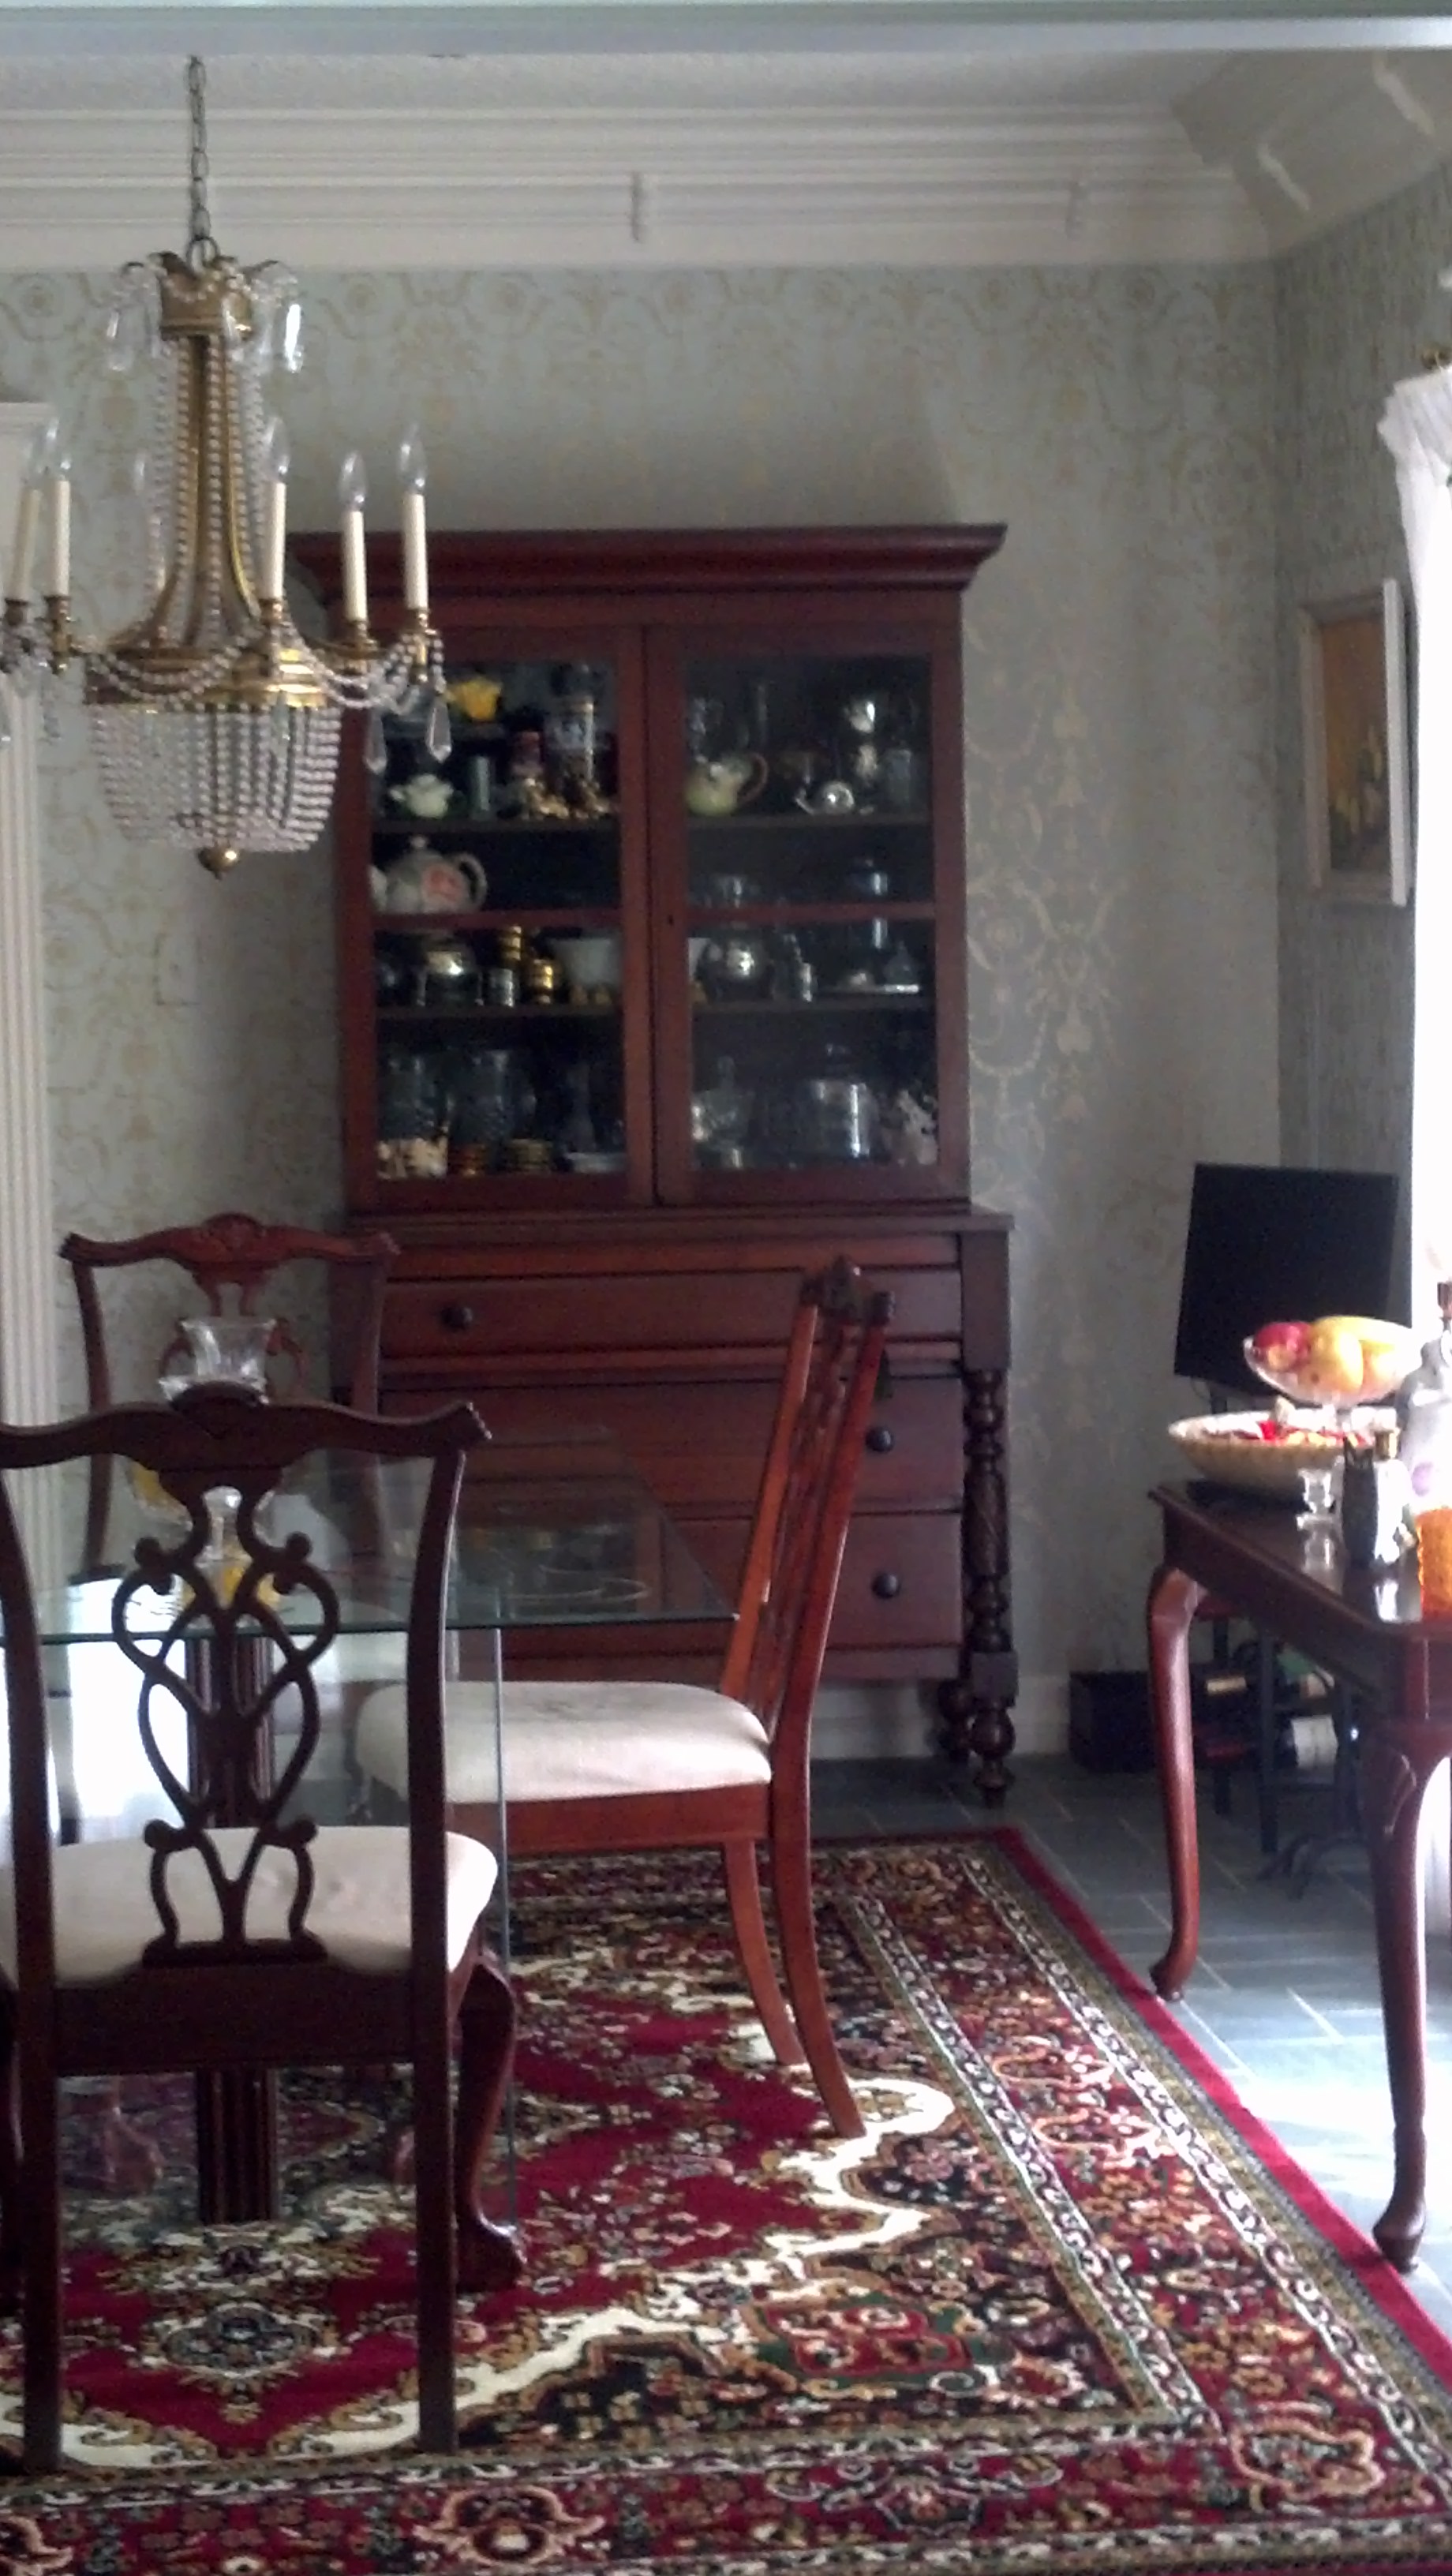
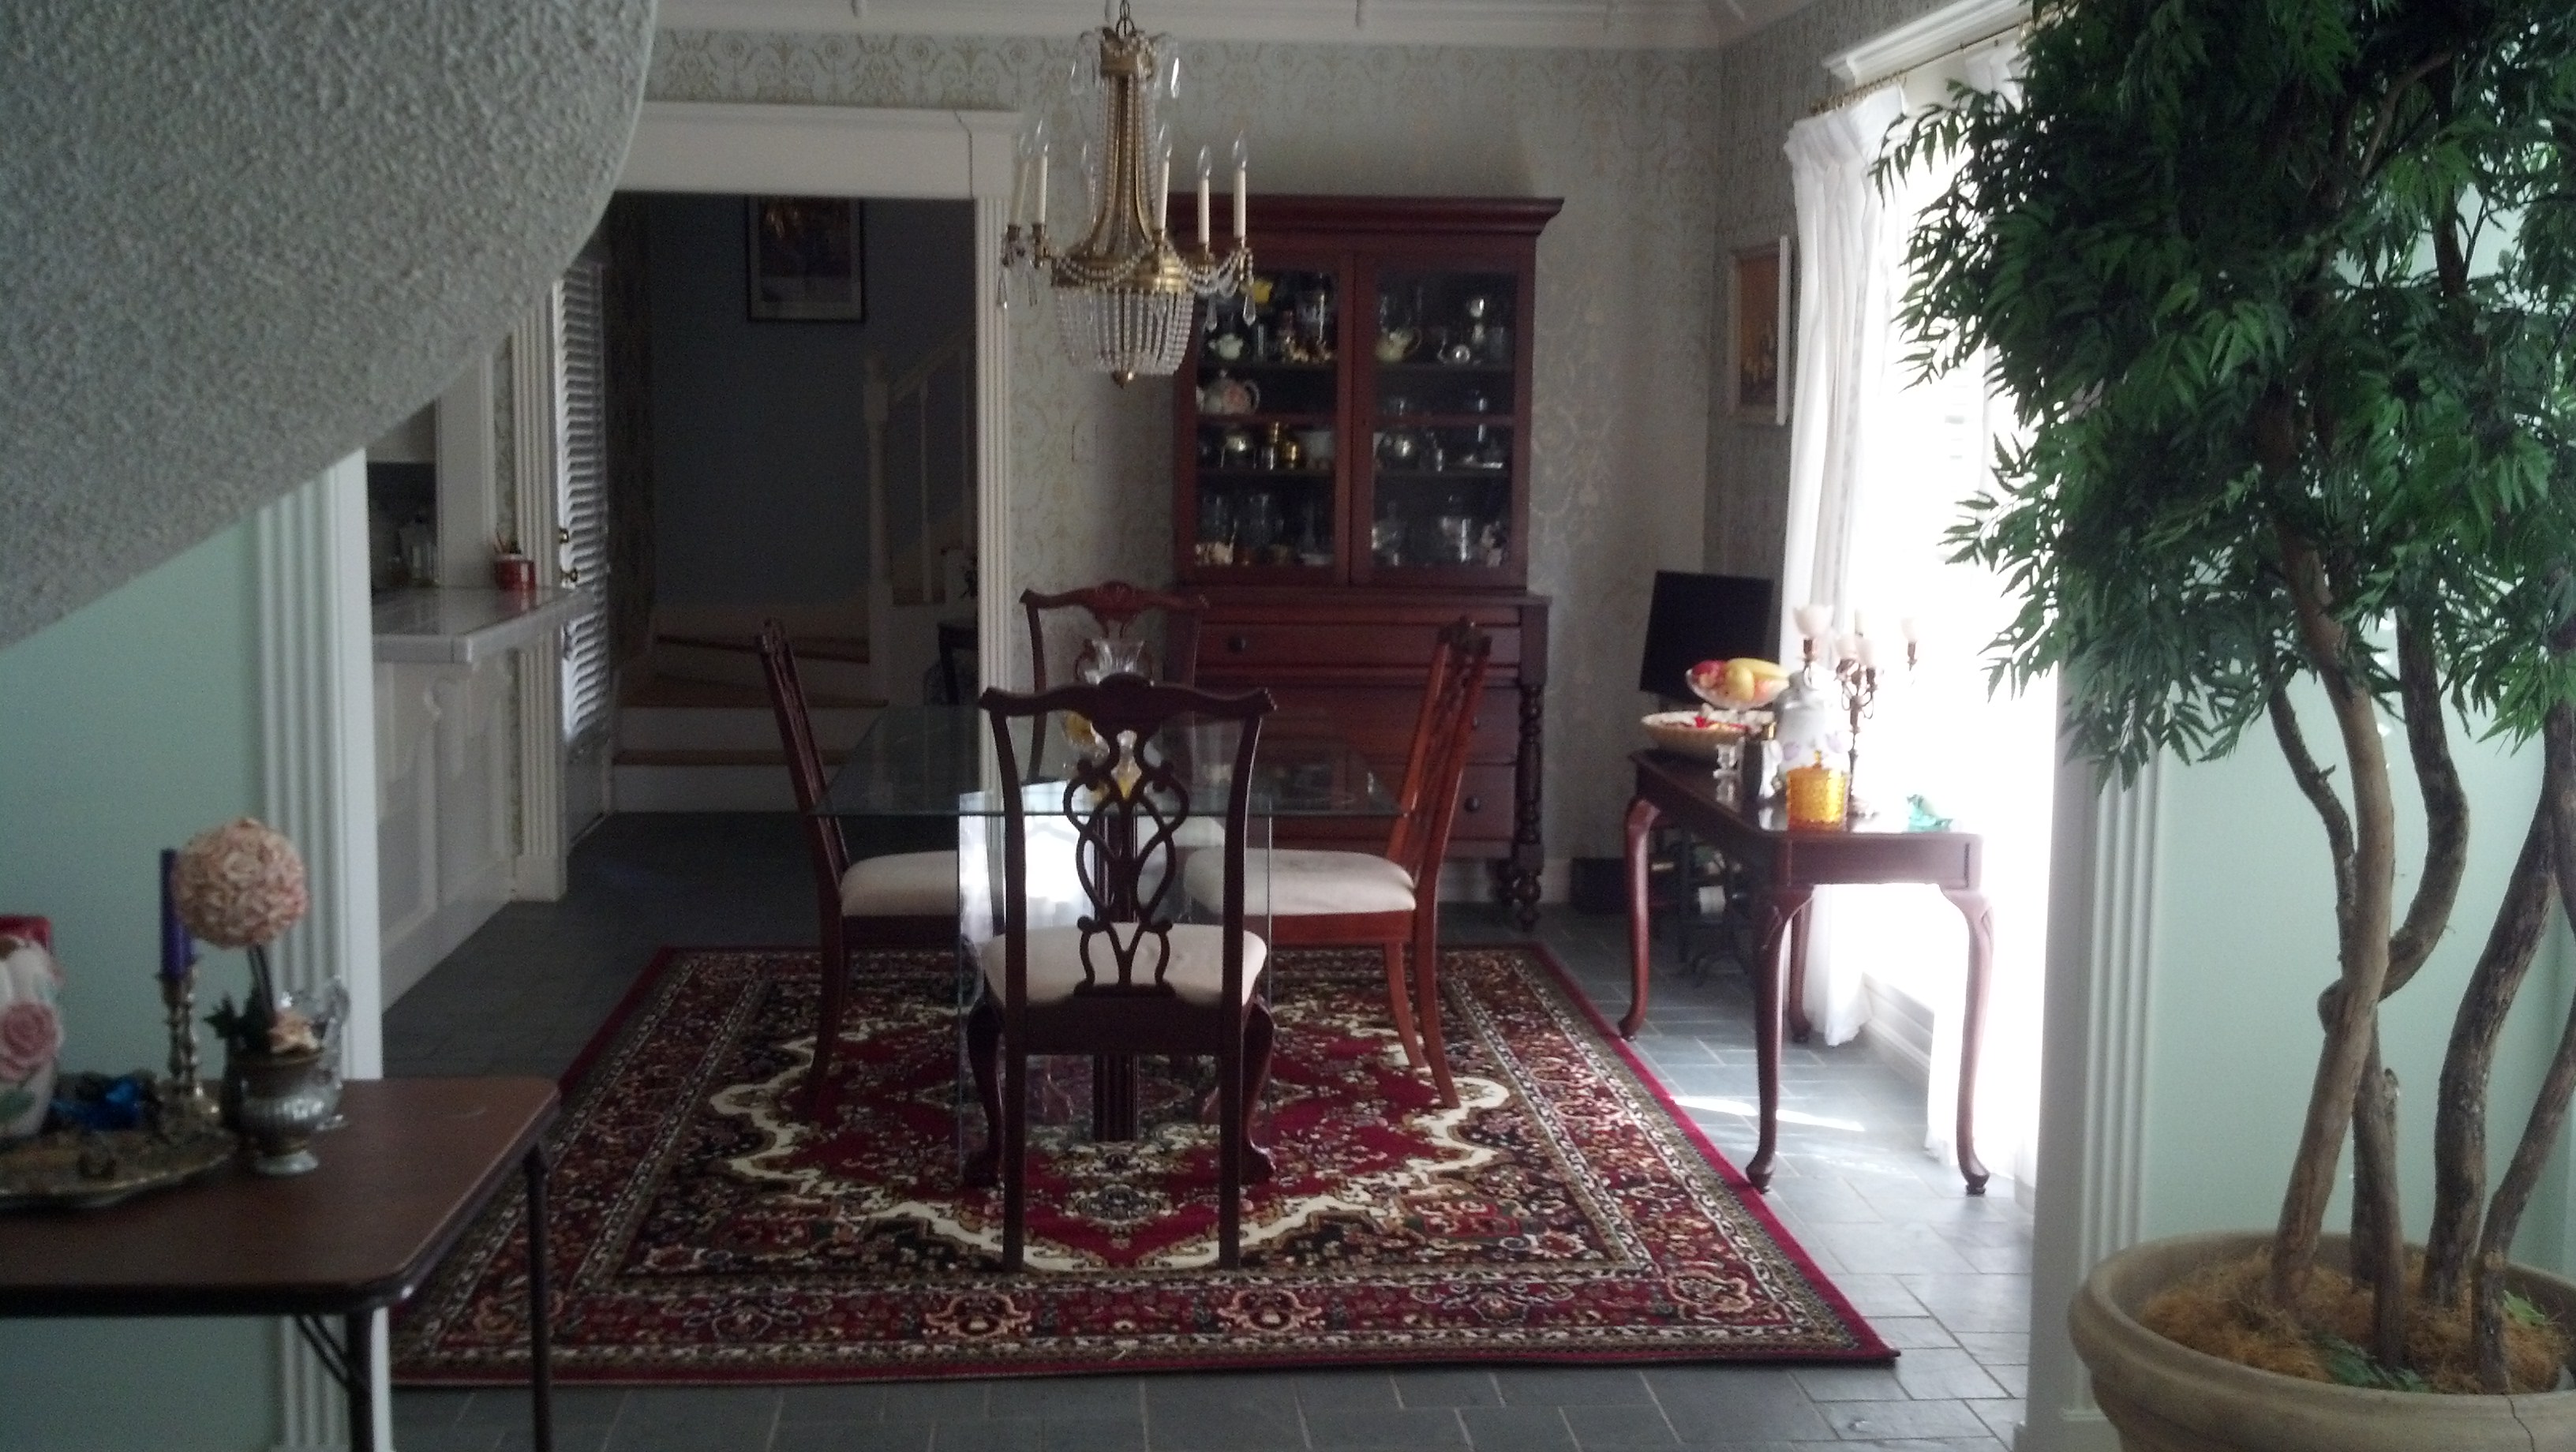
The Completed Room. There is wood paneling on all these walls!

This older home was ready for a facelift. The homeowners wanted to cover the wood paneling in the large living area, kitchen and breakfast areas with a paintable paper. The idea was to have the finished project look as though it was textured and painted AND have that texture match the existing paint texture. They had a vision and just needed a little help executing it.

After a long search for the perfect paper, then preparing the walls, installing the materials, and painting it all, the results were amazing! ~ Did I mention the homeowners painted it all themselves, including the trim and the high ceiling? – And they are a retired couple in their late 60’s?

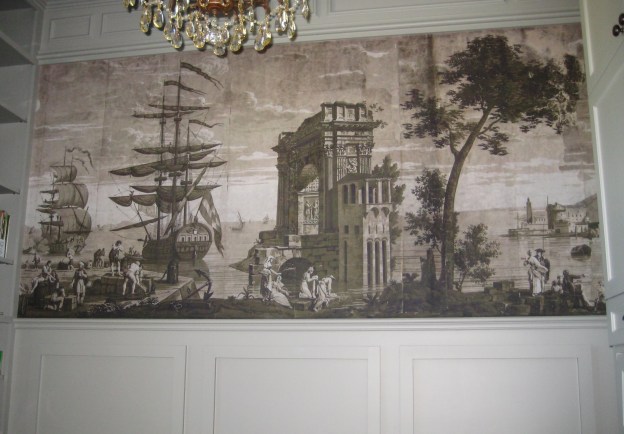
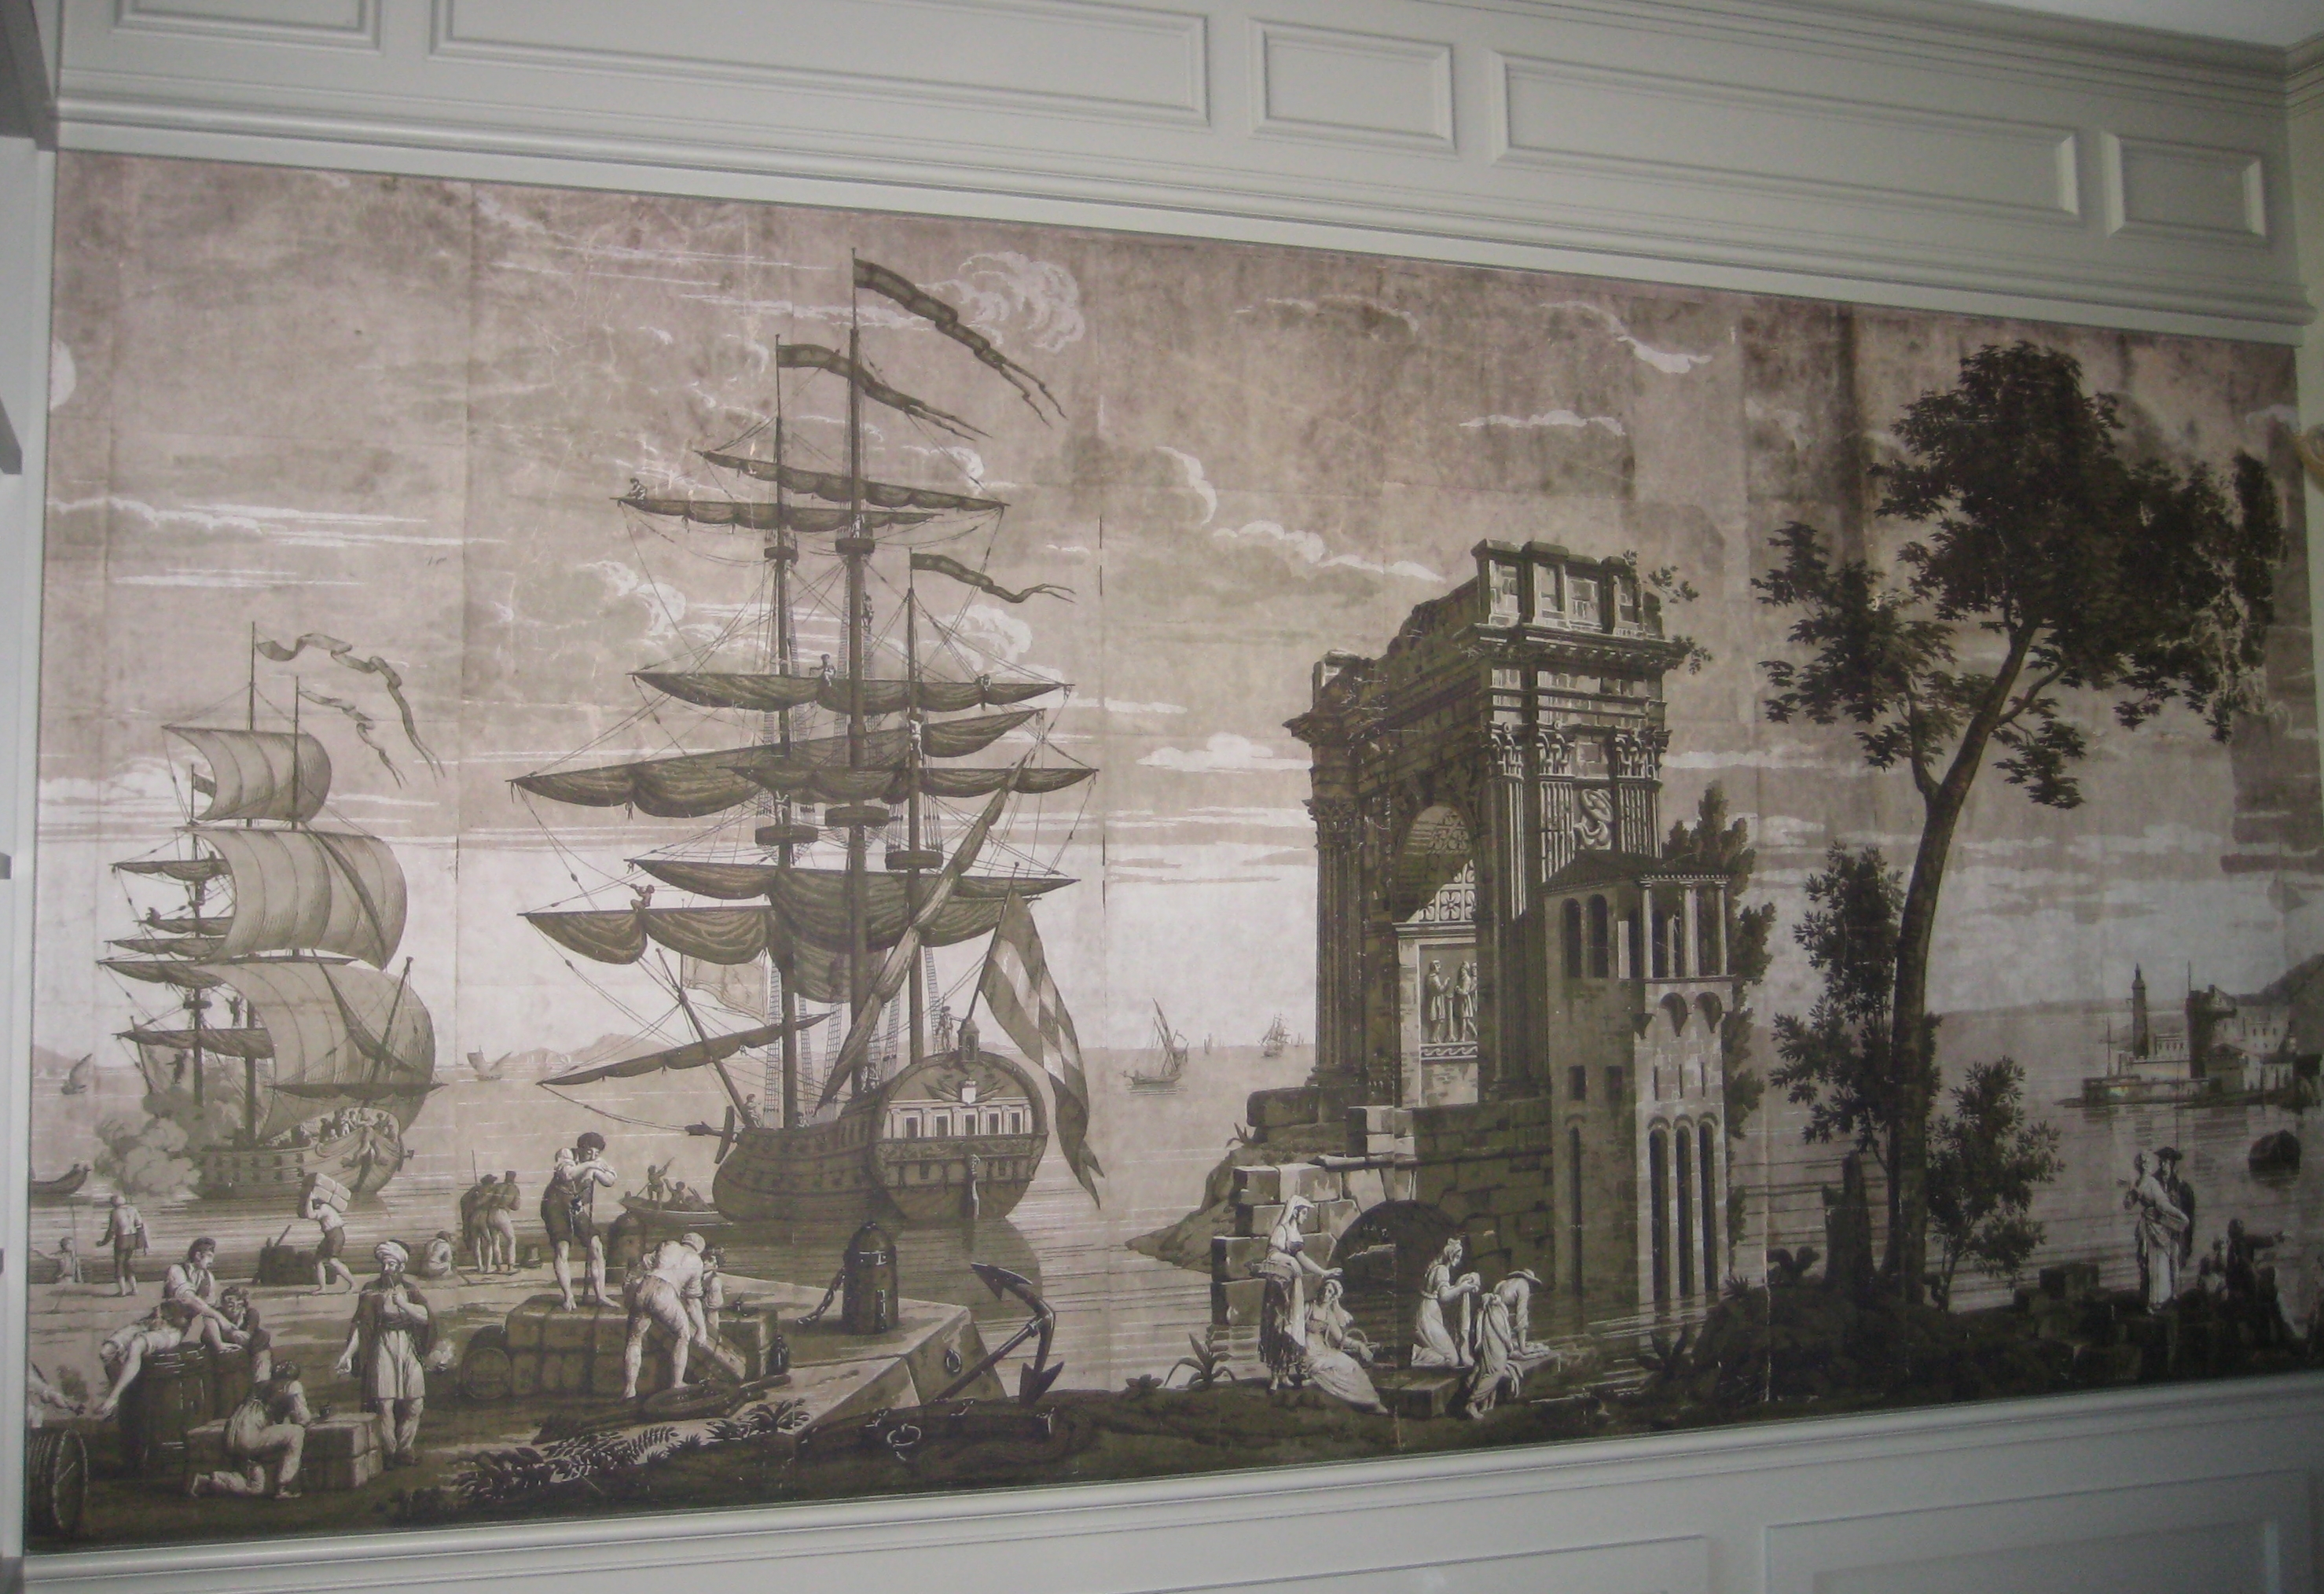
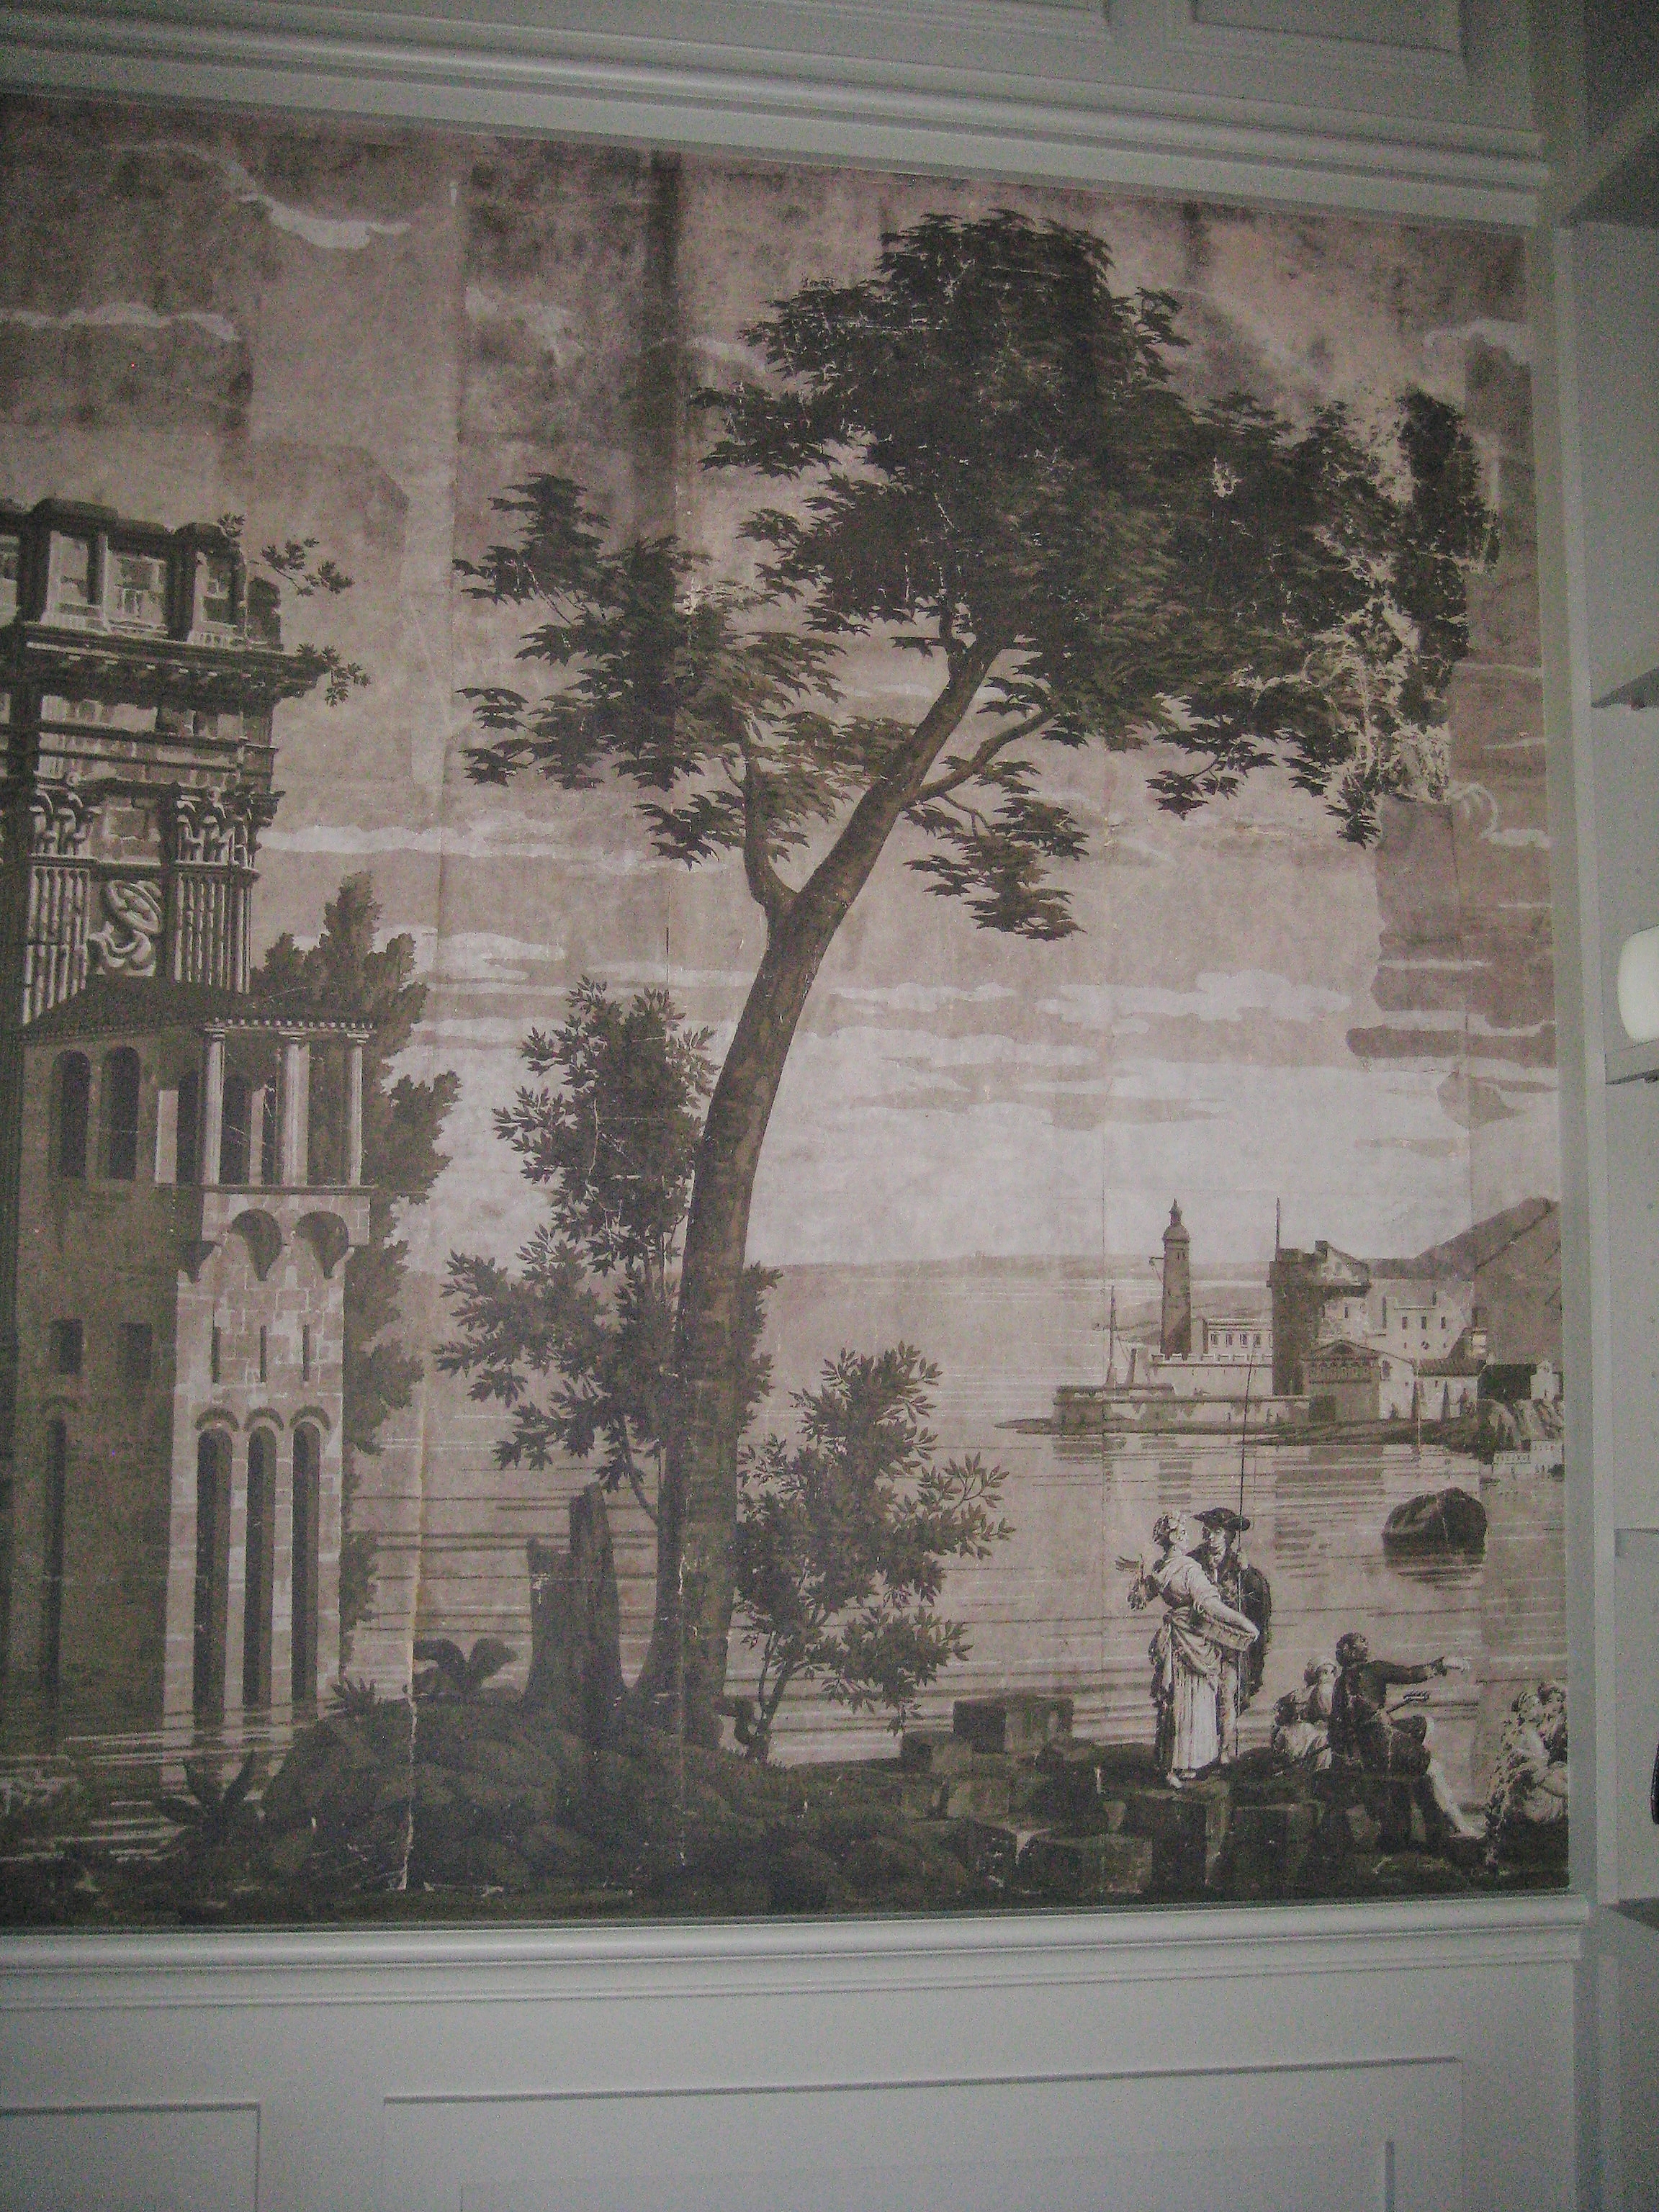
Unfortunately my photos do not rise to the quality of my wallcovering installation skills…this is the best I can do with photography. Hopefully they are adequate enough to show the steps taken and the results.

These photos show the project from beginning to end. There were many steps taken in order to do it correctly and make sure the finished project would last many, many more years. Those steps included removing the window coverings and rods, removing all the plug covers, nails and pictures from the walls, washing down the paneling with ammonia, priming all of it with Draw Tite, floating the grooves, sanding and refloating the grooves (and any uneven areas of the panneling), then another coat of Draw Tite. Blankstock was hung assuring all was sound and smooth and giving me an awesome surface to hang over.

As a side note: This particular paper was thin, and once pasted, it was similar to hanging wet paper towels. It was so bad, my razor knife just caught it and shredded the edges instead of cutting it. I fought with it all the way around the room. The brick wall and fireplace were real challenges to cut around.

BEFORE1a

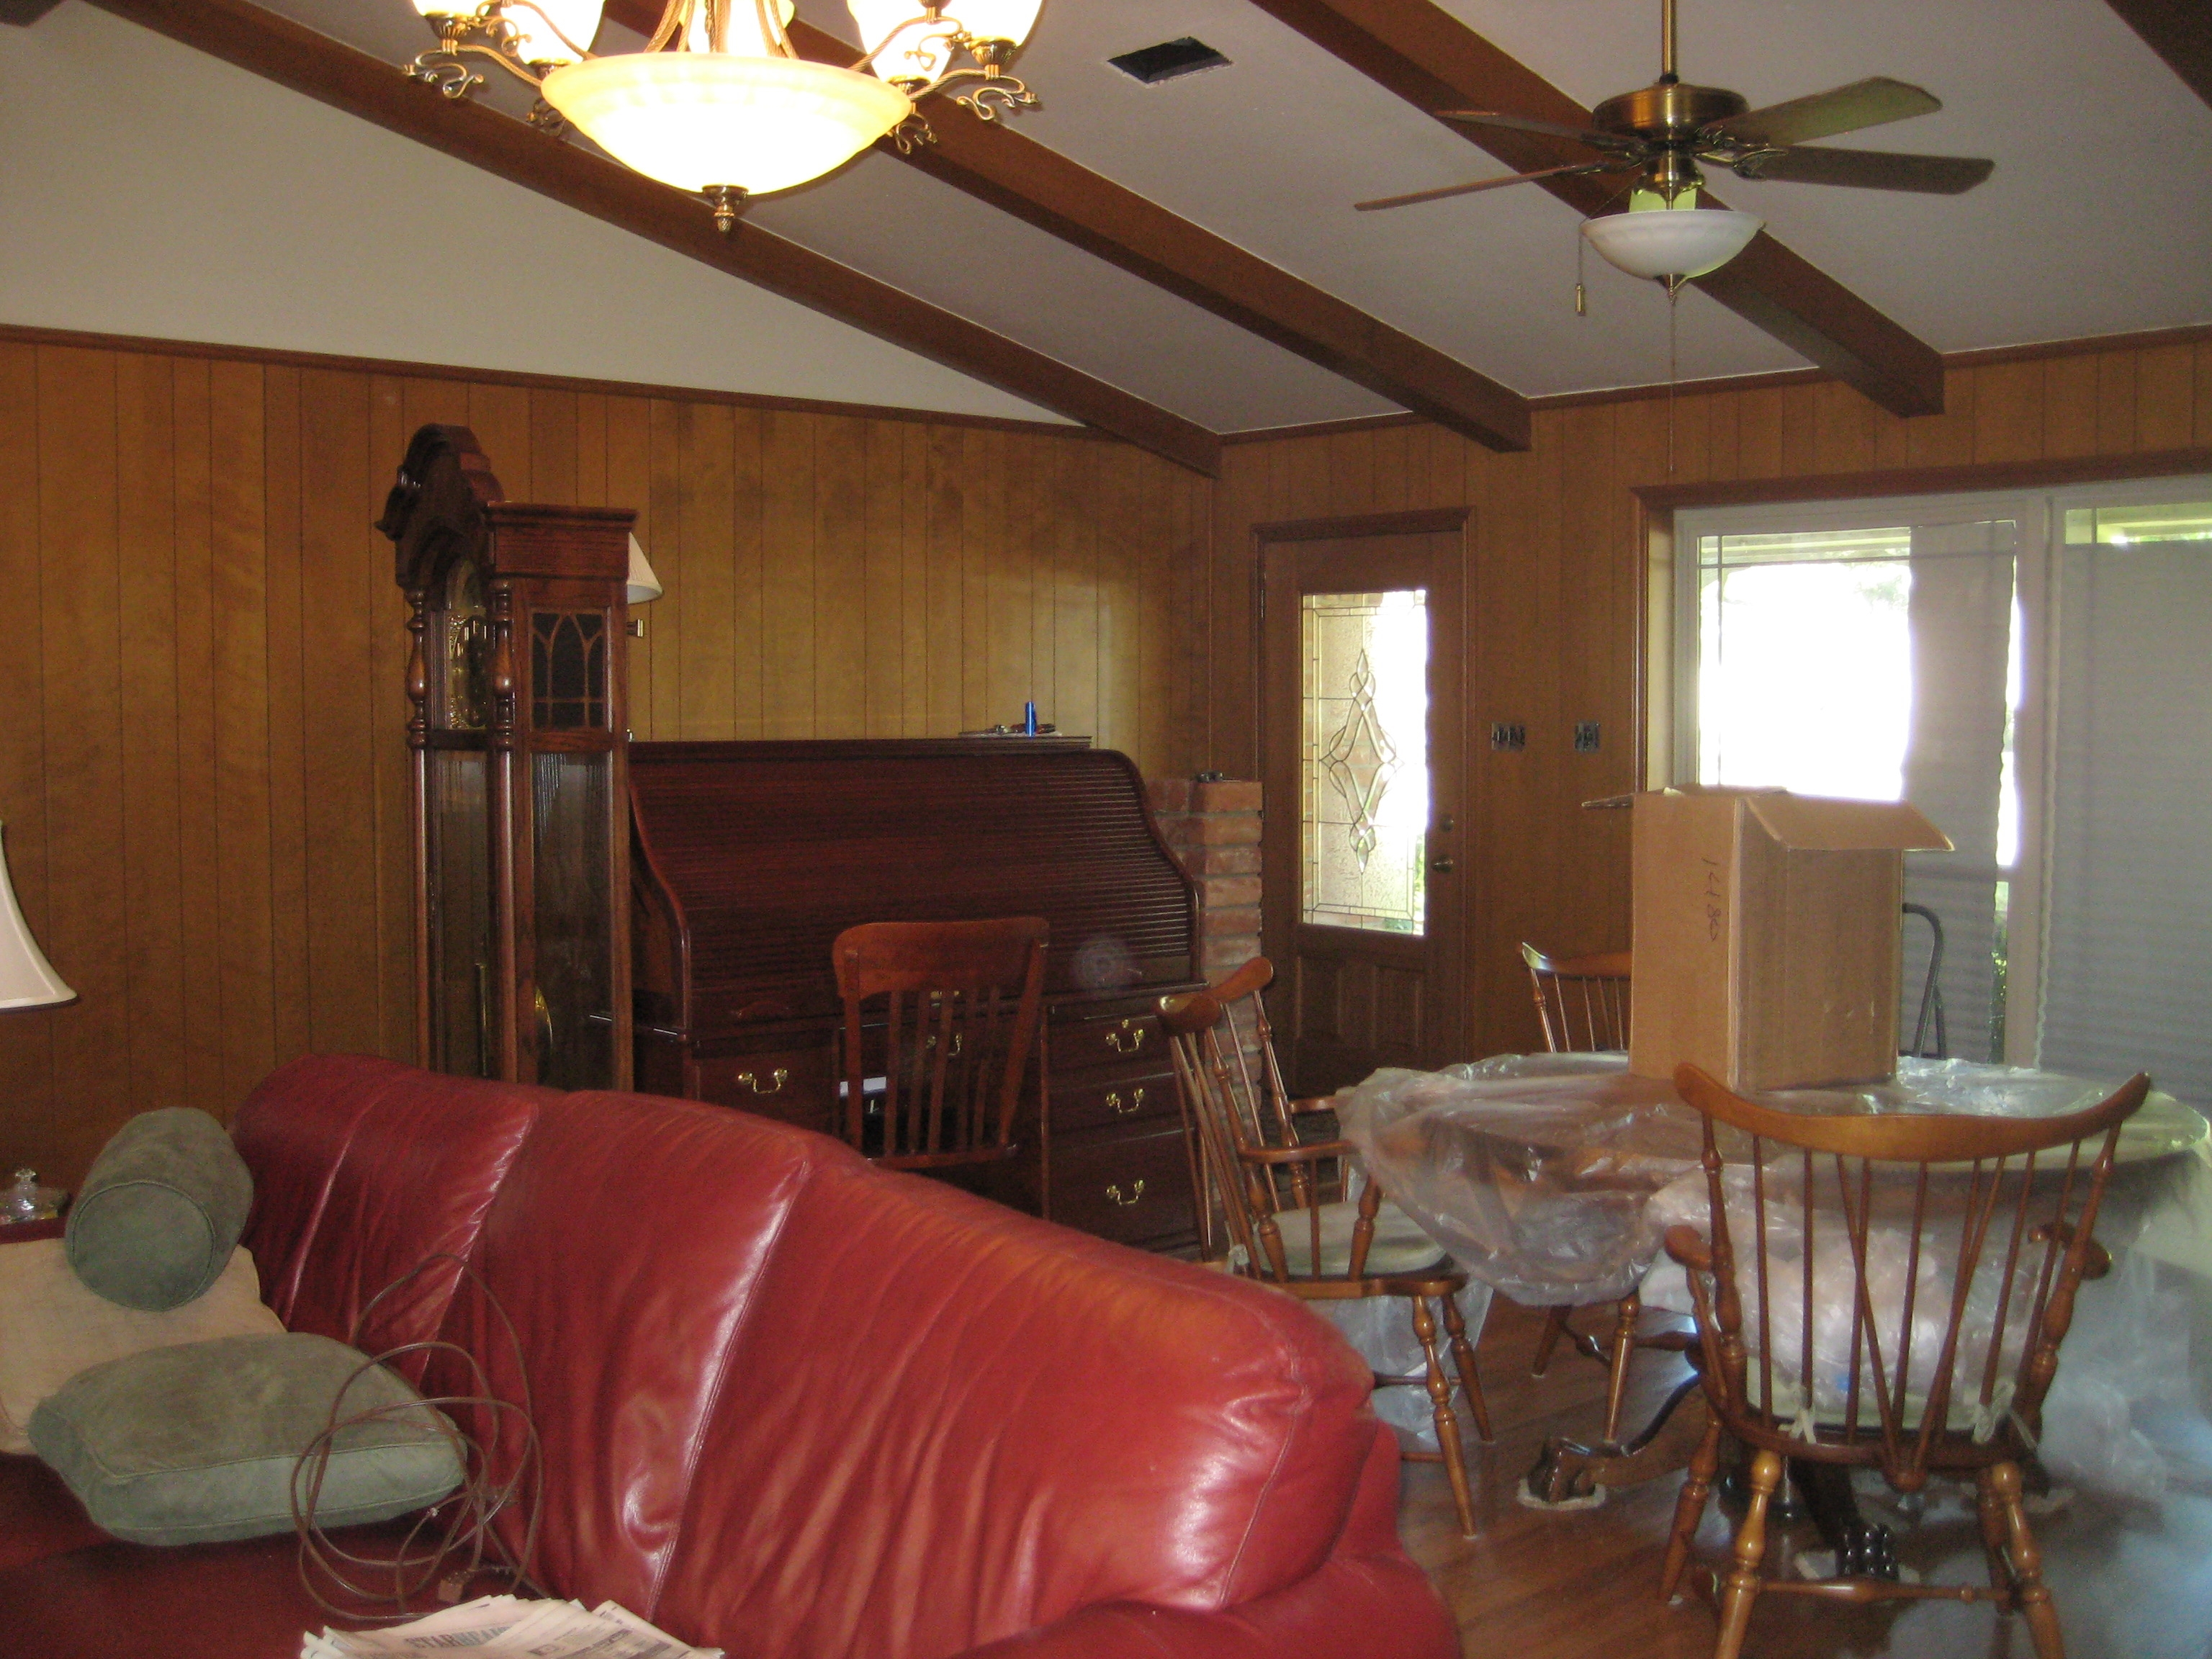
This is the room just as I was beginning to work.

longWoodPaneled

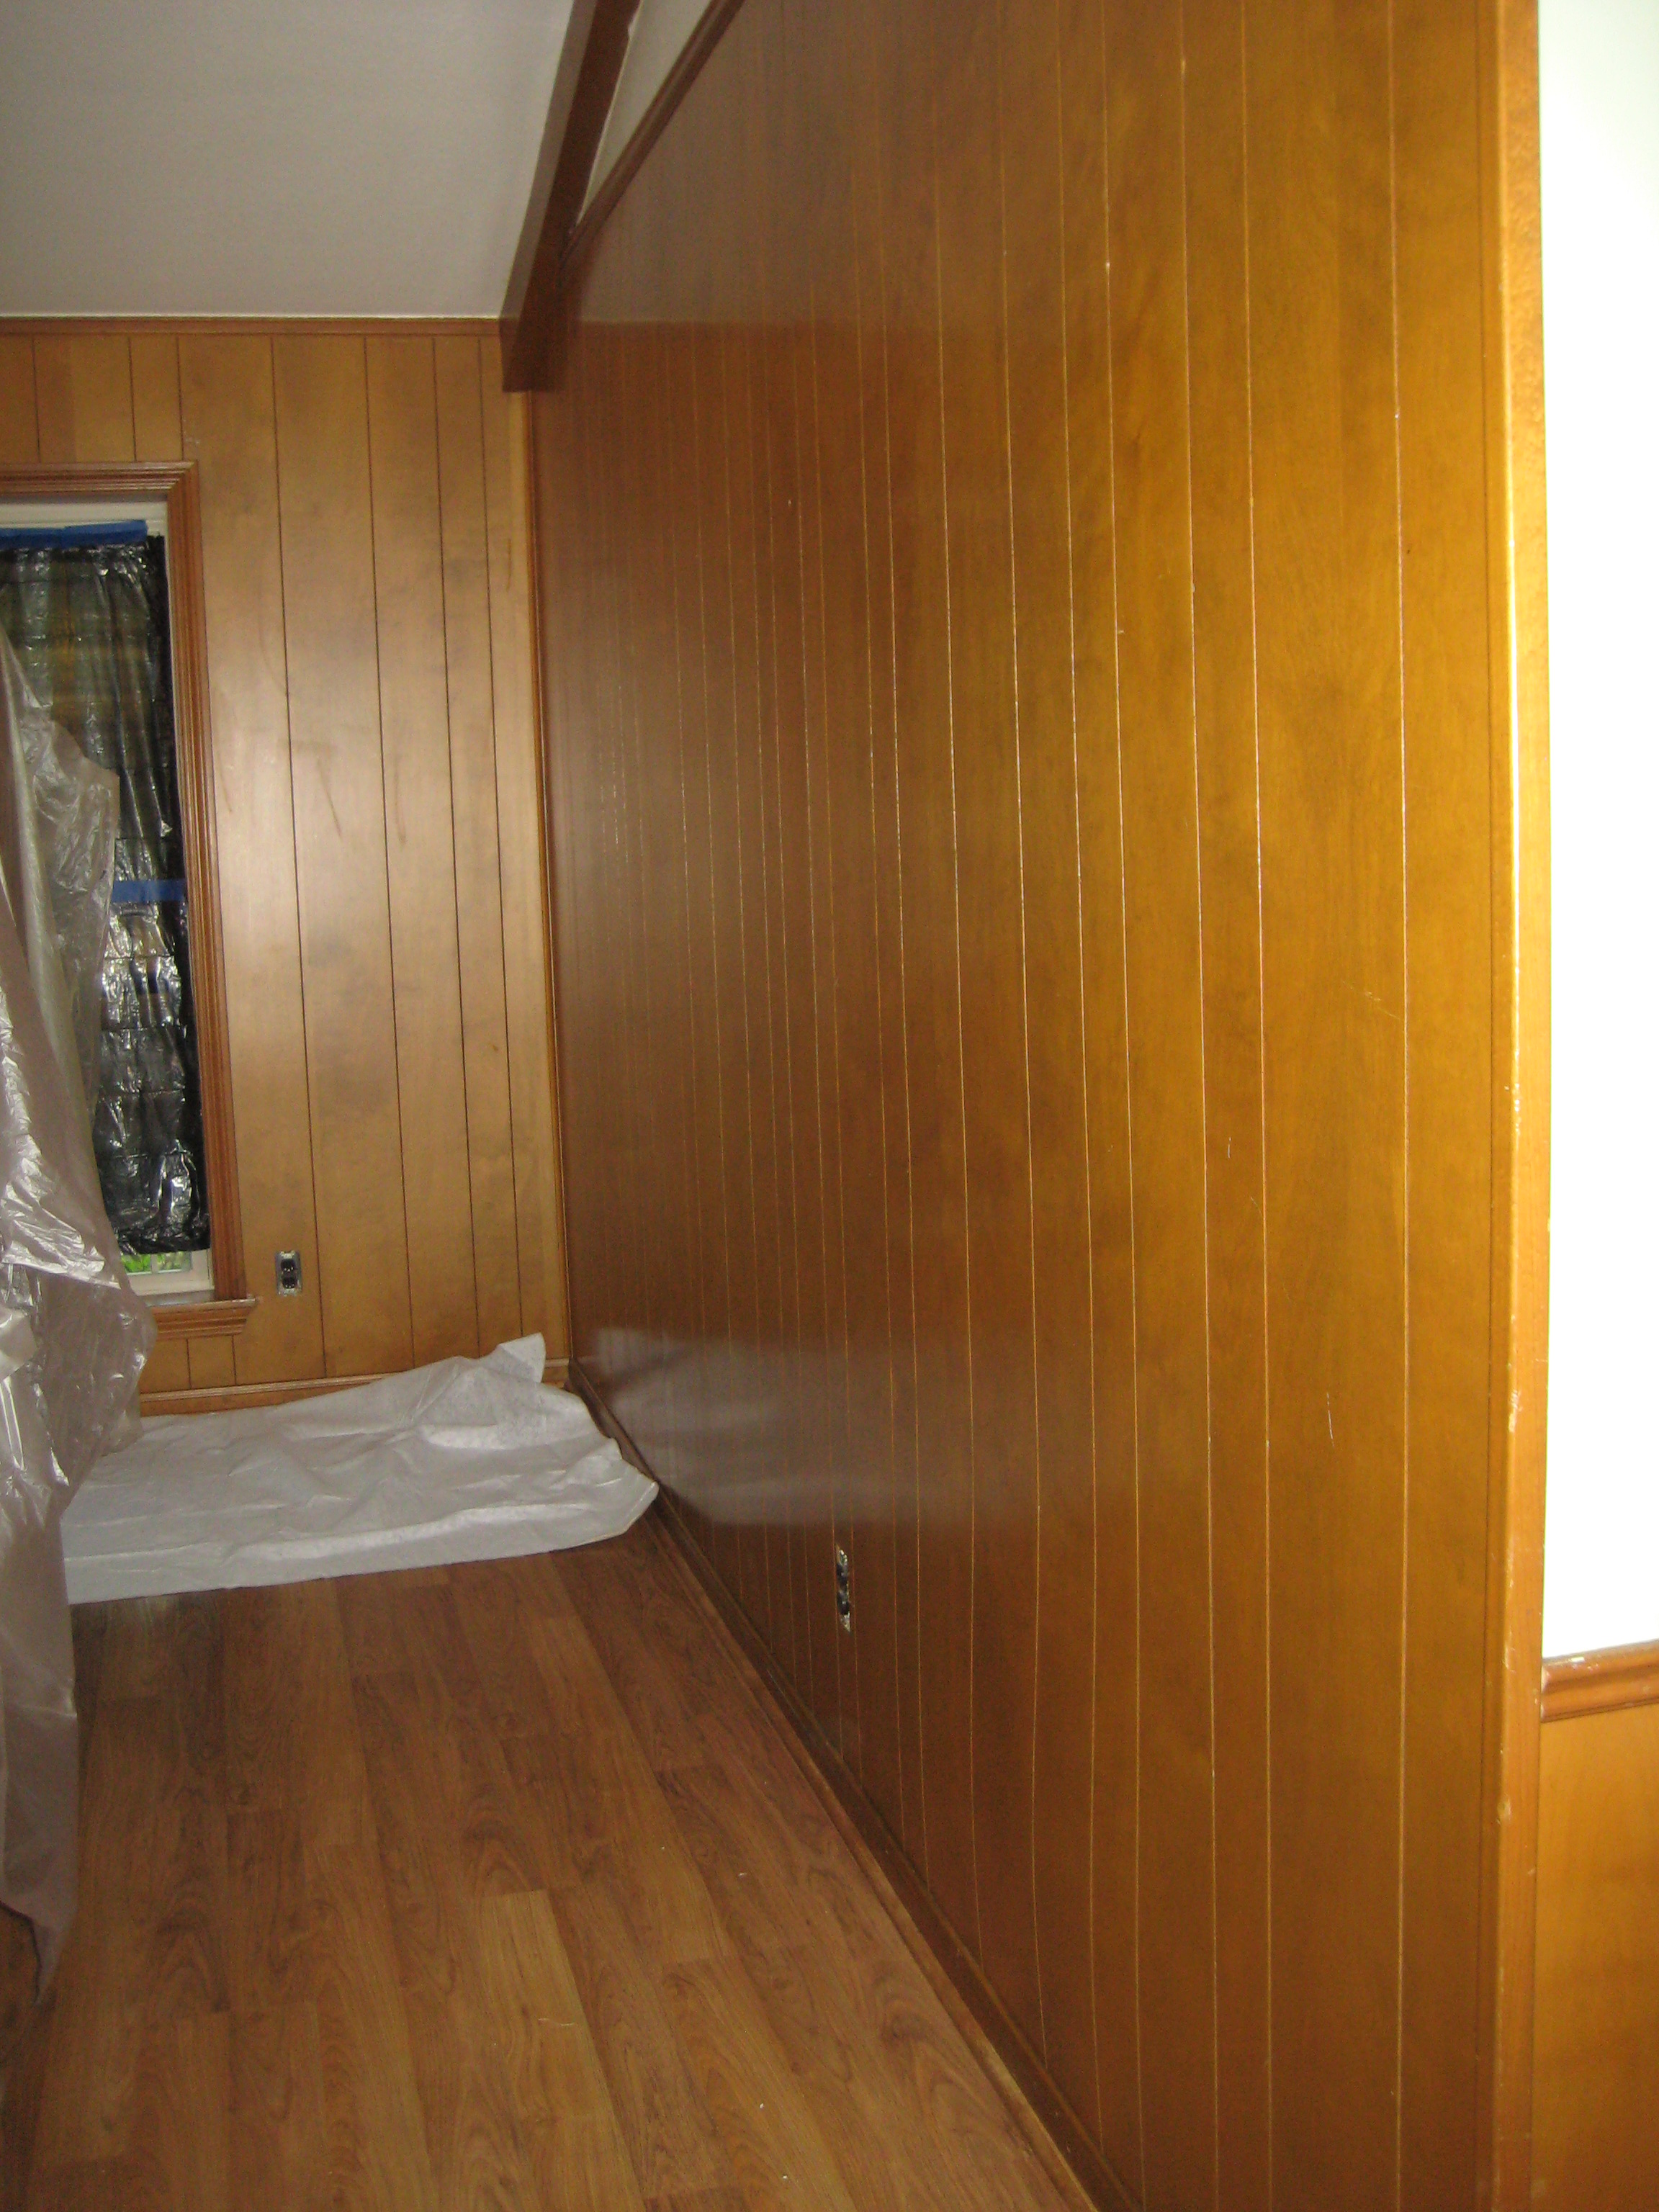
A good look at the paneling

Floated Grooves

All the grooves had to be filled in.

GroovesWoodPaneled

Long wall, partly prepped.

BWallBStockPanel

Some blank stock wall liner is going up.

blankStck BrRoom

The Breakfast room below the chair rail is also panelling. Here it is with blankstock on it. Almost ready for the paintable wallcovering.

paintableLongWall

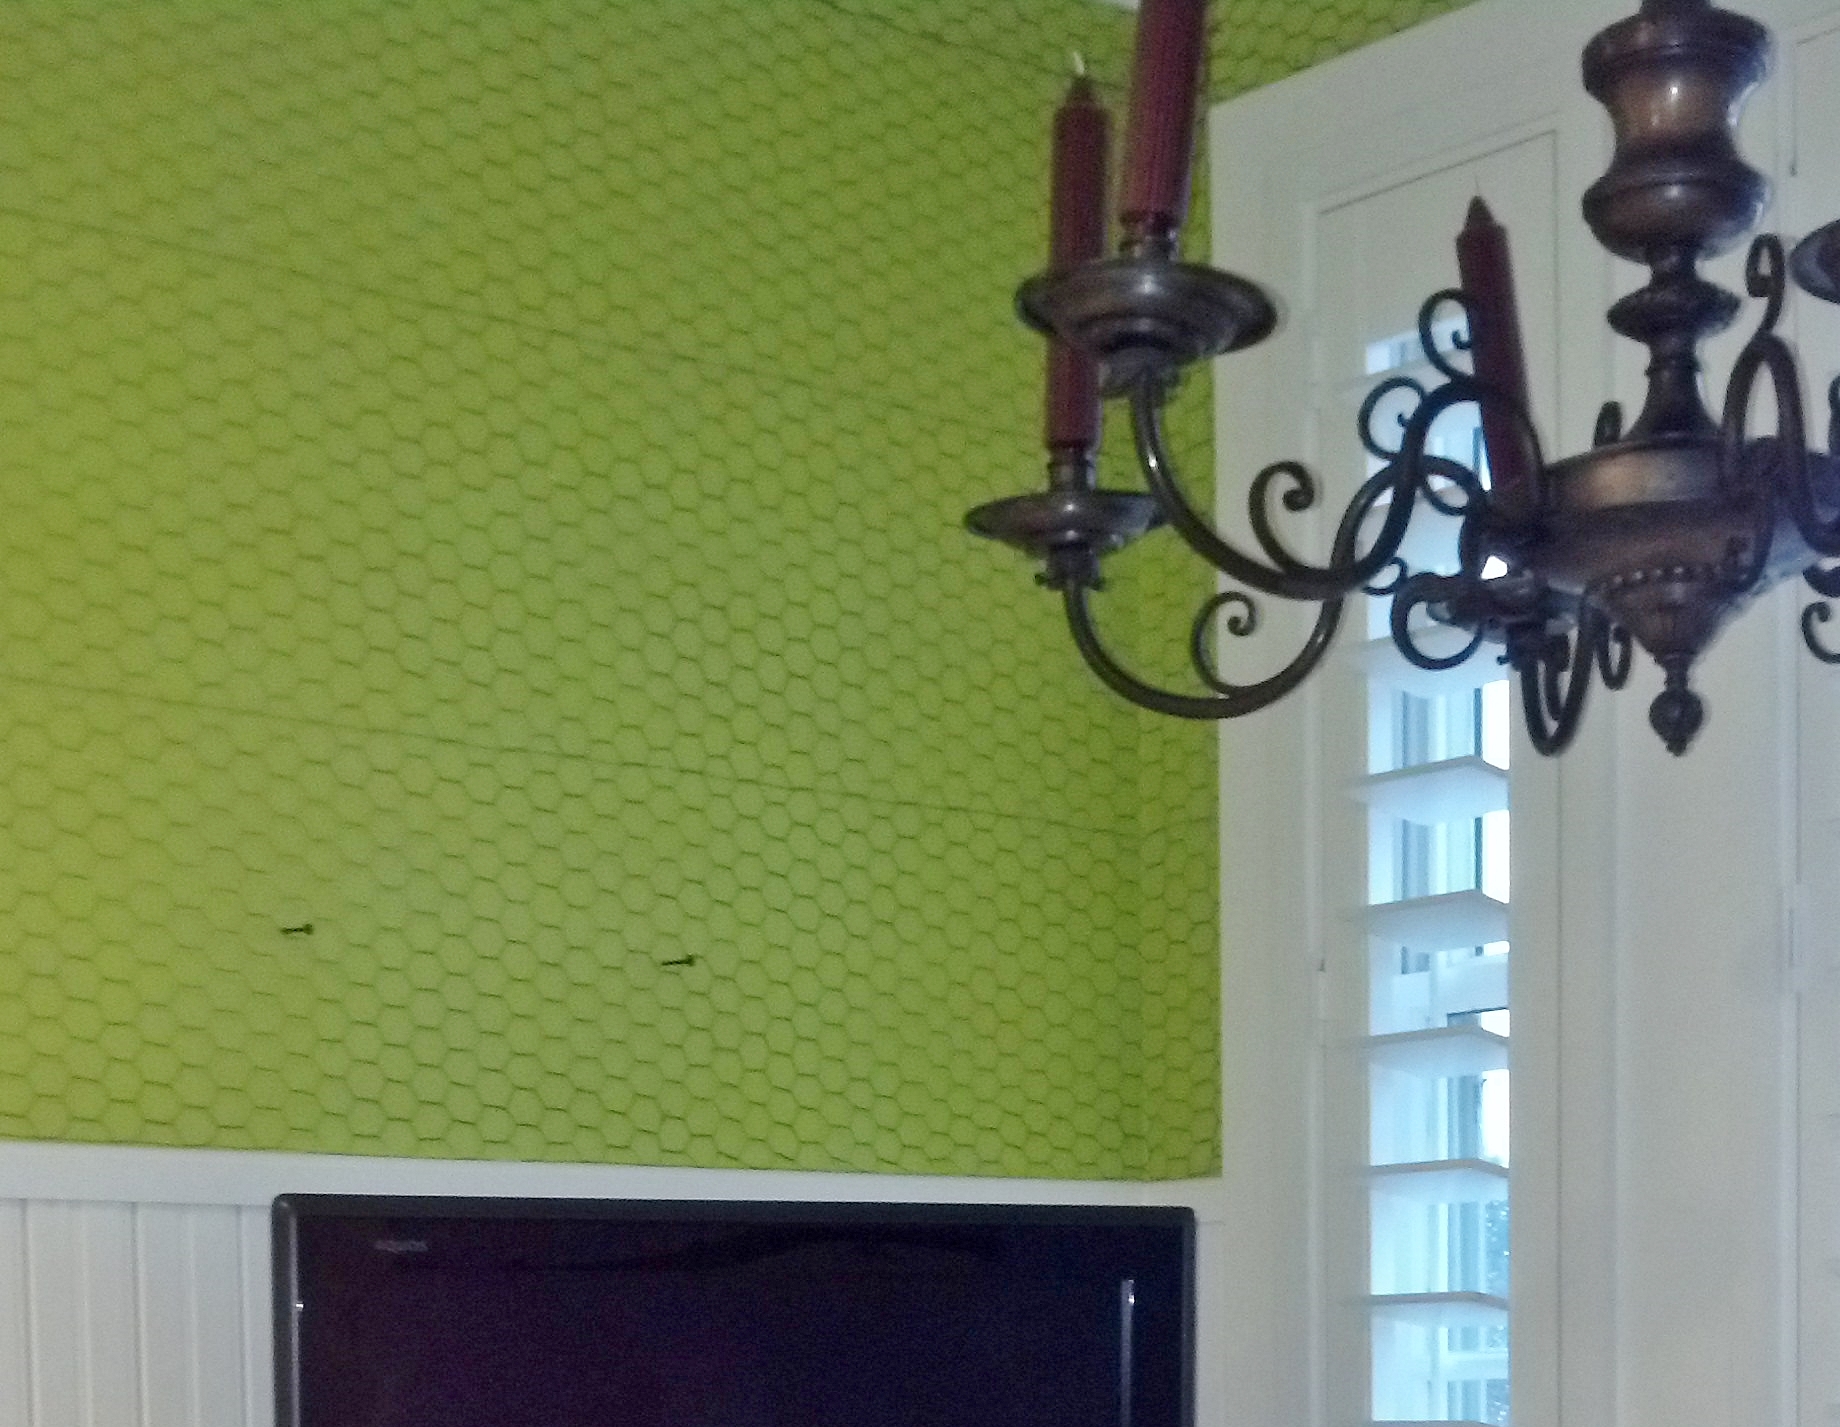
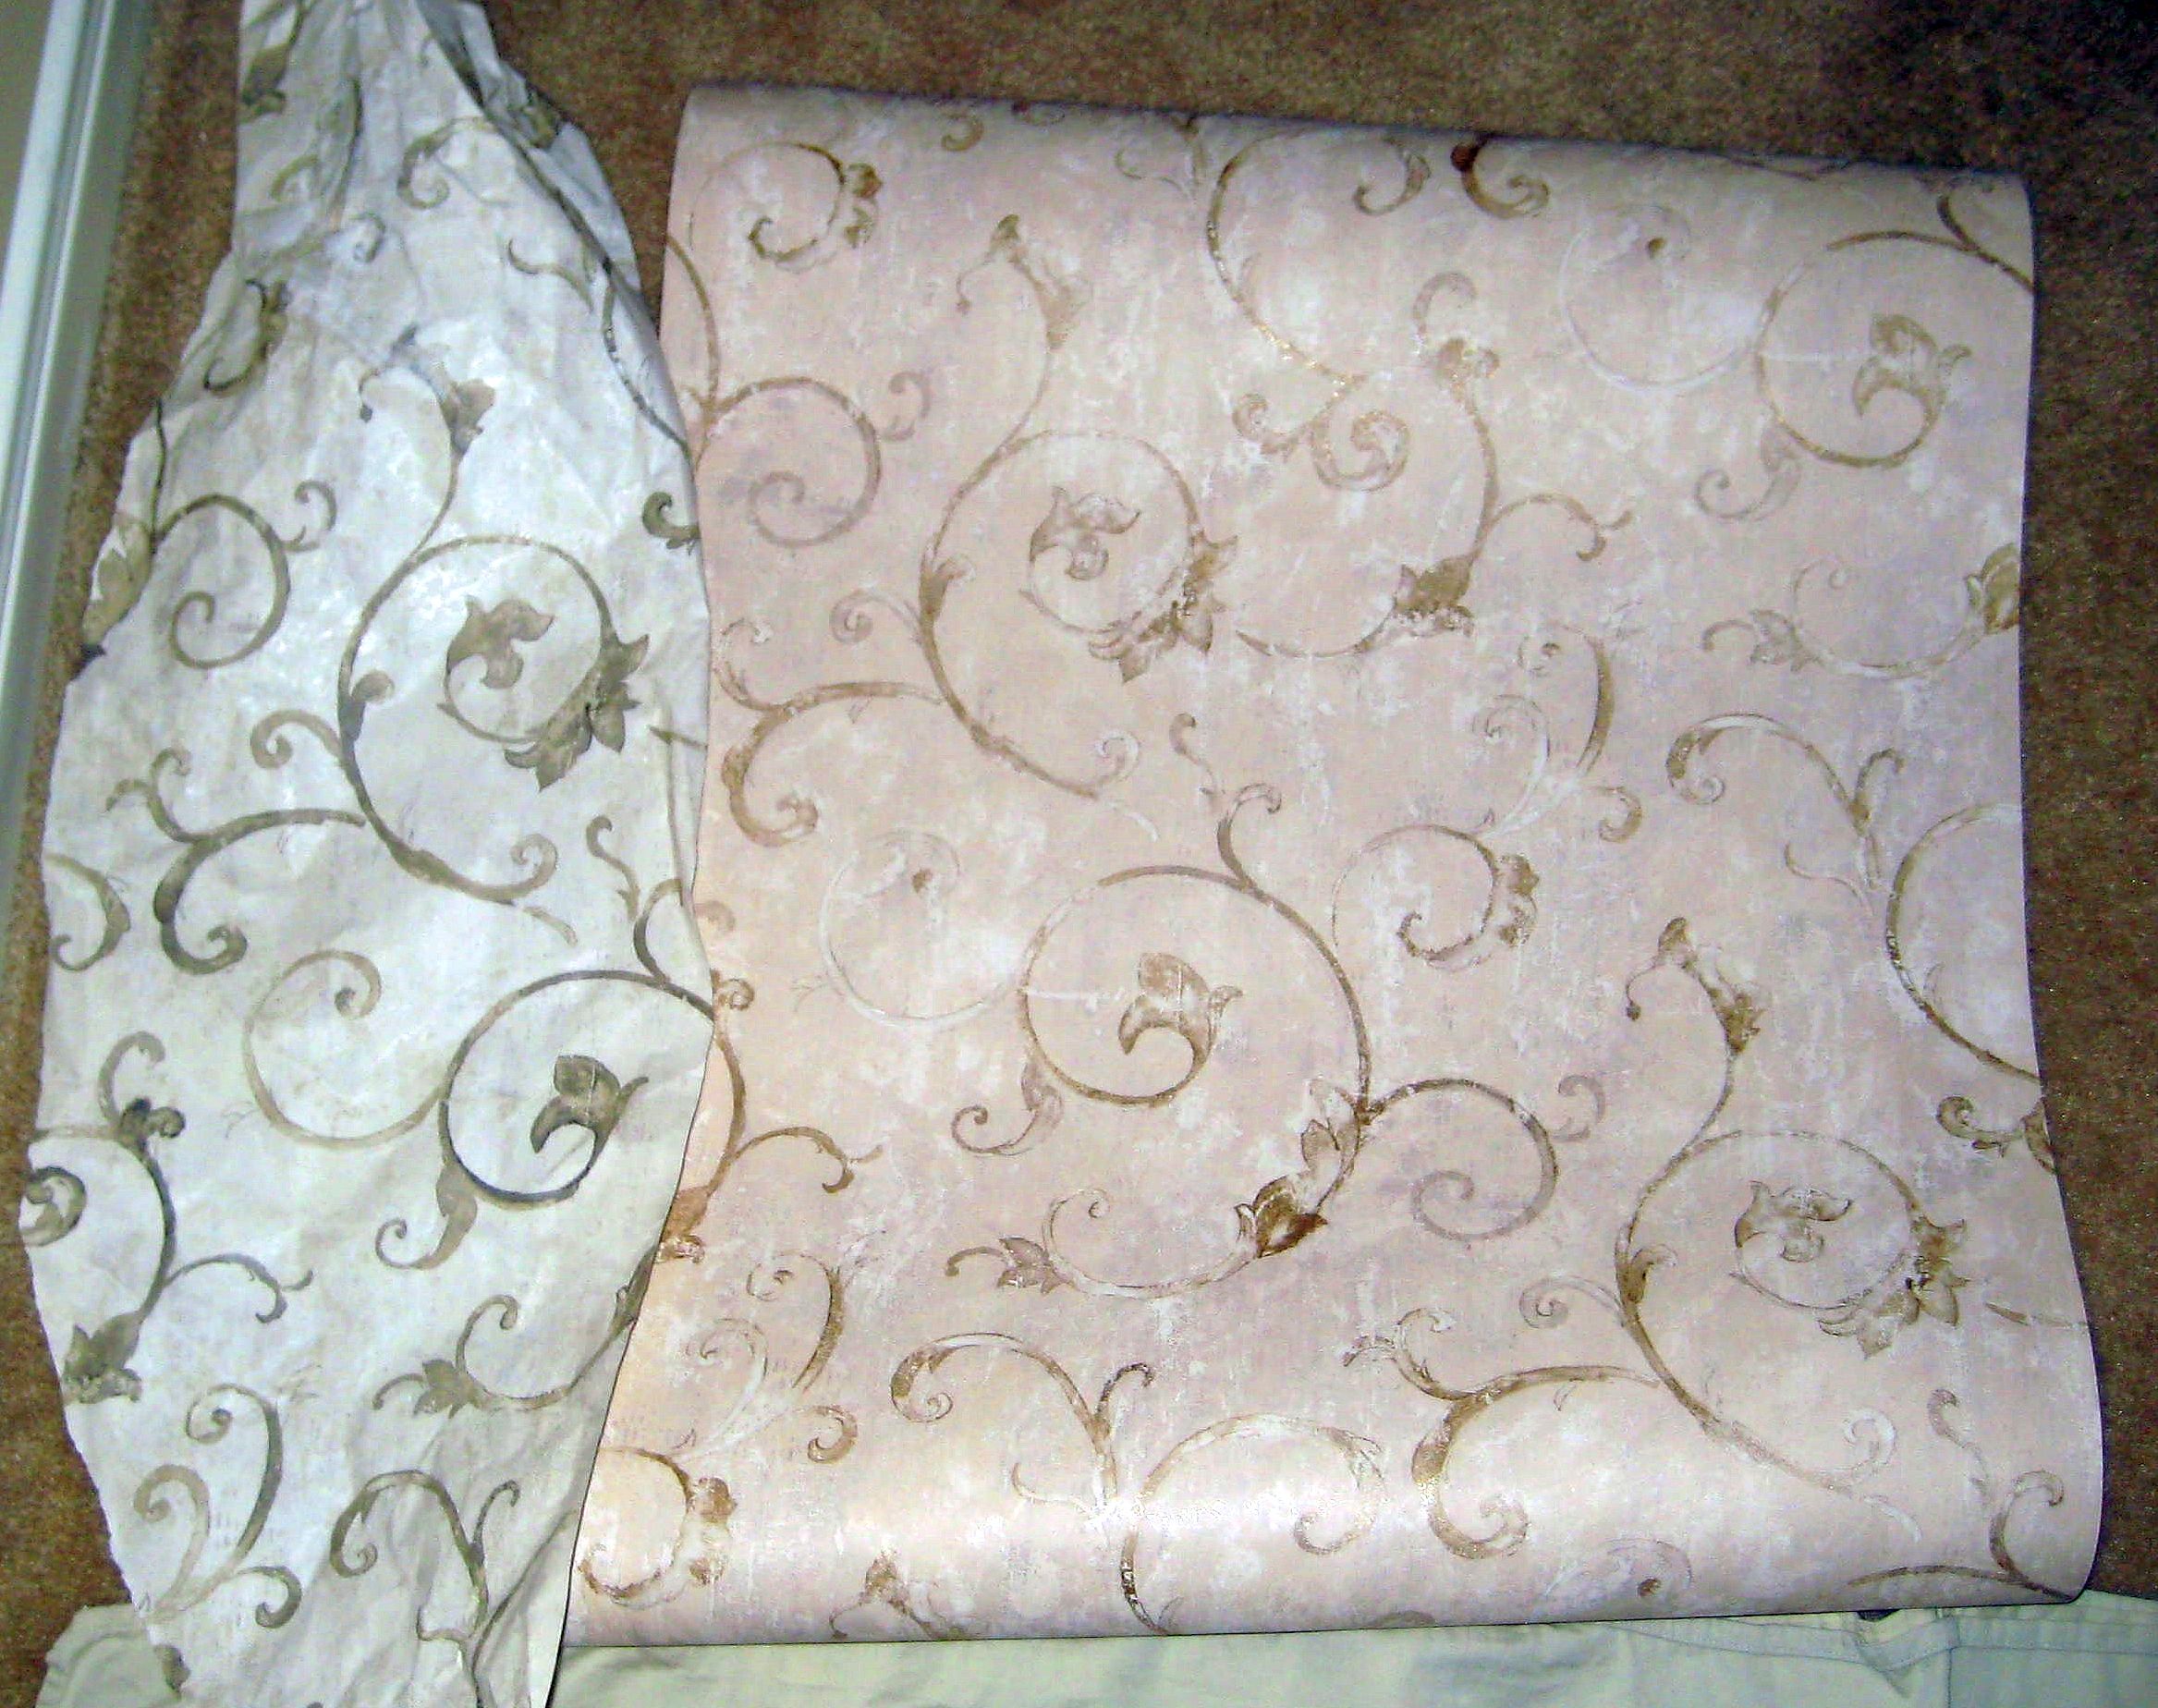
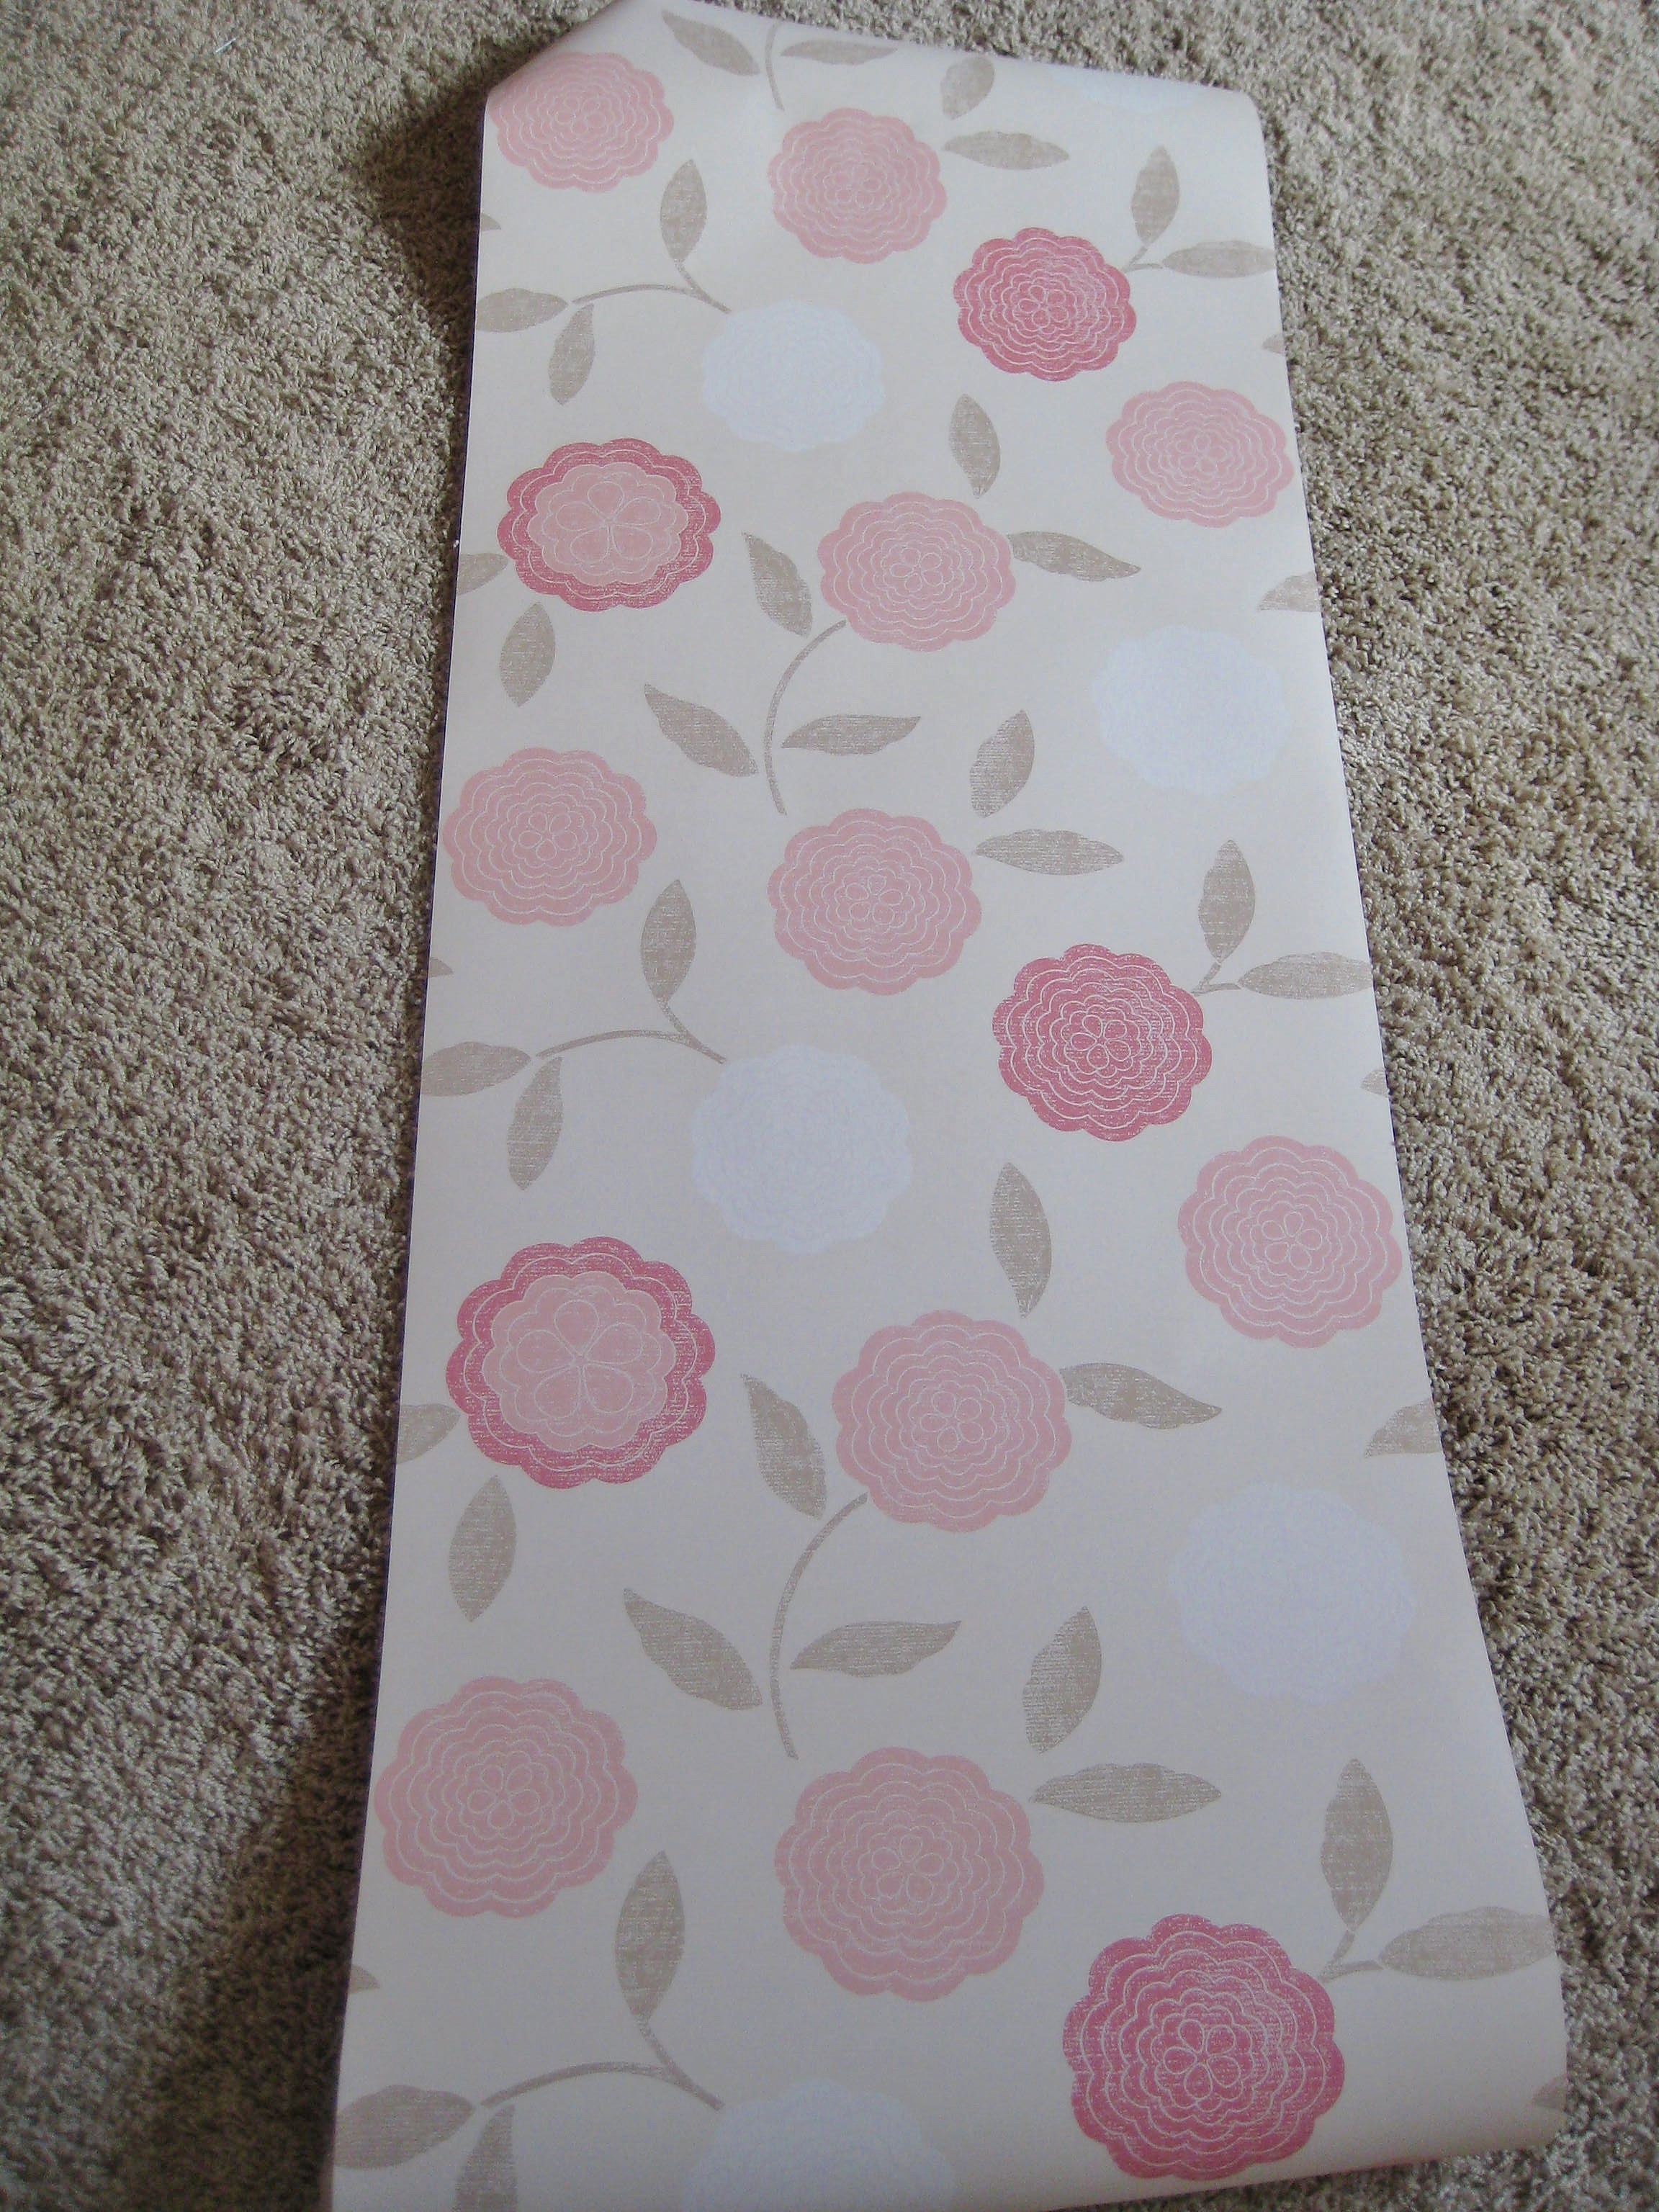
The paintable wallcovering is now up on this wall. This wallpaper is by ‘Brewster’.

PaintablePaper2

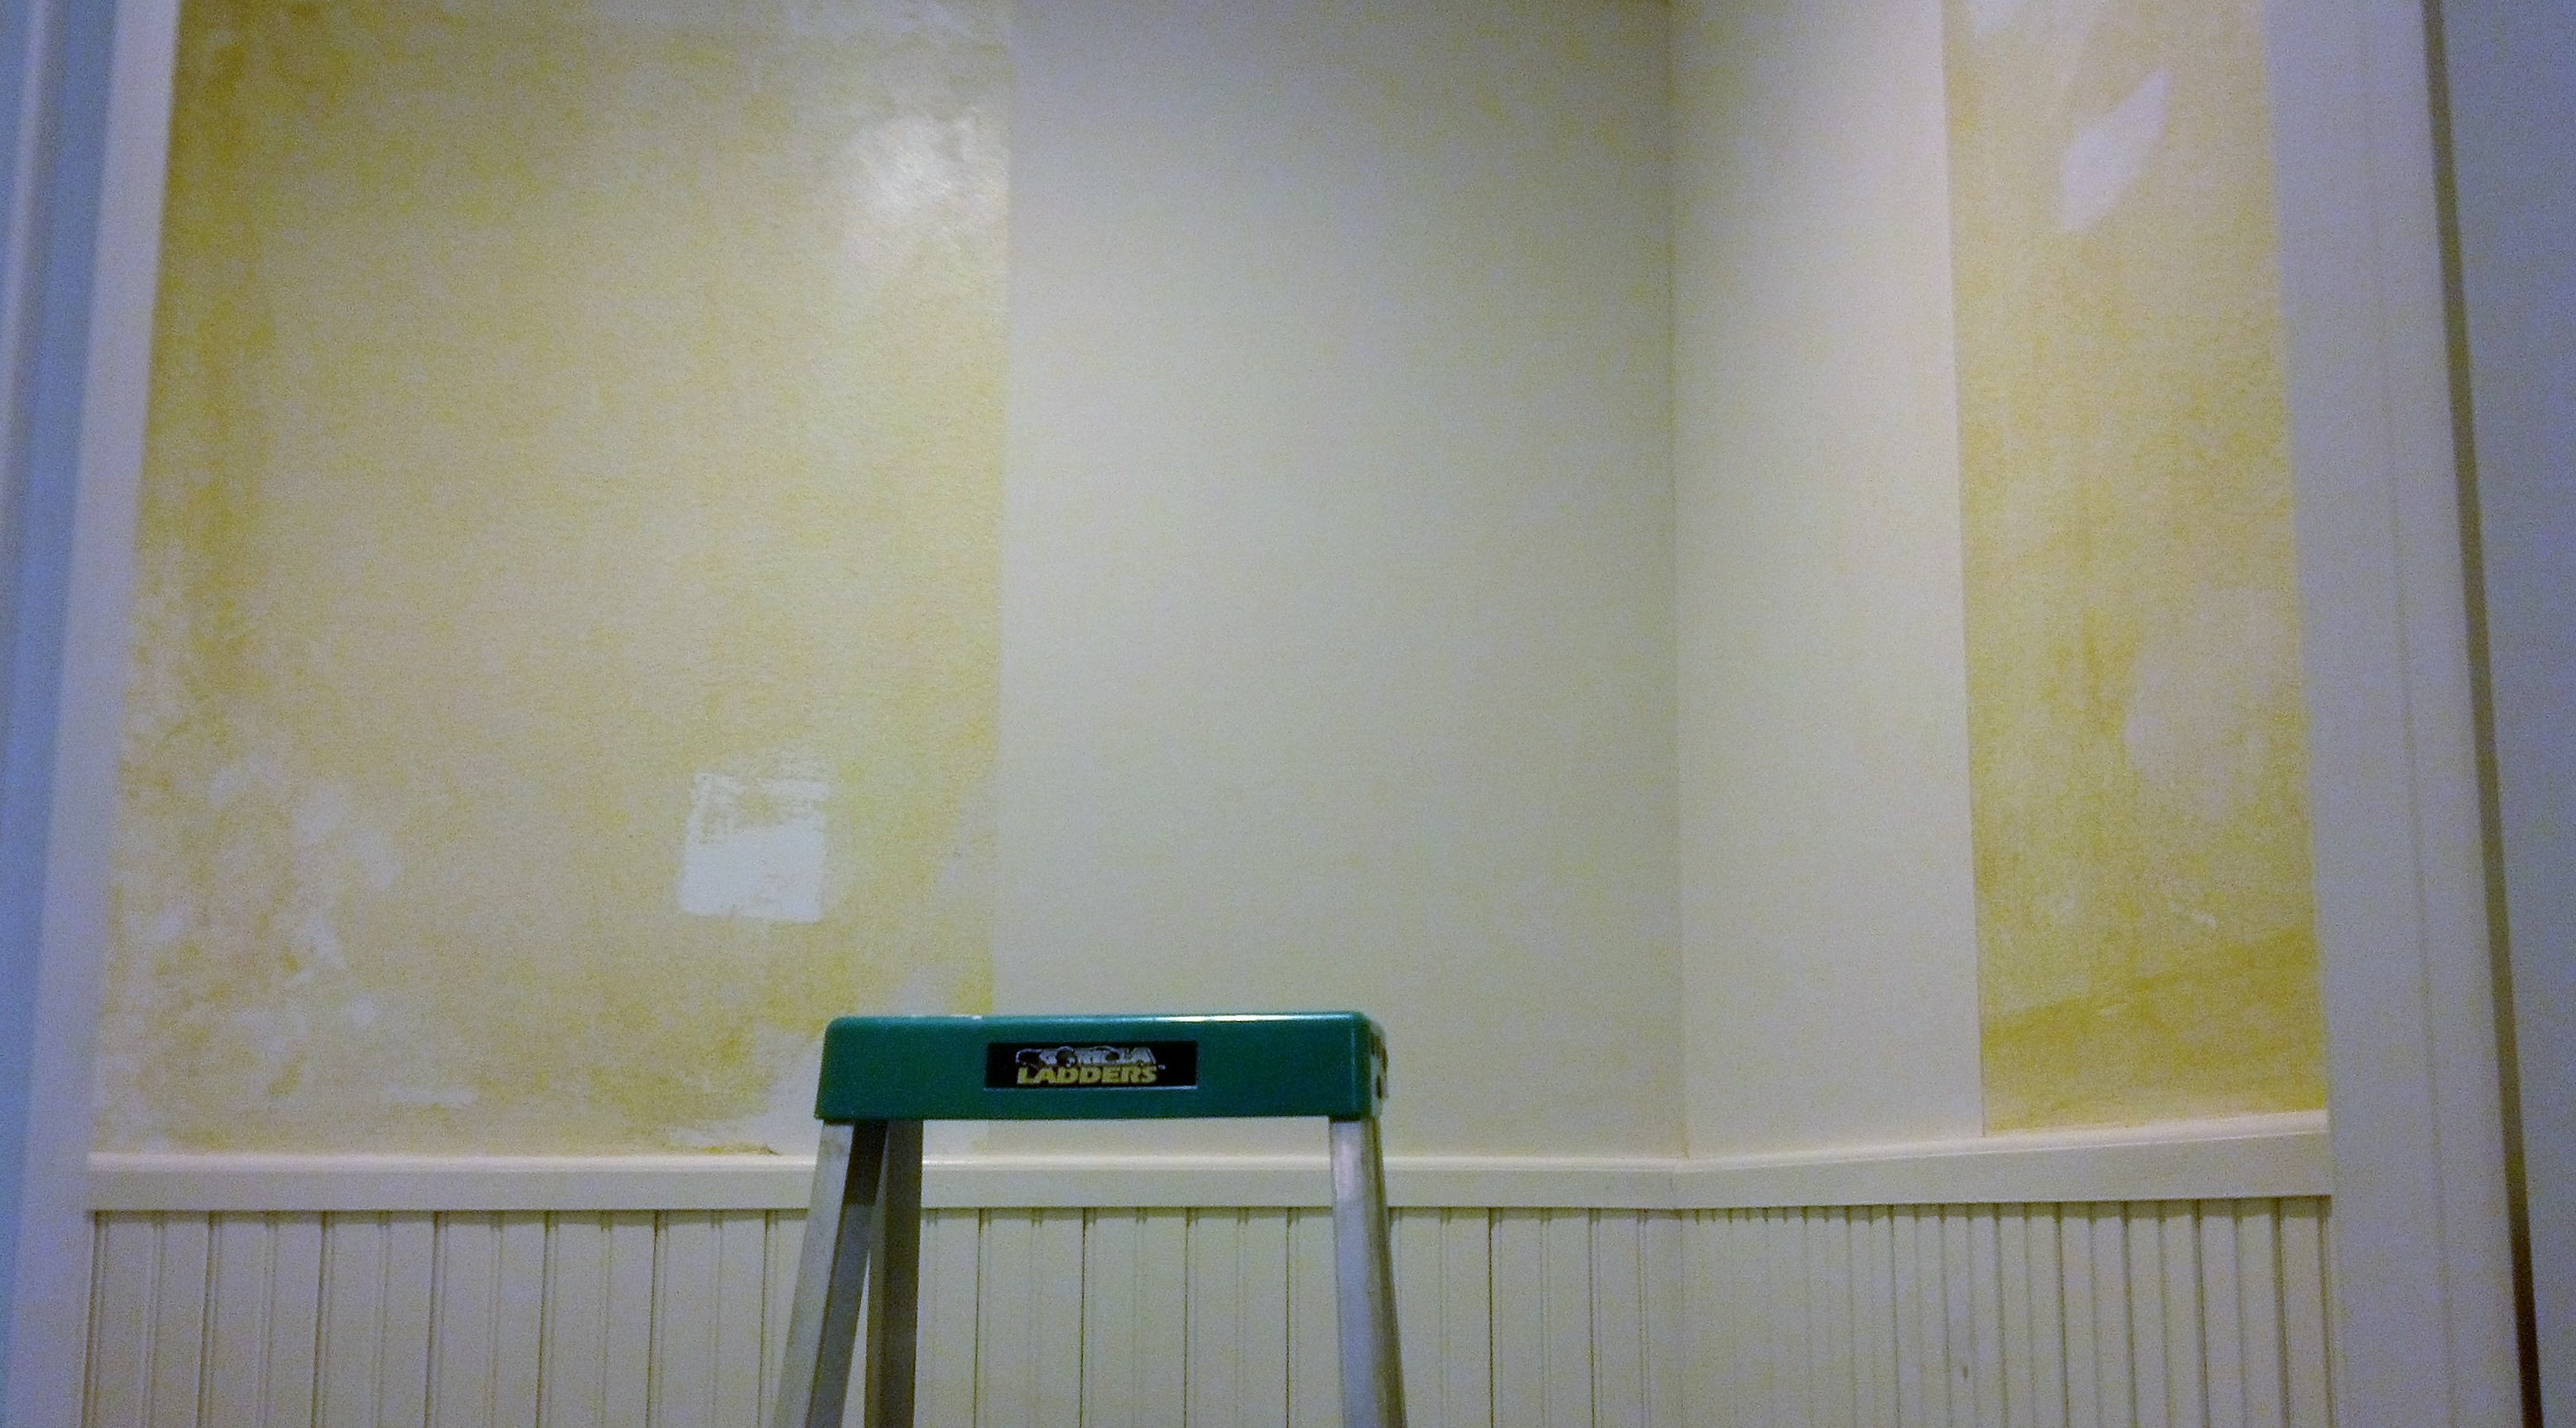
Opposite wall has paper now.

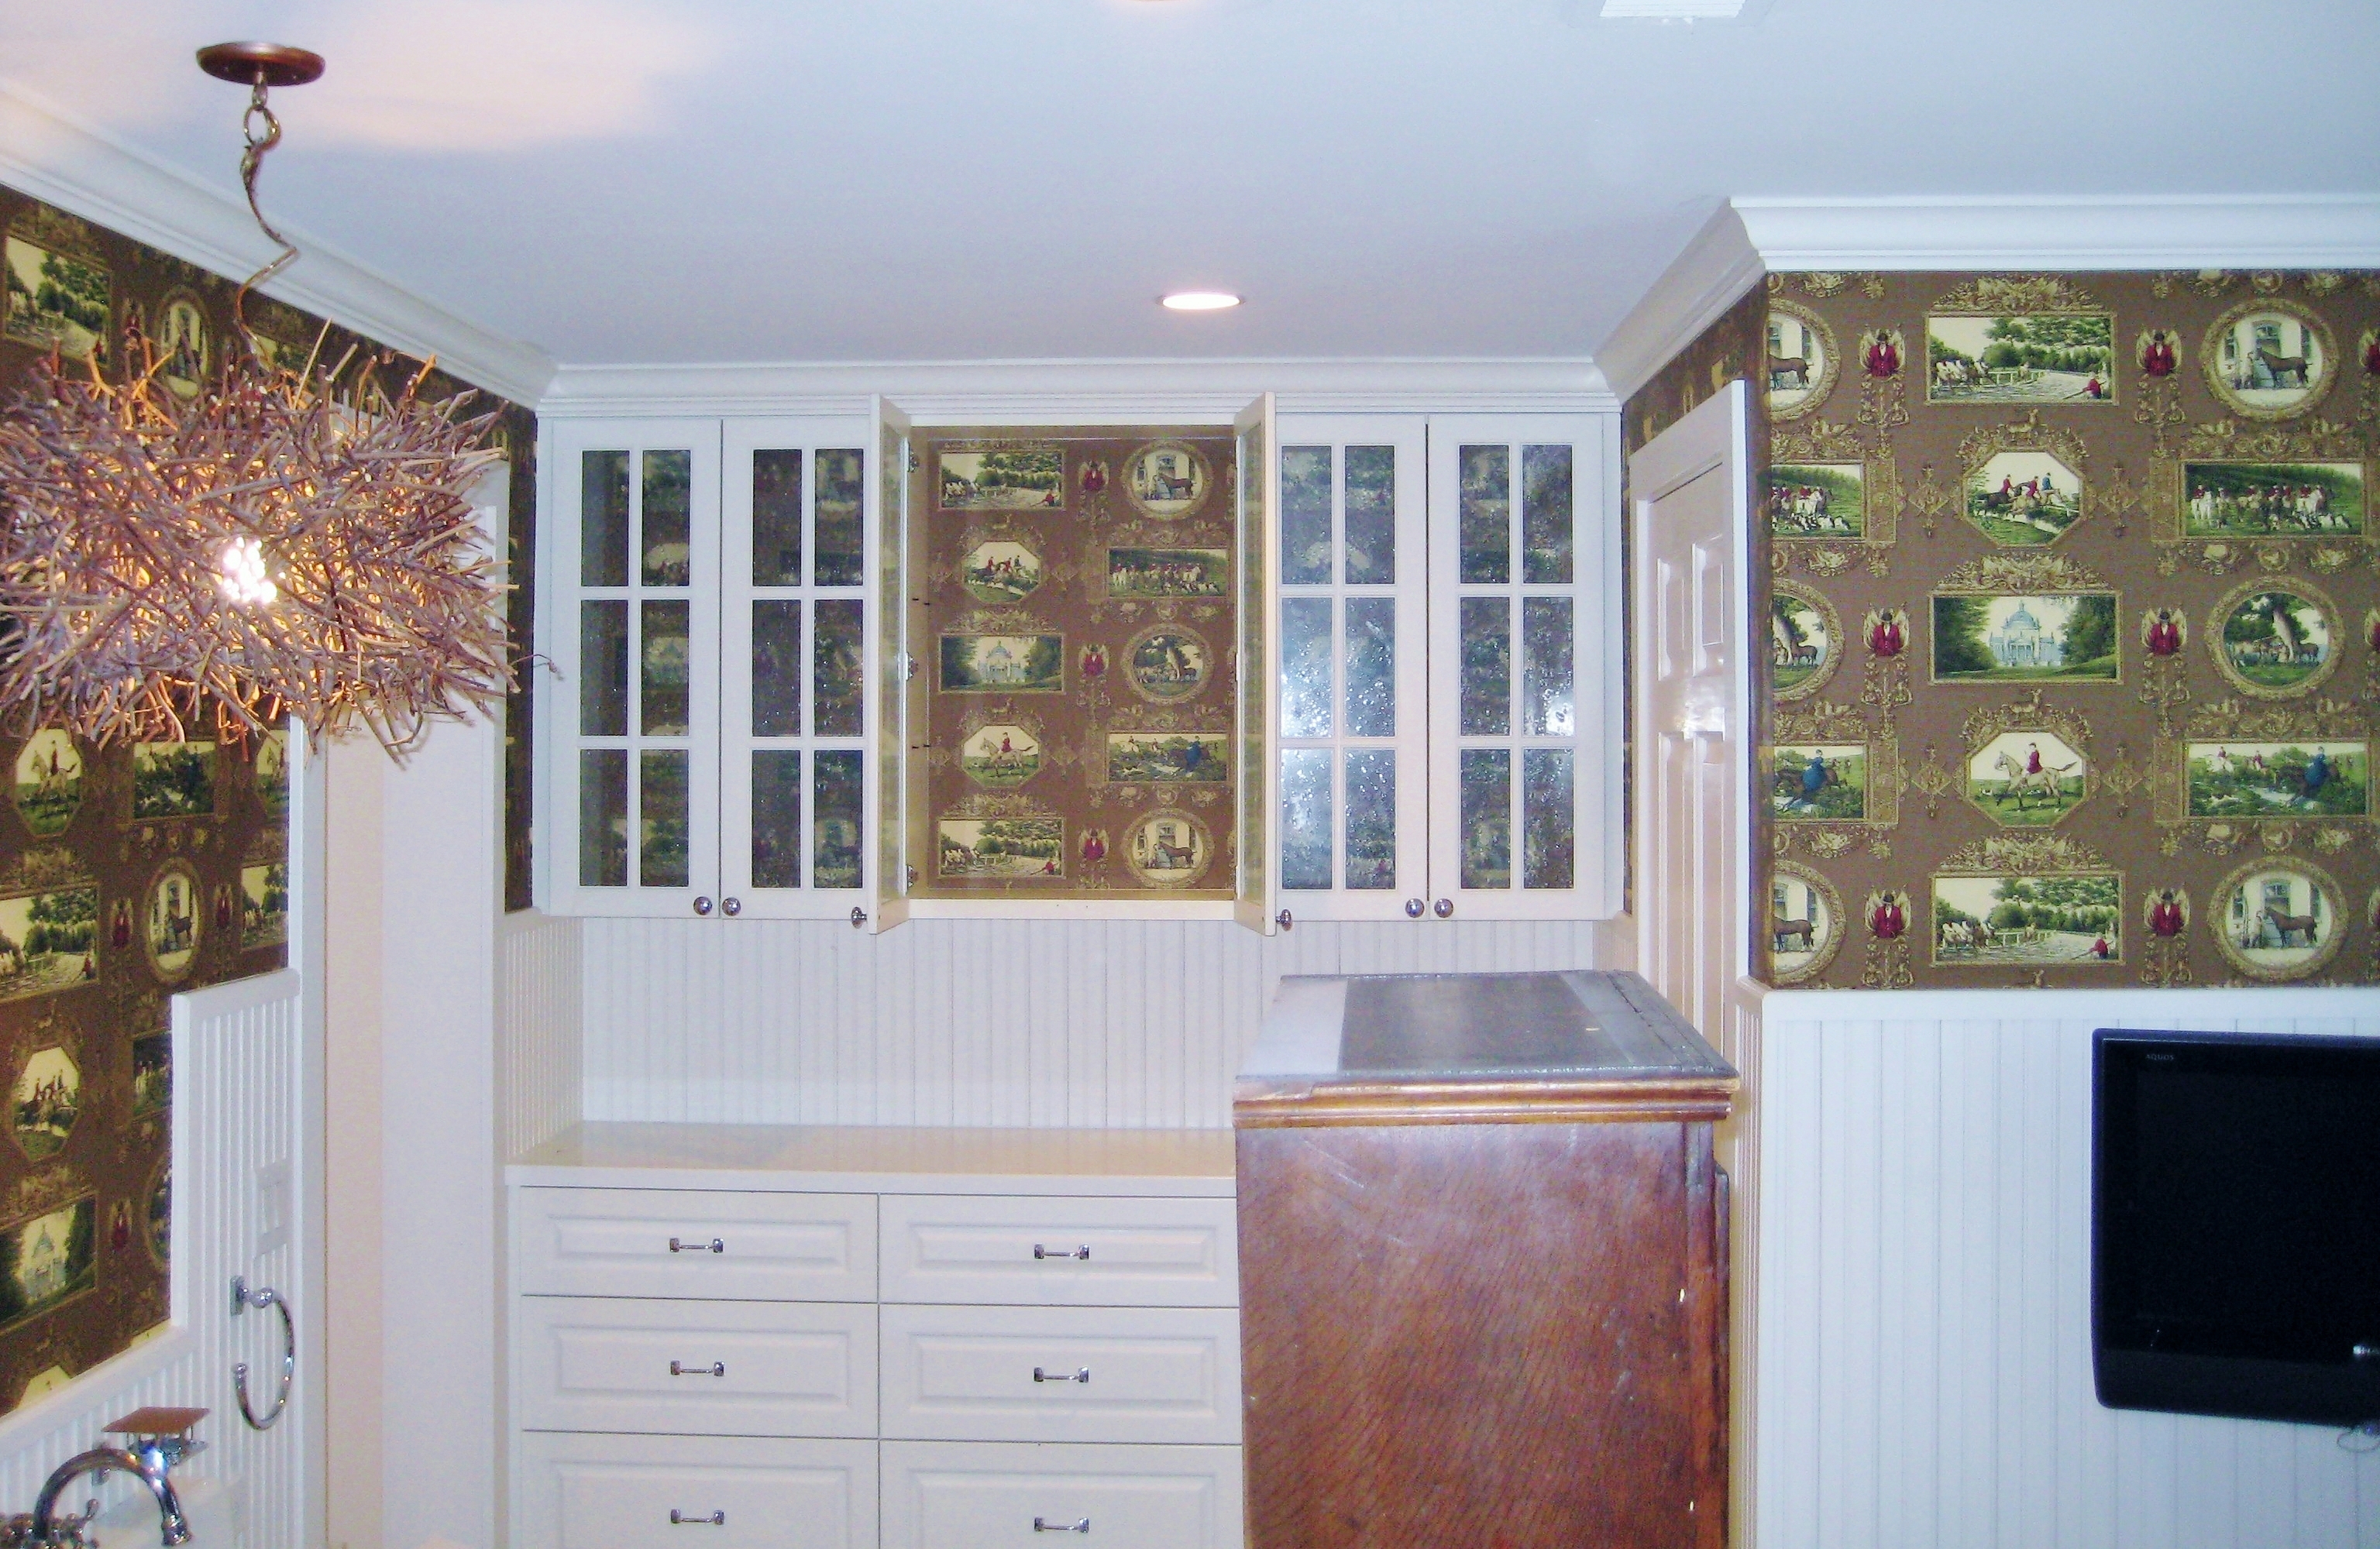
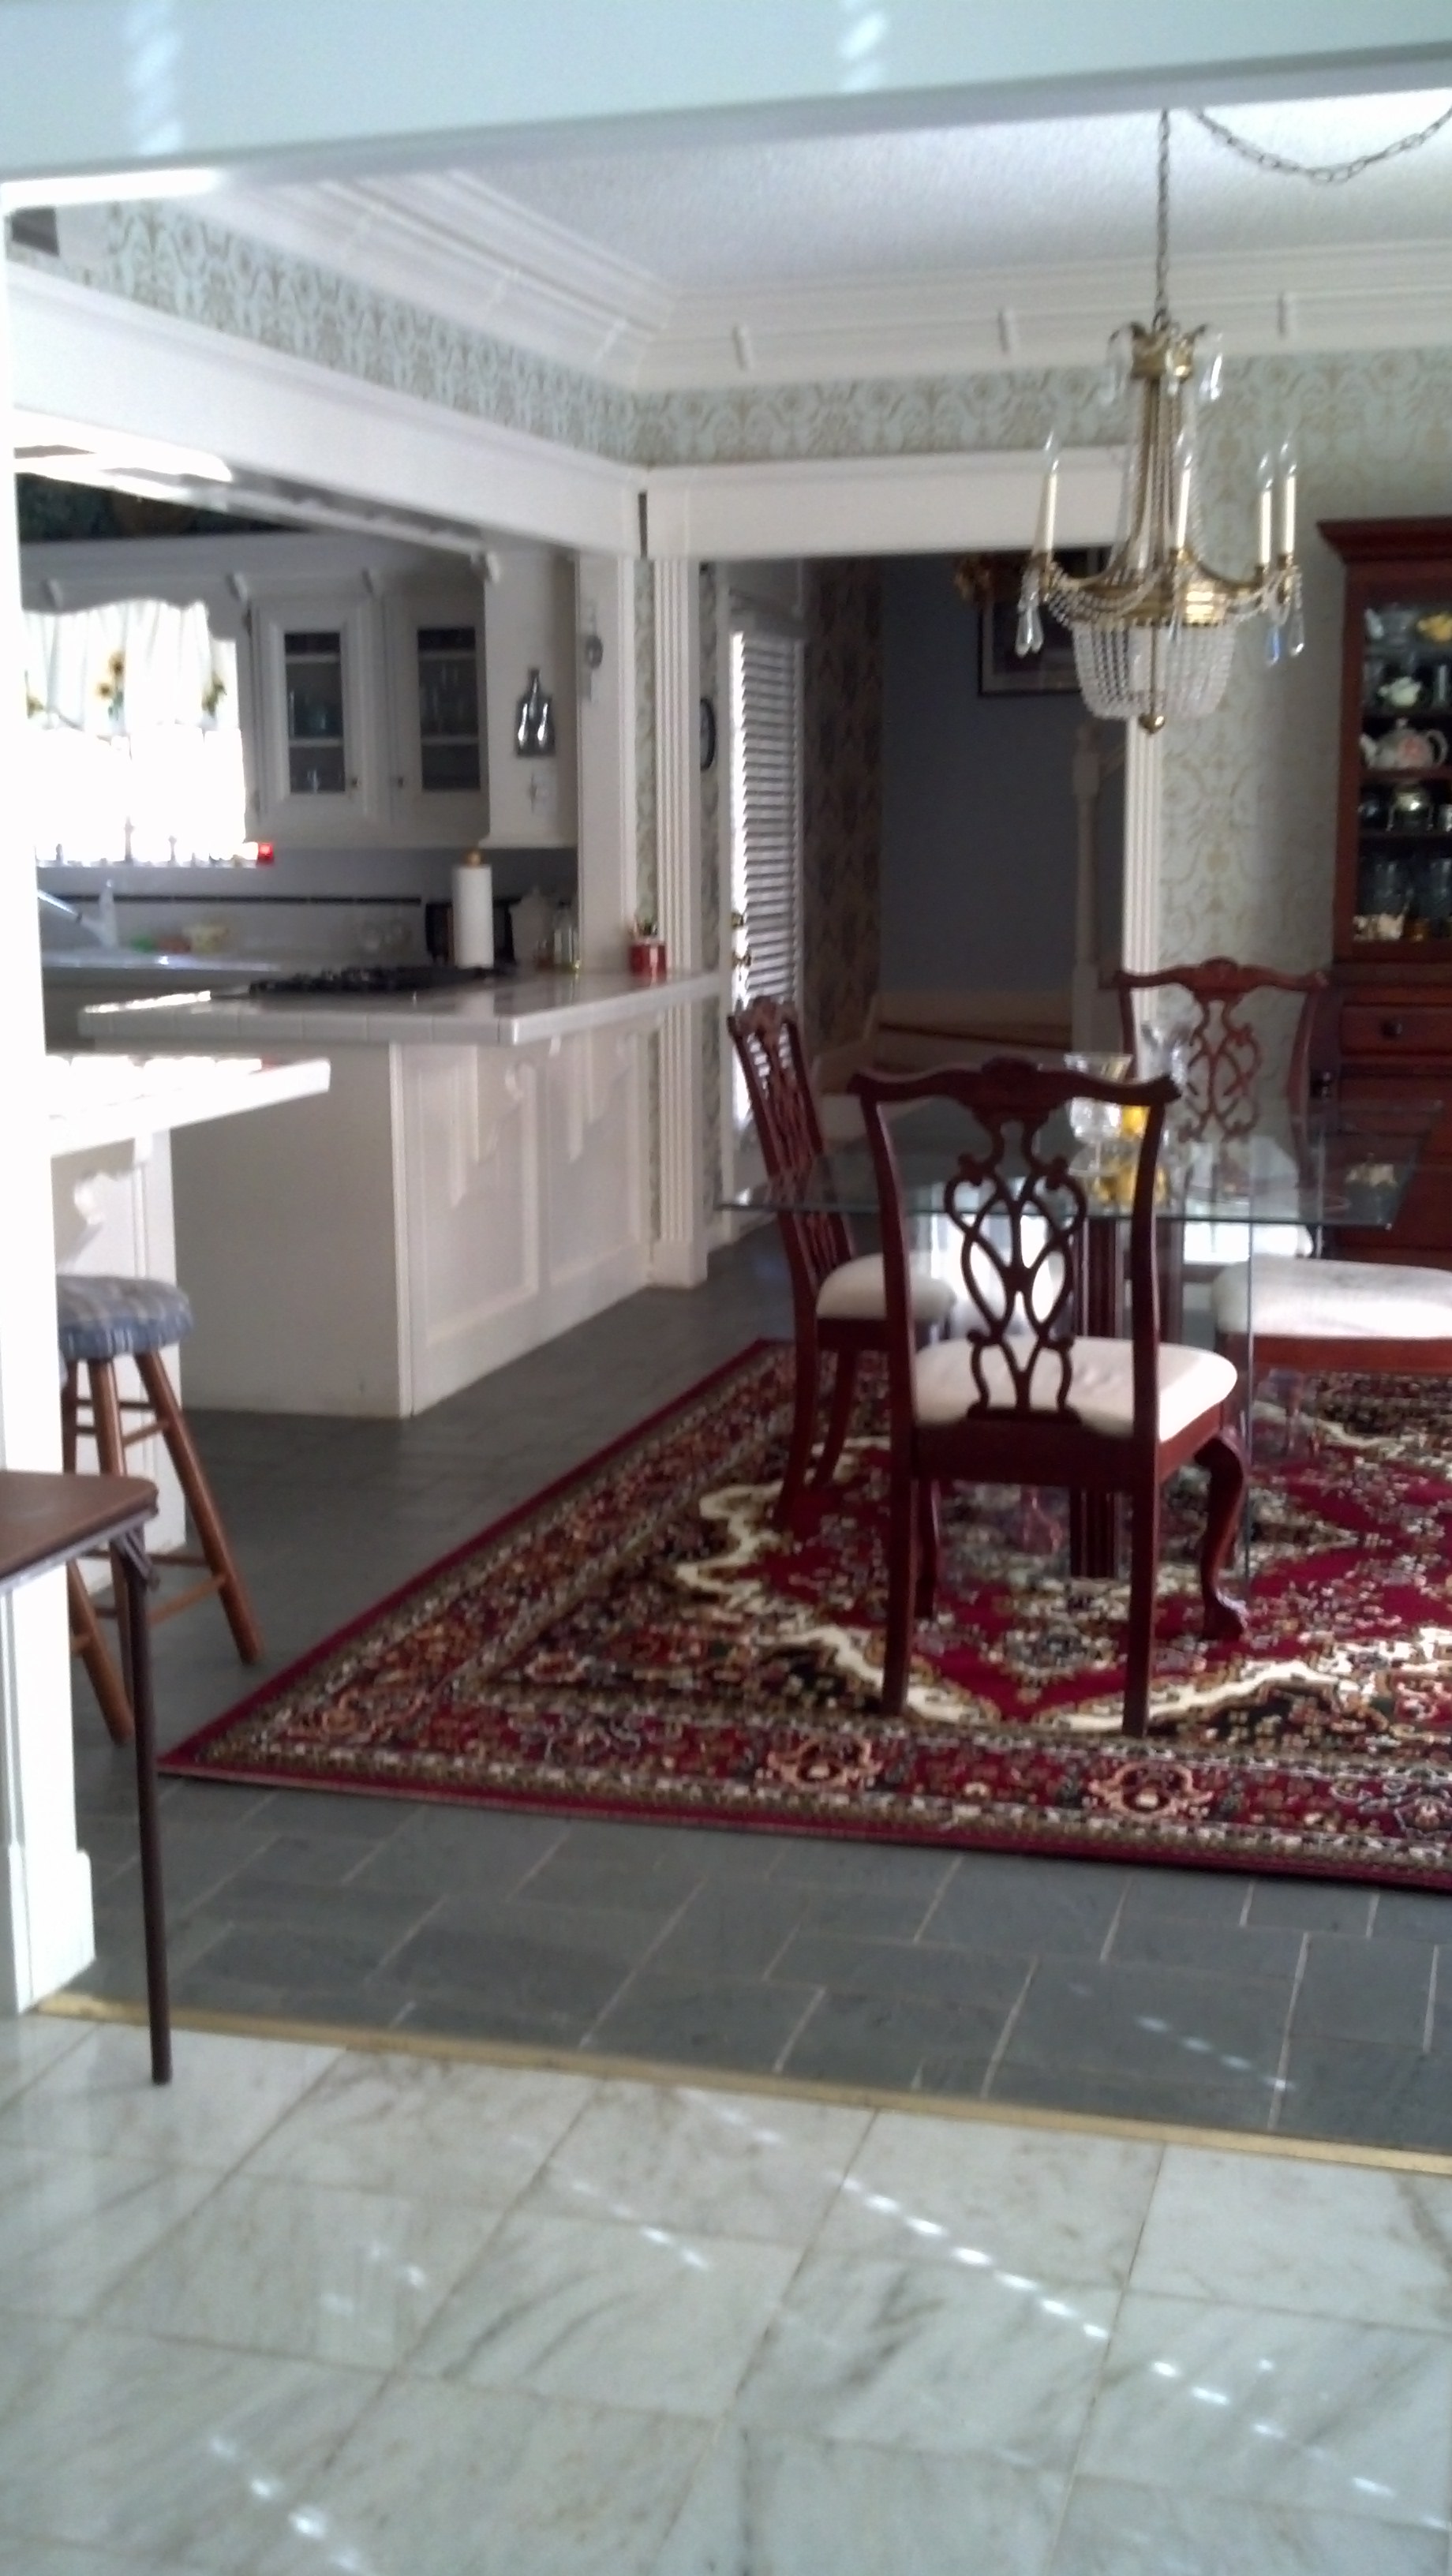
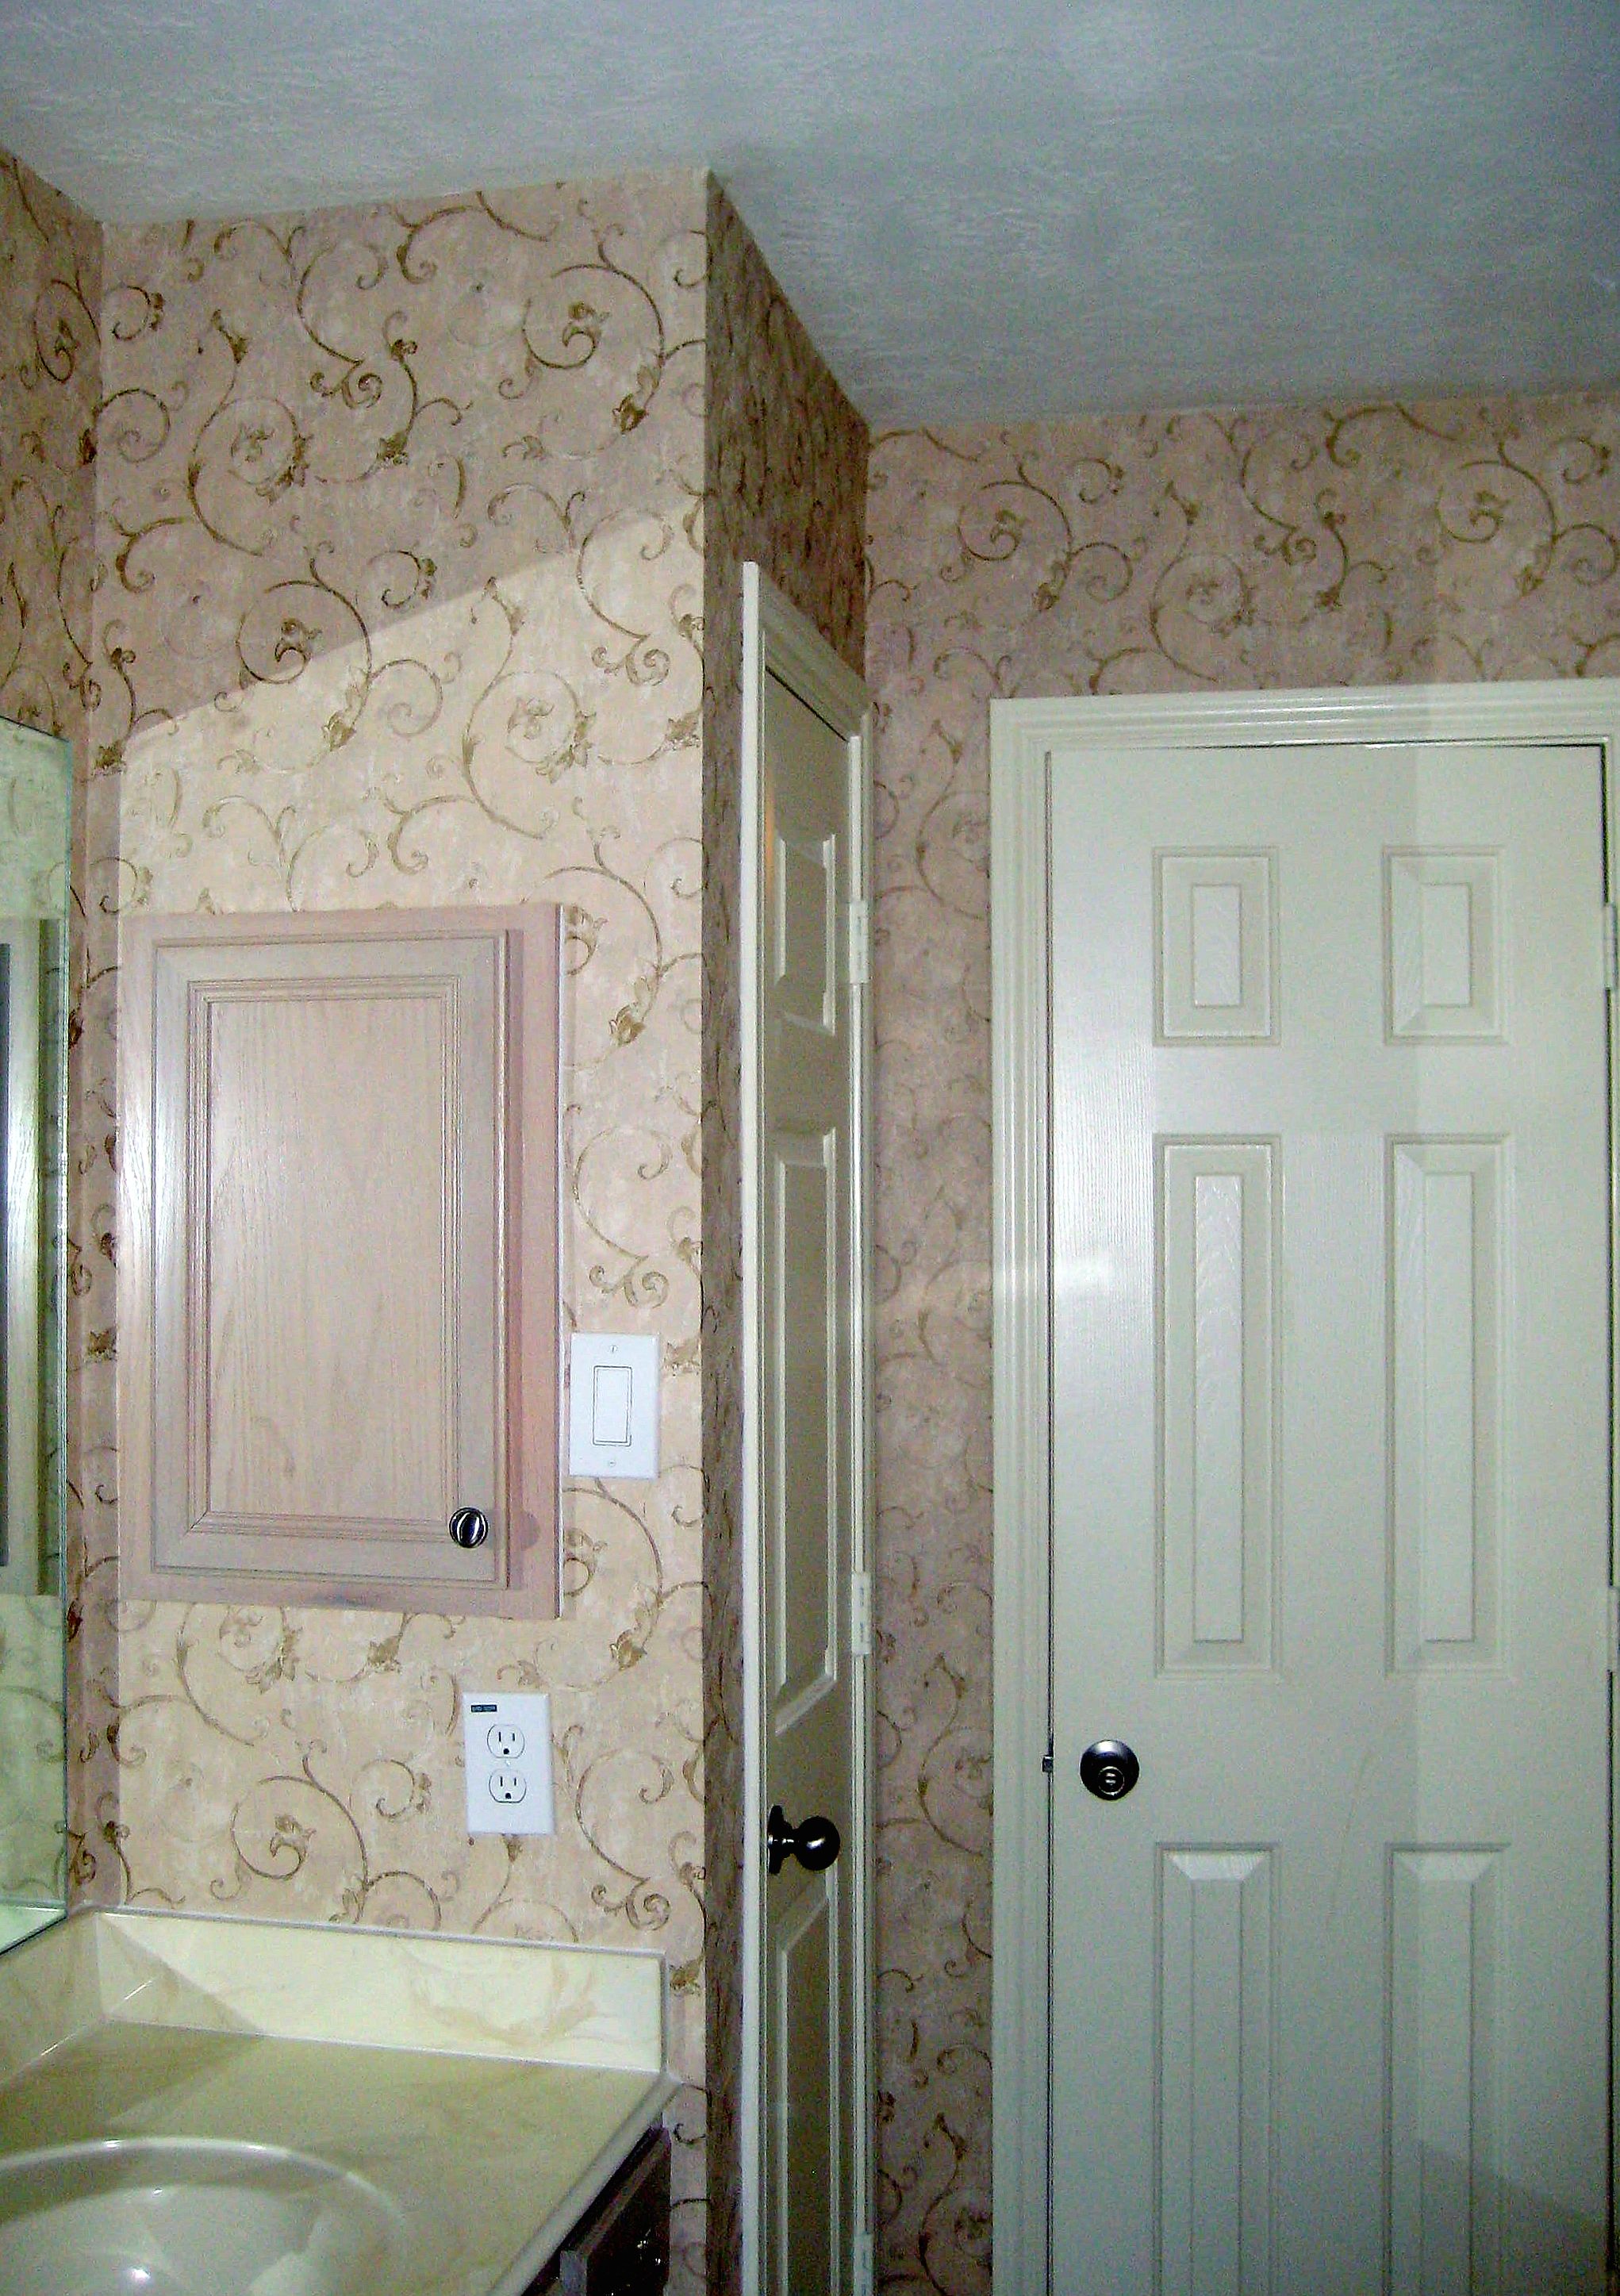
This photo was sent to me by the homeowner, after they painted the wallpaper to match the existing paint on the surrounding walls. They even painted the wood trim all around the room. What an amazing difference!

LMitchel005

Scenic Mural – Bay of Naples, by Dufour

BayOfNaplesByDufour

This is a digital reproduction of “The Bay of Naples” by Dufour. The large painted mural exists in an historic home in New England. Artist Holly Alderman traveled there specifically to photograph it. She then digitally reproduced it in grisaille. Wallquest manufactured the large (untrimmed) custom panels which I installed in a home office.

The paint my client chose, gorgeously enhances the grisaille print and the chandelier is icing on the cake.

I am hoping to get photos of the room from my client, once it is all put back together and if so, I will post them here!

1 mural015 2015-01-18 002 2015-01-18 003 2015-01-18 004 2015-01-18 005 2015-01-18 006 2015-01-18 007 2015-01-18 008 2015-01-18 009 2015-01-18 011 2015-01-18 012 2015-01-18 013

A Badge For Customer Satisfaction From Houzz.com

Houzz Announces “Best Of Houzz 2015” Winners
Annual Survey and Analysis of Community of Over 25 Million Monthly Users Reveals Top-Rated Home Remodeling Professionals and Design Trends
The Best Of Houzz award is given in two categories: Customer Service and Design. Customer Service honors are determined by a variety of factors, including the number and quality of client reviews a professional received in 2014. Design award winners’ work was the most popular among the more than 25 million monthly users on Houzz, known as “Houzzers,” Winners will receive a “Best Of Houzz 2015” badge on their profiles, showing the Houzz community their commitment to excellence.
These badges help homeowners identify popular and top-rated home professionals in every metro area on Houzz. 
On January 13, 2015 I was awarded a badge for client satisfaction that Houzz displays on my front page:


Best of Houzz Badge for 2015

Best of Houzz Badge for 2015

Rustic Master Bath ~Horse Ranch~

 ~Horse Farm / Ranch, Master Bath~
Before:
IMG_3363
When first entering the room it looked like a fairly simple job, with all short pieces above a wainscot. No fancy trim or rounded corners etc. WELL…
 
Here is what I had to deal with:
1. Chicken wire on all walls of main area (hung the long ways around the room in three sections: top, center & bottom) had to be removed.
2. A kazillion nail-gun staples were used to hang the chicken wire. Pliers were a must.
3. Fabric in Toilet area was glued on with 111. 
4. There was a TV, a deep shelf, (the vintage tub) and large hanging Chandelier in the way of the walls around the tub….No access.
5. The “Twig” light fixtures could not be removed. There was only a few inches between them and the wall.
6. The two 45″ X 22″ farmhouse sinks did not allow me to get to the walls over them.
7. There was a space about 10″ wide in the far corner of the room next to one of the sinks…I could not get my ladder in there.
8. All the main area walls were painted (roughly) with lime green enamel paint 🙂
9. The cabinets were FULL of toiletries which they were to remove and place in 14 X 14 ‘room’ called the closet.
10. On the last day they cleared it out and placed everything in both sinks and the tub.   *I had to then use a couple of buckets (& the toilet tank) for rinse water. 
 
I hung a Ralph Lauren Wallcovering in both areas and the cabinets. Blankstock was also hung.
My client was so nice. It was a peaceful place to work with gorgeous views. I had easy access and no one was there. 
 
However, when I was done, the PAINTERS came in and started to get the room ready to repaint all the cabinets, trim and everything in there – around where I had just papered.
They told me they were going to spray some of it and hand paint some…
I hope they are very careful.
I will try and get some final pictures of this room when it is all put back together and with the new beige paint!
~ I’ll see you all later with my next ‘Sticky Situation” ~
Wallcovering Installation By Michelle
I am a proud member of the Wallcovering Installers Association
 

 1ChickenWireWalls     MBHorseRanch (24)IMG_3476    IMG_3482   IMG_3529     IMG_3490  IMG_3499      IMG_3489    MBHorseRanch (36) IMG612    MBHorseRanch (18) MBHorseRanch (3)    IMG_3576 IMG_3570   IMG_3567 IMG_3565   IMG_3558 IMG_3556    IMG_3555 IMG_3553    IMG_3552 IMG_3546   

What a difference Wallcovering makes!

Just make sure you hire a professional to do yours. It will save you a lot of headaches…and money!

Amazing Focal Point – Transformation

TheSitRoom - Copy       TheSittingRoom1     2014-09-11 038

First two are the ‘After Photos’ The photo on the right was before

Length of wood trim were added along the sides of fireplace to create a space for the accent wall.

Cole & Son ‘Kings Mirror’ pattern wallcovering installed over blankstock.

A little bit of paper has totally transformed this small space!

A Few Of My Latest Wallpaper Jobs

Please excuse my terrible photography…I am a Wallcovering Installer and Muralist, not a Photographer.

Yes, I know it’s very obvious –  LOL

This first job was re-papered because of a water leak that destroyed part of the existing paper. The homeowner really liked her original choice and she wanted to replace it with the same. Unfortunately it was no longer being made. She was very lucky to find something so similar, if it were not for the different shade I doubt any one would have known.

The room looks fantastic!

I removed the paper on the left and hung the one on the right. She wanted the same paper or very close. It looks like she was lucky :)
I removed the paper on the left and hung the one on the right. She wanted the same paper or very close. It looks like she was lucky 🙂

PO Job #12 PO Job #10 PO Job #9 PO Job #8 PO Job #3 PO Job #2

  My next job was a Baby Girl’s Nursery! It turned out so sweet. I loved this Osborne & Little wallcovering. The homeowner complimented the paper by painting the ceiling and accent wall a soft vintage pink that matched the paper exactly.  The walls were heavily textured. Most of the time was spent getting them perfectly smooth.

Osborne & Little wallcovering that was so sweet for this baby girl's new nursery.
Osborne & Little wallcovering that was so sweet for this baby girl’s new nursery.

IMG_3047 IMG_3039 IMG_3035 IMG_3033

IMG_3032 IMG_3027

I covered her switchplate covers to match the paper. They almost disappear…

IMG_3025 IMG_3024 IMG_3023

Another Powder Bath with a free standing sink. My favorite spot…right after ‘behind the commode’ (…not really folks.)

The red is the before and it does date this bathroom quite a bit. After a total transformation, the homeowner has a richer more traditional and upscale look.

IMG_2832 IMG_2833IMG_2834

The paper was a nonwoven with a gorgeous gold and light teal print.

.IMG_2859

I had to get a shot of the perfect job I did around all the pipes. It must be my wallcovering installer’s ego

IMG_2840 IMG_2841IMG_2852

IMG_2855

A great week and ready to start a very large job I will be on for two – three weeks. I may have time to post some pictures while the job is progressing. I am not sure, but definately will post them all after I’m done.. Lots of Cole and Sons papers ~ That is VERY exciting!

Leave me a comment at the bottom if you’d like. I would love to hear what you think. Have questions? Just ask!

See you all soon and have a Beautiful Day!

Michelle

An Old Mural – My First

From about the age of nine I have painted many different art projects including portraits, still life, scenery and even contemporary pieces. I have dabbled in all mediums but prefer acrylics.

When I was about twenty seven, I decided to start painting murals. I recently found a couple of photographs of the first large mural I painted back in 1979. Sadly they have faded and discolored with age. A problem with painting murals is you can not take them with you and a picture may be the only reference you have of your work. And these pictures are only about 5″ X 5″.

I tried to correct them myself with my existing computer software but I will need a professional to truly bring out the best and save them for me. I would like to get them saved in a larger size.

If anyone reading this can give me an idea where t go to have these restored I would greatly appreciate it. The first two are how my original pictures look now. The others are pictures after I tried to correct the colors and sharpness.

Original, untouched mural photos from 1979    VirgoMural2

VirgoMural7

I tried to sharpen the photo but it made my artwork look bad, especially the eyes.

I tried to sharpen the photo but it made my artwork look bad, especially the eyes.

After I tried to 'correct' the color.

After I tried to ‘correct’ the color.

Go back

Your message has been sent

Warning
Warning
Warning
Warning

Warning.

Recent Reviews

The following reviews have been copied from my HOUZZ.com account which can be found here: http://www.houzz.com/browseReviews/paperhnger/wallcovering-installation-by-michelle 

~~~~~~~~~~~~~~~~~~~~~~~~~~~~~~~~~~~~~~~~

*Relationship: My husband was a remodeling contractor for many years and Michelle hung wallpaper for him.

Michelle has been hanging wallpaper for at least 15 or 20 years that I know of – maybe longer – and accumulating many repeat customers and referrals along the way. She is a perfectionist and a true professional. She is congenial and easy to talk to as well.


*Relationship: Colleague
Project Date: September 2008 –
Project Price: $1,000-$9,999

Michelle’s professional installation is unsurpassed.
From preparation to completion, she always does a superb job.
She is prompt, tidy, dependable and communicates well with
everyone involved in the project. I highly recommend Michelle.


*Relationship: Client

Project Price: $1,000-$9,999

I have used and known Michelle for probably 15yrs or more. She does beautiful work and has very good work ethics. I would feel very comfortable recommending her to anyone. She is reliable and trustworthy. Would not mind talking to anyone about her. 


Go back

Your message has been sent

Warning
Warning
Warning
Warning

Warning.